Talk about a trying situation! Some time ago, the 8.25-inch rearend in my wife’s ’75 Dart Sport suffered an ugly demise while “testing” at Numidia Raceway in Pennsylvania. Unfortunately, this happened only one week before the Chryslers at Carlisle show. I was informed that her not being able to take the car to the show was not an option.
At that time, I couldn’t locate a bolt-in replacement A-Body rear. However, I did locate a useable 8.75-inch rear out of a ’65 B-Body. I relocated the spring perches and stabbed it under the car. While it worked, it was definitely too wide. An A-Body rear measures 57 1/8 inches, drum-to-drum, while the B-Body rear comes in at 60 1/8 inches. That extra 1 1/2 inches on each side mean a lot in regard to outer fender-lip clearance. To say the tires rubbed when hitting bumps is an understatement. To remedy this discrepancy, we refrained from putting anyone or anything in the rear seat or trunk. That had to change.
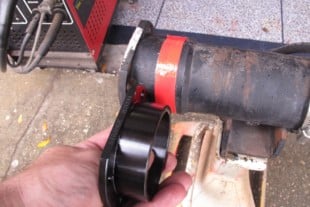
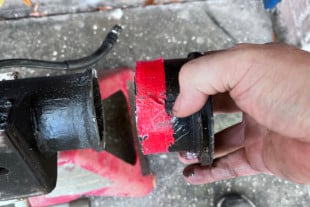
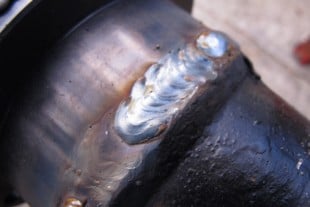
When cutting the old housing ends off, you must ensure a straight cut. I marked the axle tubes with tape so I could follow that with the band saw. Once the old ends are off, bevel the cut end of the axle tube and the edge of the new ends so you have a good area to weld. The weld must penetrate to keep the ends attached and a V-groove (beveled edges) ensures proper attachment.
I finally decided it’s time to either A: locate an A-Body rear and install it. Or B: narrow the B-Body rear to fit. If you have done any research about A-Body 8.75 rearend housings, you surely realize how scarce and expensive they are to acquire. At the time of this writing, bare A-Body 8.75-inch rearend housings are in the area of $500. This prompted me to locate the parts I needed to narrow the wider B-Body rear. If we calculate the cost of the B-Body housing as $0 (I already had one), axle housing ends at $110, you can see why I felt it financially responsible to narrow the rear I already had. In order to do that, I needed parts. Luckily, the folks at Strange Engineering, Motive Gear, and Eaton had the parts I needed.
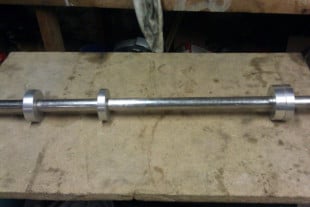
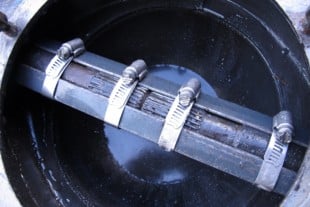
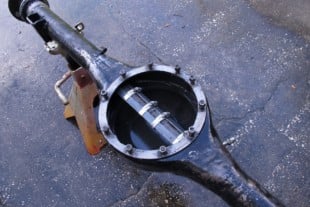
To attach the new housing ends, professionals use a jig that consists of a steel shaft and retainers to hold the ends in place while welding (left). I don't have one of those. I use an old pair of axles with Green bearings, two 18-inch-long pieces of angle iron, and several hose clamps to keep the ends parallel.
A Strange Recommendation
I reached out to Strange, as I knew I would need axle-housing ends and axles. After talking to JC Cascio at Strange, I settled on a pair of forged alloy-steel axles. The Strange axles are induction hardened to resist bending loads and to provide greater flexibility. This is especially important when axles are intended for use in street applications.
The axles are available with 28, 30, 31, 33, or 35-splines — I settled on the 31-spline units. Strange axle shafts with 31 splines, or less, are recommended for street applications, while axles with 33 or 35-splines are geared towards off-road and racing applications. Strange Engineering does all of its machine work on the splines prior to heat treatment. This allows for consistent heat-treat depth, leading to a stronger axle.
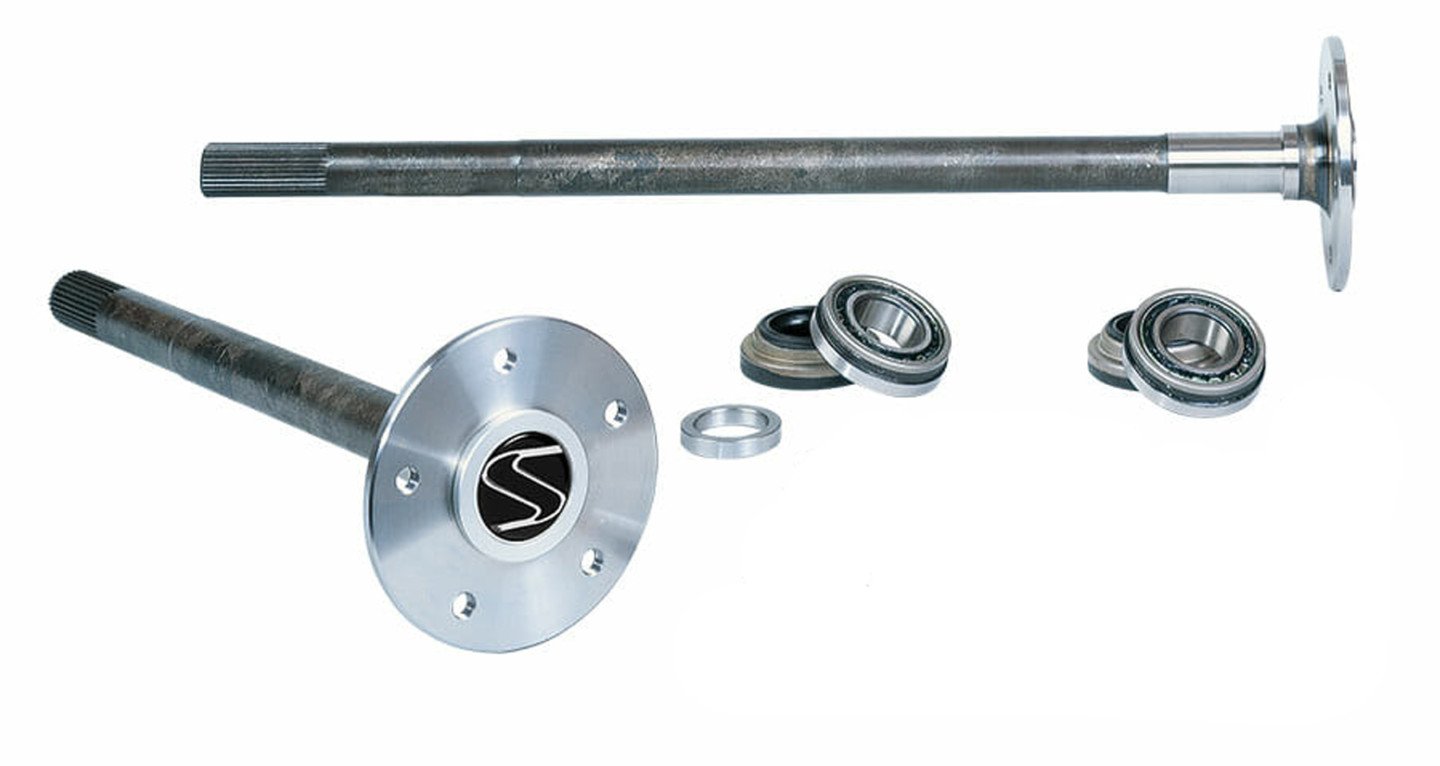
The Strange axles are induction hardened to resist bending loads and provide greater flexibility. This is especially important when street use is the plan.
Also, I am told the larger Strange axles are a minimum of 38-percent stronger than OE. If you plan to make a differential carrier change in your street machine, Strange strongly recommends that you choose to upgrade factory-sized axles to at least a Strange 31 spline axle and carrier configuration. The price of the 31 spline axle components is no more than the stock Mopar 30-spline units, and the benefits are immeasurable.
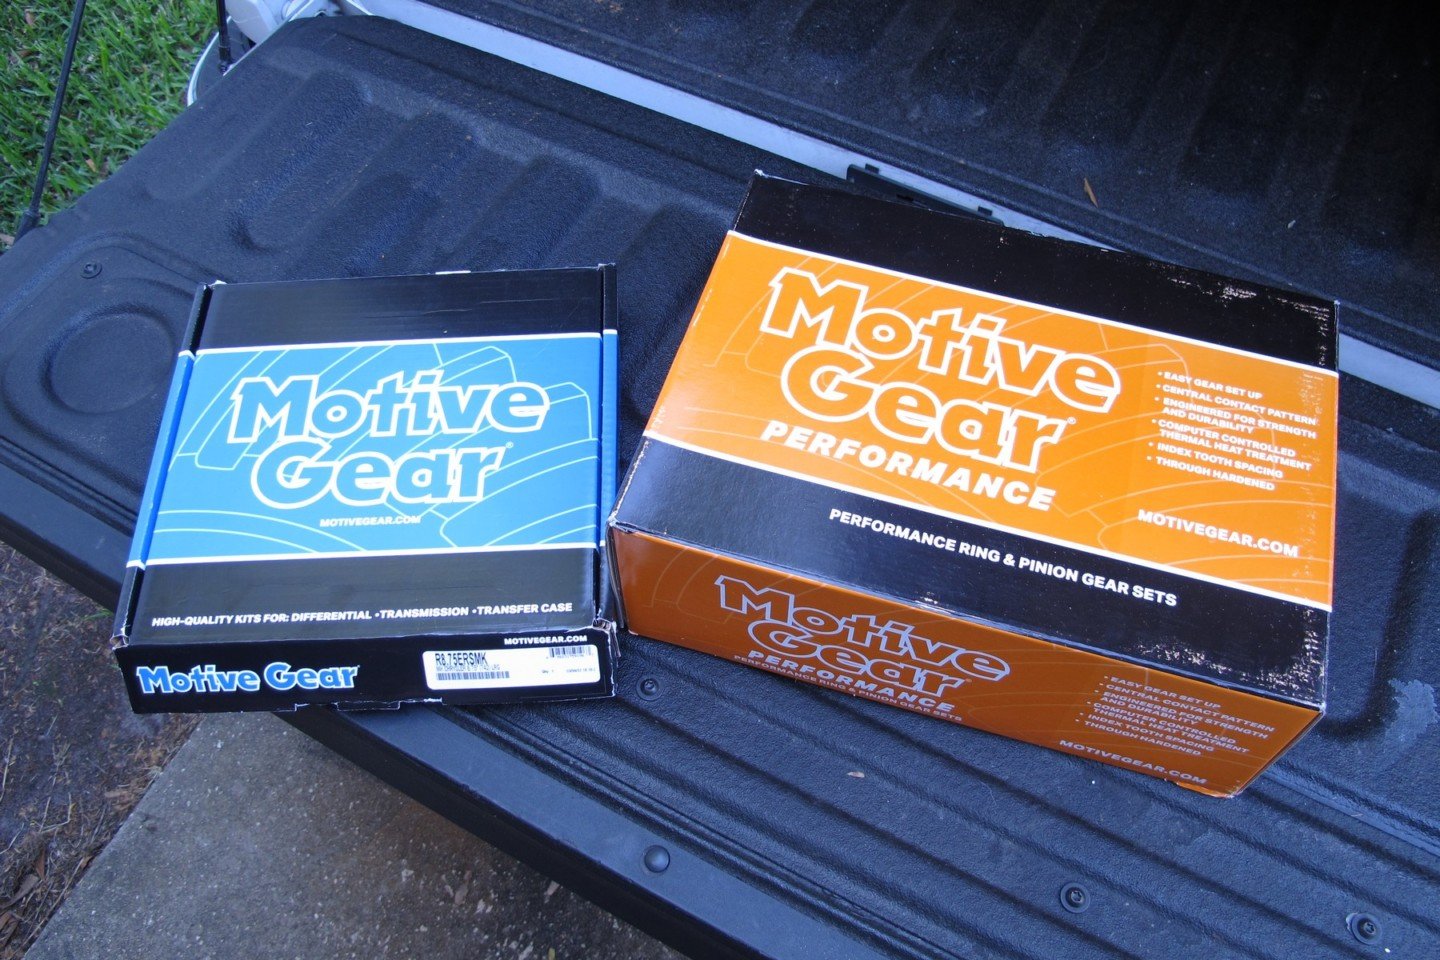
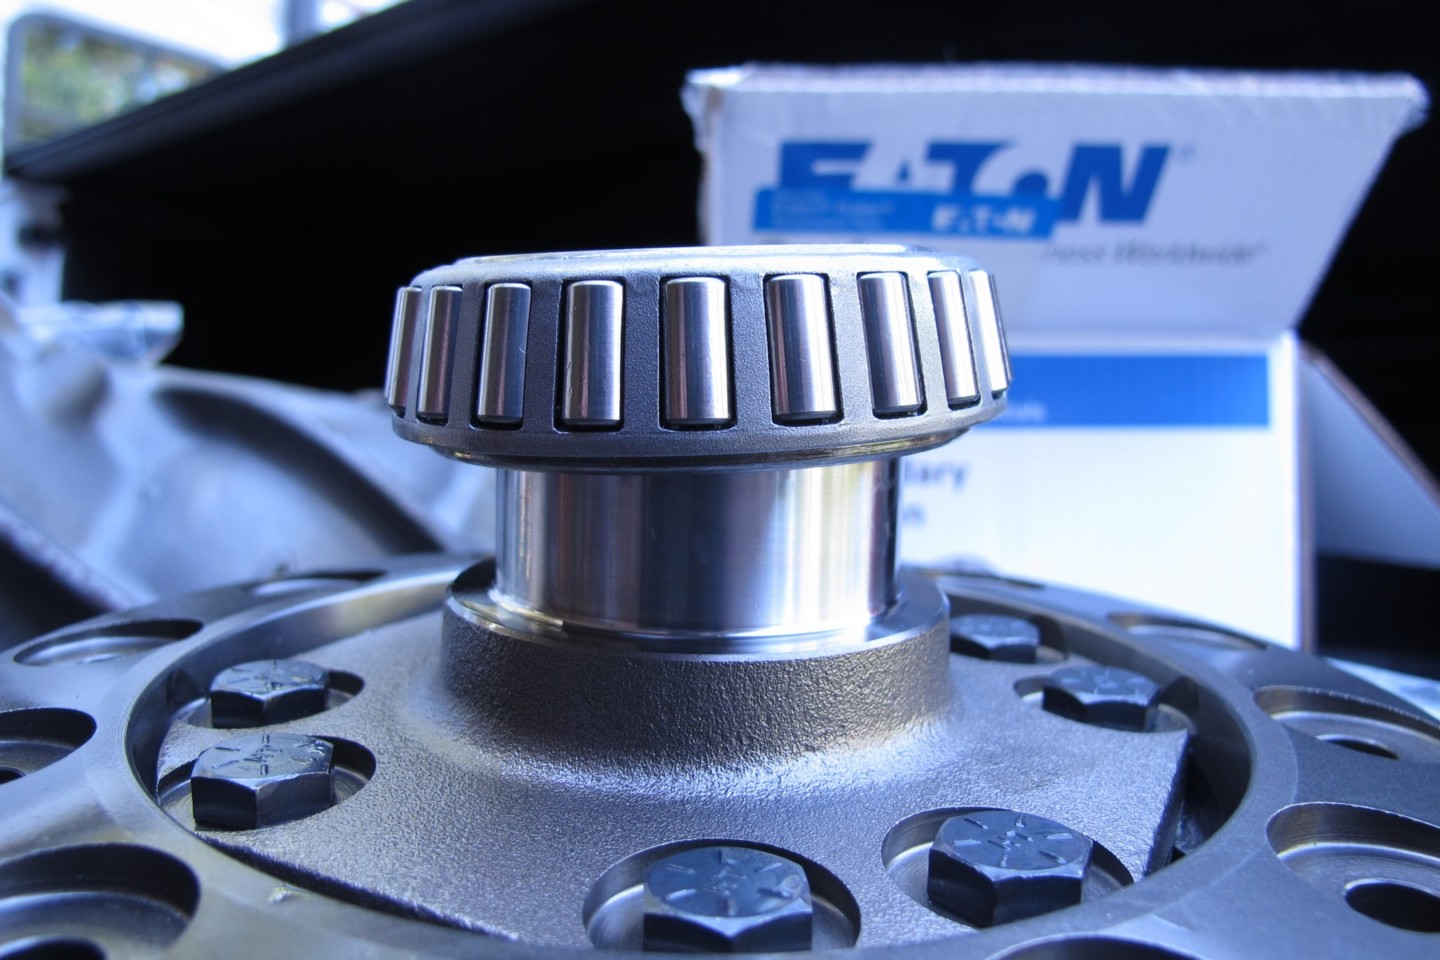
I also decided to change the gears from 4.10 to something a little more streetable. During my conversation with JC, I learned that 8.75 gears are getting hard to come by. Luckily, they carry Motive Gear parts and I was able to get the gears and installation kit. Finally, I did not want to disassemble the 742 case with the 4.10 gears, so I was going to need a differential. There are many options available in this area, and I settled on an Eaton Detroit Truetrac. This definitely adds to the overall cost, but now I have a spare differential, or I can sell it to reduce the initial cost of the new parts.
Going Clutchless
I could have gotten an OE-style limited-slip unit, so why a Detroit Truetrac? It is a helical-gear-driven unit which means there are no clutches to wear out. Under normal driving conditions, the Detroit Truetrac operates much like a standard open differential. It allows the rear wheels to rotate at slightly different speeds for smooth cornering. But when smashing the loud pedal, the six helical gears inside the unit smoothly and quietly engage, equally applying torque to both rear wheels. Unlike a traditional clutch-type posi, the Detroit Truetrac requires no special oil additive or maintenance.
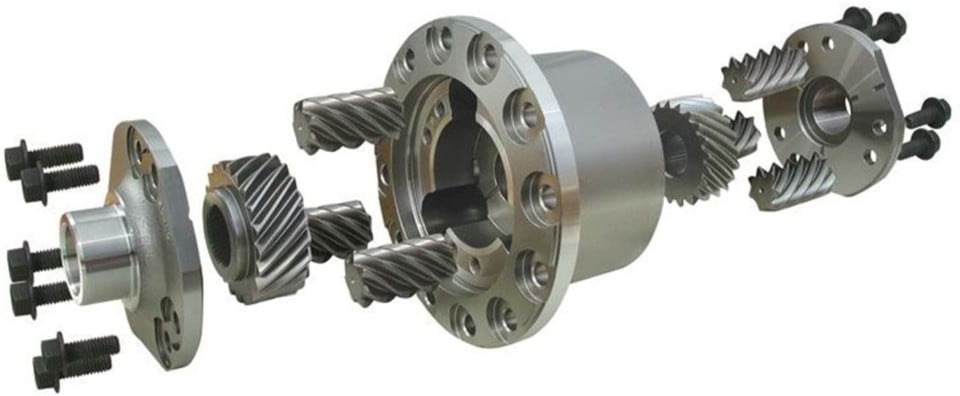
The Truetrac helical-gear design is unlike any limited-slip differential on the market. There are no clutches to wear out and it operates on the principle of torque biasing.
I wanted to make the Sport more diver friendly, and initially, I was torn between using a 3.55 or 3.73 gear. With the overdriven Mopar four-speed, I ultimately settled on the 3.73. This ratio will make the car fun, redlight-to-redlight, but also, with the overdrive’s final drive ratio at .73, adding the 3.73 rearend gears makes the final ratio act like 2.72 gears.
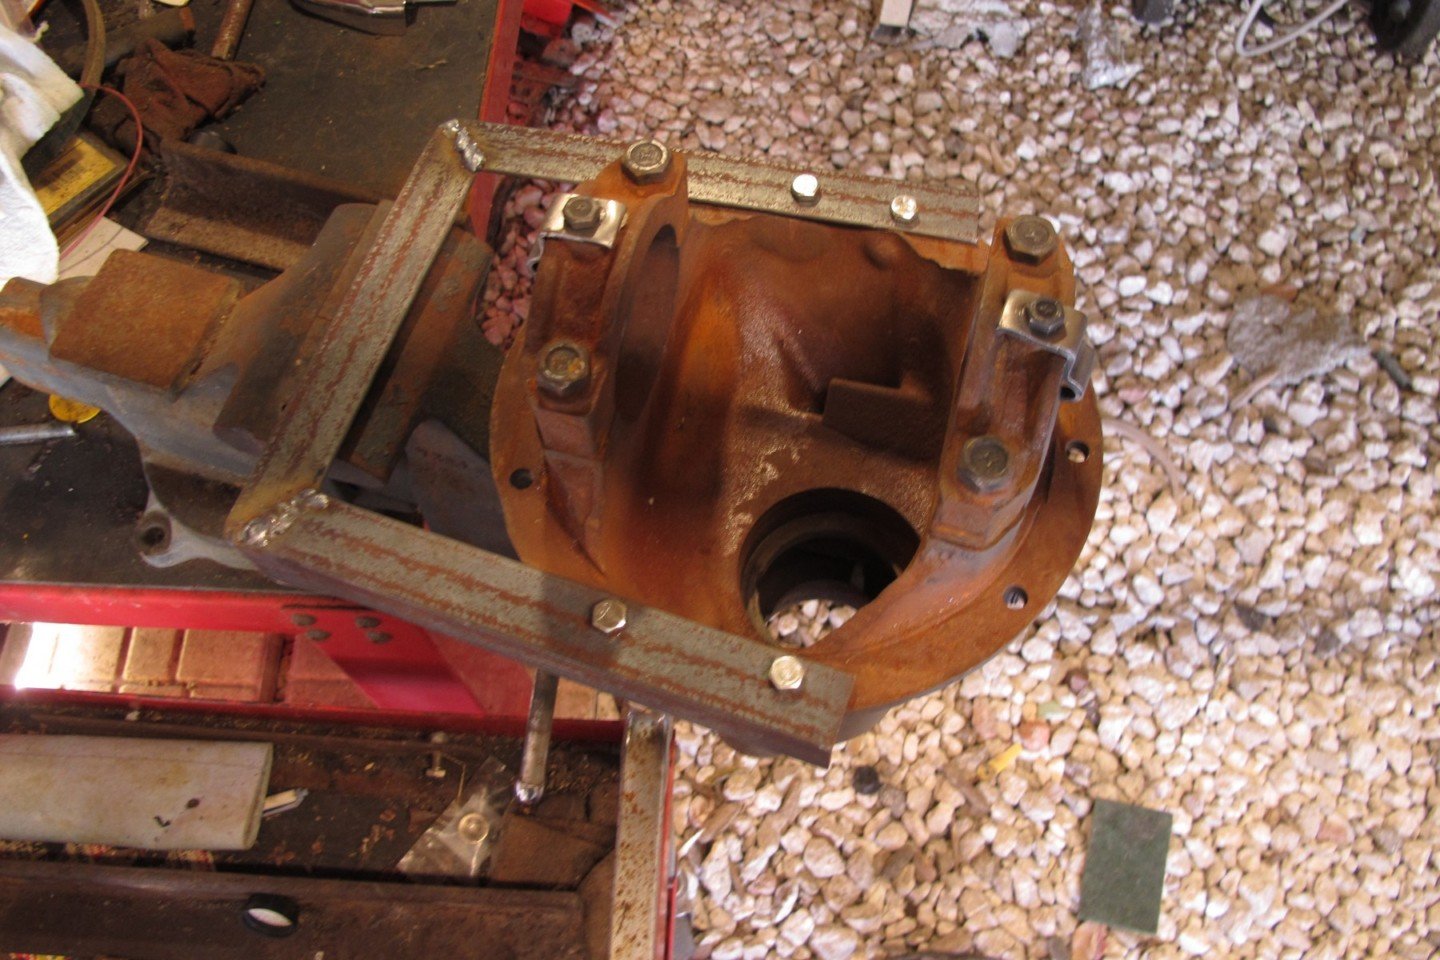
Building a differential is not easy without a stand. I cut and welded a piece of angle iron to create this “horseshoe” that attaches to an engine stand. With this mounted to the rotating head of the stand, I can spin the case as needed during assembly.
I’m not going to get into what’s involved with removing the rearend from the car as that is straightforward. However, I feel it prudent to show what goes into narrowing the housing and building a differential at home. Before you start sending hate mail, I do realize that narrowing an axle housing is not something many enthusiasts will be comfortable doing. However, I want to show you that it can be done if care and patience are part of the program.
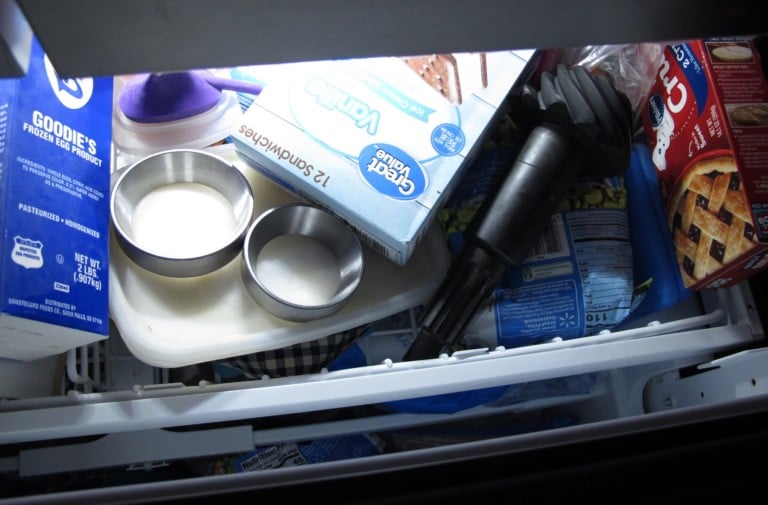
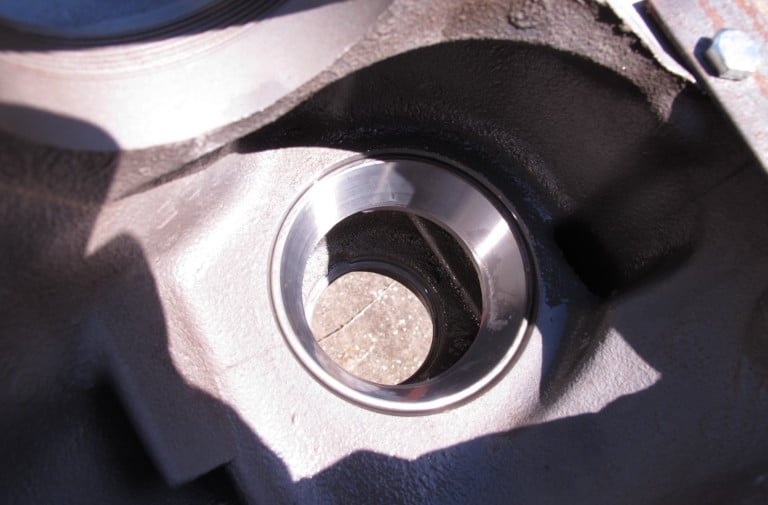
Don't tell my wife, but to install the new bearing races into the case, I placed them in the freezer overnight. The cold causes the metal to contract, which makes installation easier. With the case mounted on my homemade mount, I then used a small hammer and a brass punch to tap the races into the housing.
Mopar Rearend Rebuild: Cut And Burn
There is no arguing that having the proper jig and welding braces would definitely be a bonus when narrowing the housing. But not many guys have those tools in their home garage. I know I don’t. What I planned, was to cut the axle housing the required 1 1/2 inches on each side and then weld the new ends on the housing using a pair of old axles, some angle iron, and a few hose clamps.
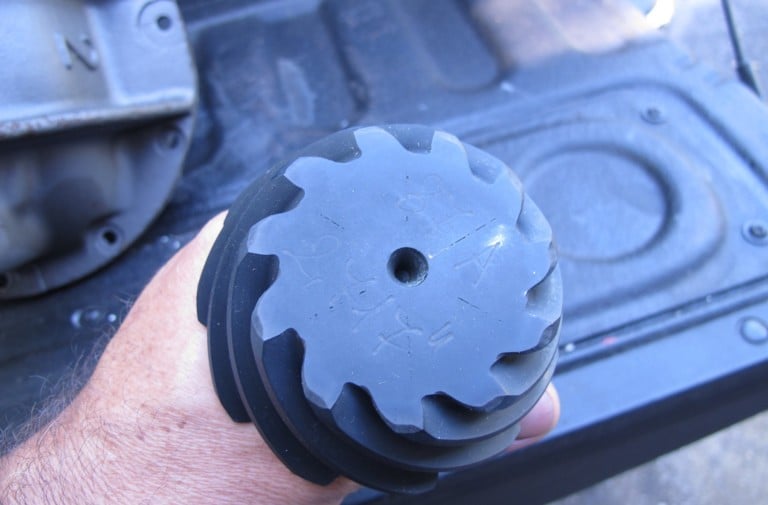
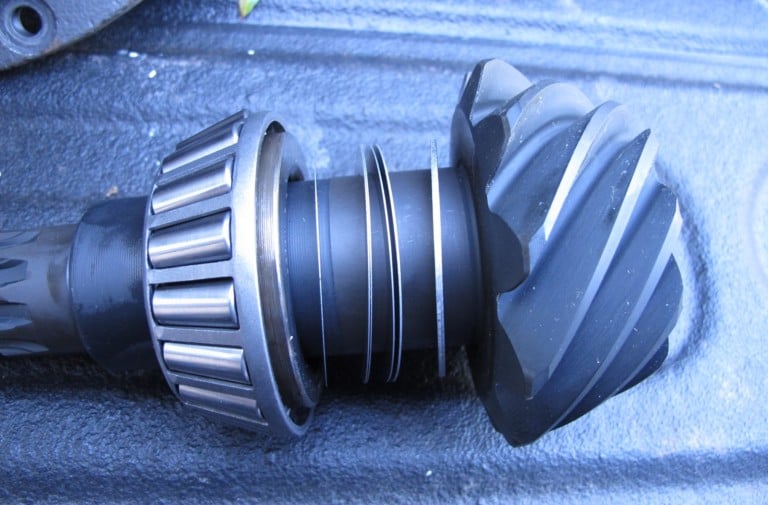
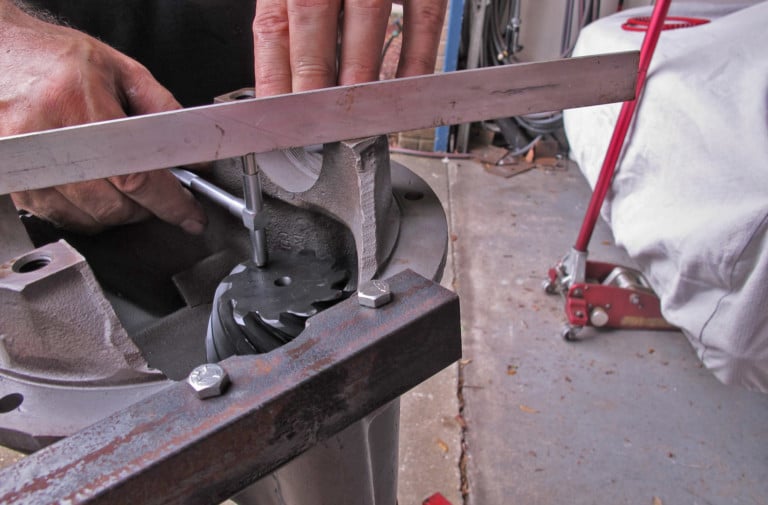
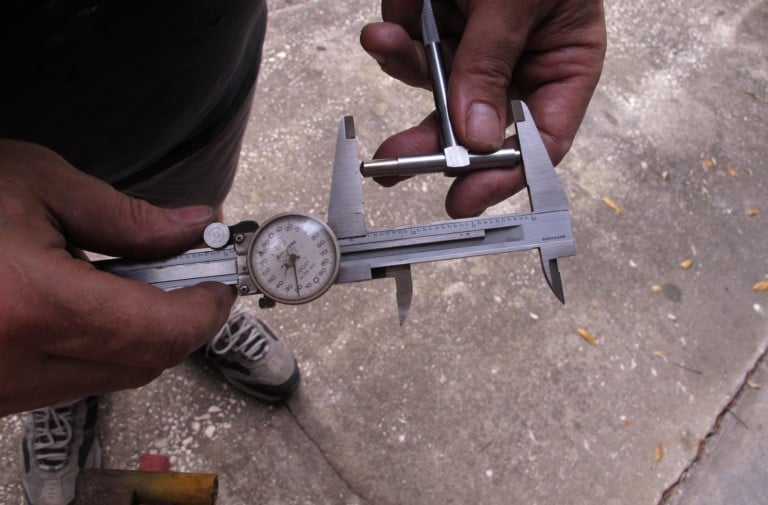
Every pinion gear has the required pinion-depth measurement engraved on the face of the gear (top left). To adjust pinion depth, shims are added between the inner bearing and pinion gear (top right). Since I don't have a dedicated pinion-depth tool, I use a piece of angle iron, a snap gauge (bottom left), and a set of calipers (bottom right).
The proper welding jig uses a heavy steel shaft that is attached to end caps that hold the axle-housing ends in place. For my plan, I took two old axles that have “green” bearings (more on those later) attached. The axles are inserted into the housing and then two pieces of angle iron were clamped around the axles. This gives me a straight line through the area where the differential will be located. While the proper jig will keep the ends parallel, the axles and angle iron do the same thing — straight is straight.
While welding the new housing ends onto the tubes, heat can and will cause the tubes to distort. To keep the axle tubes straight, chassis shops have exterior jigs that support the tubes. Again, I do not. Without tube supports, welding must be done slowly and methodically to ensure that one area of the axle housing is not exponentially heated while another area is “cold.” By moving your welding from side to side and in 180-degree increments, the heating and cooling effect is somewhat equalized, and the tube is not heavily distorted.
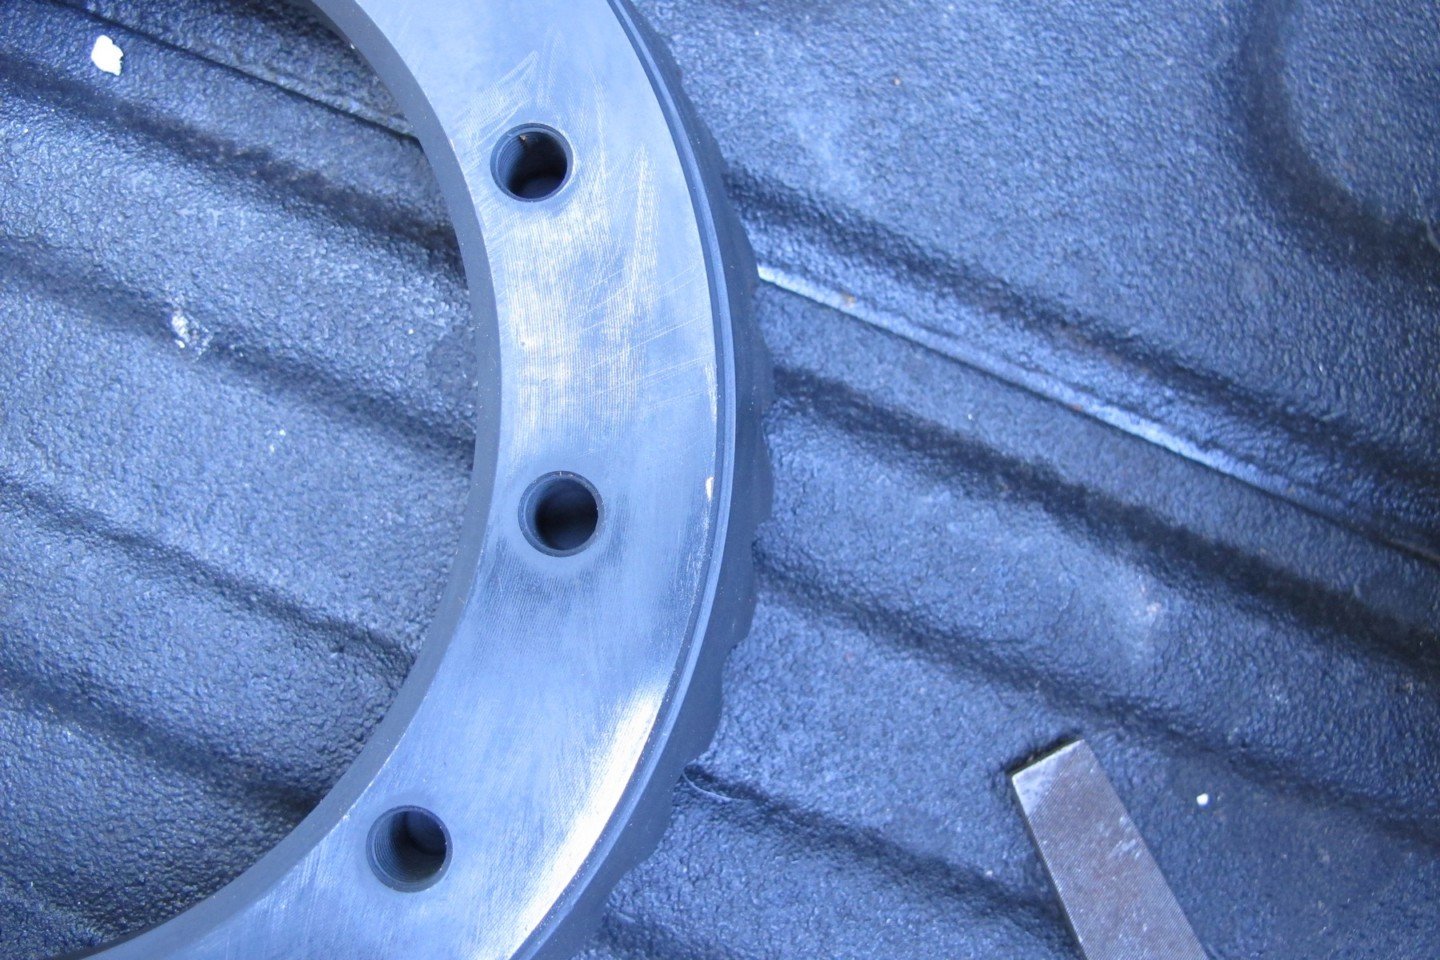
Before you mount the ring gear to the differential, take a fine file and make sure there are no burrs or high spots on the mounting face. The shiny areas were high spots that if left untouched, could keep the gear from mounting flush to the differential. When mounting the gear to the differential, use a thread locker on each of the bolts.
Gearing Up
When it comes to building the center section, I am sure that many of you have a few reservations about starting the task. You’re not alone. Many hot rodders pay professionals to change rearend gears. But why? Why pay someone else to do a job you can certainly do at home? This build is starting with a 742 case that was found at a swap meet for $40.00. Starting with a bare case is a little more difficult in regard to assembly, as you are starting from scratch. If you are doing a gear swap in a center section that is assembled, shimming of the pinion is not as difficult, as you have a starting point with the old shims.
What Is A Green Bearing?
[group_caption caption="" type="2" images="https://www.speednik.com/files/2022/04/mopar-rearend-rebuild-you-can-do-this-at-home-2022-04-21_11-09-16_074950.png, https://www.speednik.com/files/2022/04/mopar-rearend-rebuild-you-can-do-this-at-home-2022-04-21_11-09-10_835592.jpg"]
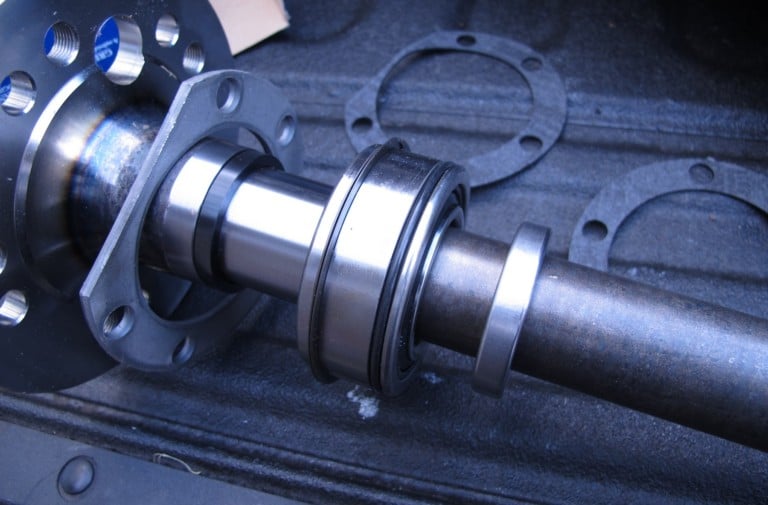
The OE-style, tapered wheel bearings Mopar used (left), while ok, do have a few drawbacks. For starters, the bearing is flipped around backward, so the race is captive between it and the axle flange. This means the bearing must float in the housing end and this arrangement requires the use of an adjuster, thrust block, or thrust pin between the axles. Also, beaded steel and foam gaskets don’t keep water from entering the housing end and into the non-sealed wheel bearing. Most of these problems can be avoided by installing non-adjustable “green” bearings (right).
The term green bearing comes from the Green Bearing Company which first produced them. Early designs did have issues, as the crimped-on flange would not allow the bearing to wiggle around inside an axle housing that is not perfectly straight (none are). The most recent style has a snap ring around the outer race. The snap-ring-style “green” bearings are forgiving because they can move around inside the housing, and they do not preload the differential thrust block in a stock application. The design is no different than what came stock in millions of other vehicles. Also, green bearings have an O-ring to seal the outer race to the housing and the bearing itself is a sealed bearing, keeping gear lube in and water and dirt out.
Going Deep
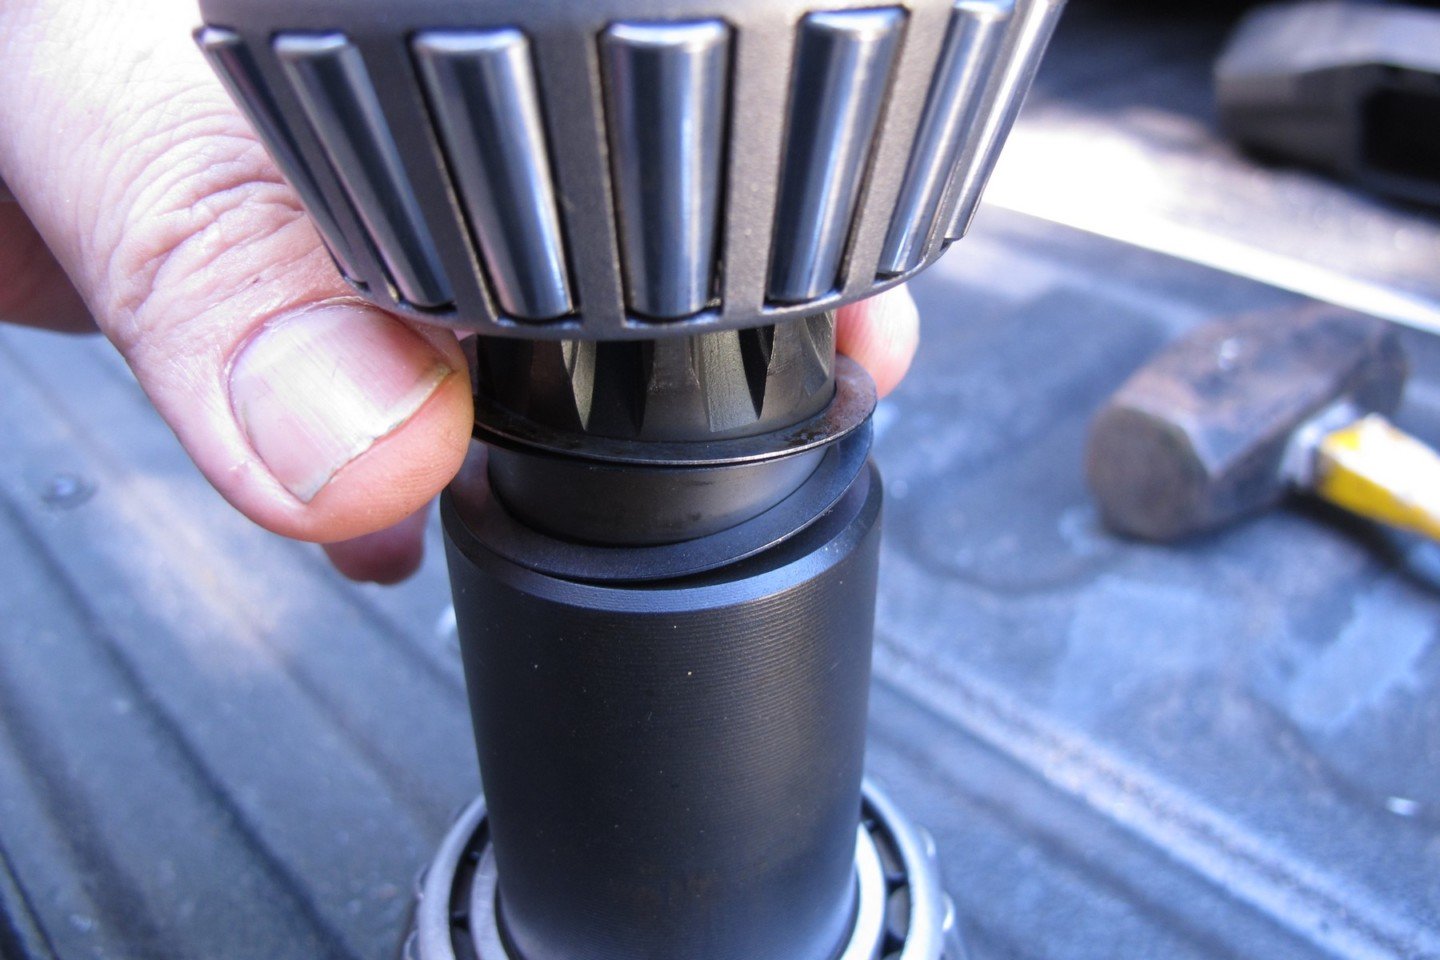
The first step is to set pinion depth. This is the most difficult portion of a gear change. Ring-and-pinion gears are designed to have a precise “mesh” between the ring gear and the pinion gear. The ring gear rides on the centerline of the differential’s bearings and its depth is not adjustable. For that reason, the position of the pinion gear, as is located in the case, is designed to be adjustable. To adjust pinion depth, shims are placed between the large inner pinion bearing and the pinion gear. Adding shims decreases pinion depth (moves pinion closer to ring gear) while removing shim increases depth (moves pinion away).
To know if pinion depth is correct, pinion-setting tools are typically used. I don’t have that special tool. To find pinion depth, I use a piece of 3/4-inch aluminum angle iron, a snap gauge, and a set of veneer calipers. While it’s not as fancy as the special tool, it works. To determine the required shim thickness, I installed the inner bearing with .040-inch of shims to start and then installed the pinion and measured the distance. I needed a little more depth (another .010-inch). Since the shims come in various thicknesses, I switched the shims around to get the desired thickness. Unless you’re extremely lucky, the pinion may need to be removed and installed several times until it’s correct.
This process does require a press and a bearing plate for bearing installation and removal. If you are simply swapping gears in an already assembled case, start by using the shims already in use and you will be close, if not right on the money. Once you have pinion depth set to the correct specification, it’s time to check the gear mesh. To do this, you will need the ring gear installed on the differential.
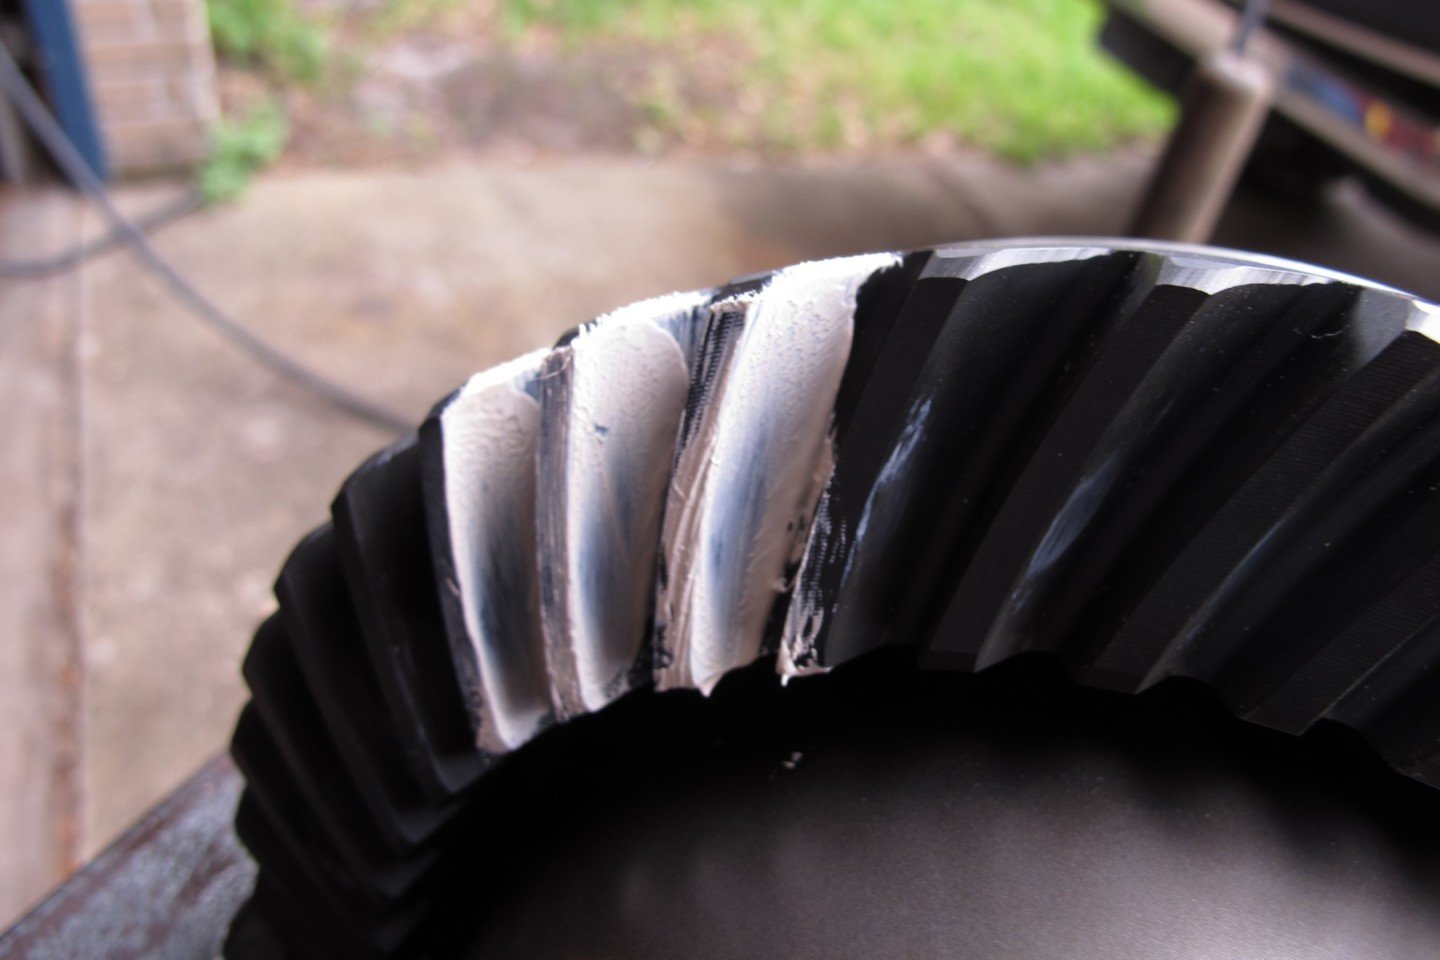
With the ring gear installed on the differential, place the assembly into the case. Adjust backlash as required and then check your mesh pattern with the marking compound that comes with the installation kit. If you get it right on the first try, it’s your lucky day. That never happens for me. The wear pattern left in the marking compound tells which way the pinion needs to move to get it right. If the wear pattern is toward the outer edge of the ring gear (Heel side), you need to add shim(s). If the pattern is closer to the inner edge of the ring gear (Toe side), you need to remove some shim(s). This is a trial-and-error situation until you get it correct. Sometimes, the marked pinion depth is not quite perfect due to variations in different cases. It took me a couple of times to get it where I wanted it.
Backlash
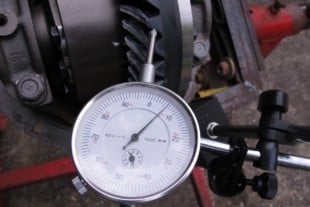
Backlash is the “play” between the ring gear and the pinion gear as they mesh. It is the looseness felt when the ring gear is rocked back and forth with the pinion held so it can’t move. A certain amount of play (free movement) is required and must be within the correct specification. To measure backlash, mount a dial indicator’s magnetic base to the case and then have the dial indicator’s “feeler” touch a tooth on the ring gear. Now, gently rock the ring gear back and forth while holding the pinion from moving. Proper backlash should be between .006- and .010-inch. With new gears, I like to keep the backlash at the tight end of the specification. This is because there will be slight wearing-in of the gears.
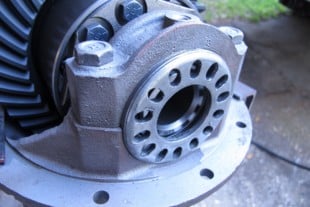
Once you have the pinion depth correct, it's time to adjust backlash. Snug the bearing cap bolts and install the threaded adjusters on each side (left). By turning the adjusters in and out, you move the differential left and right, adjusting backlash. Once you have the backlash set to spec (center), make sure the adjusters are tight against the bearing races, tighten the bearing caps (right), and install the adjuster locks.
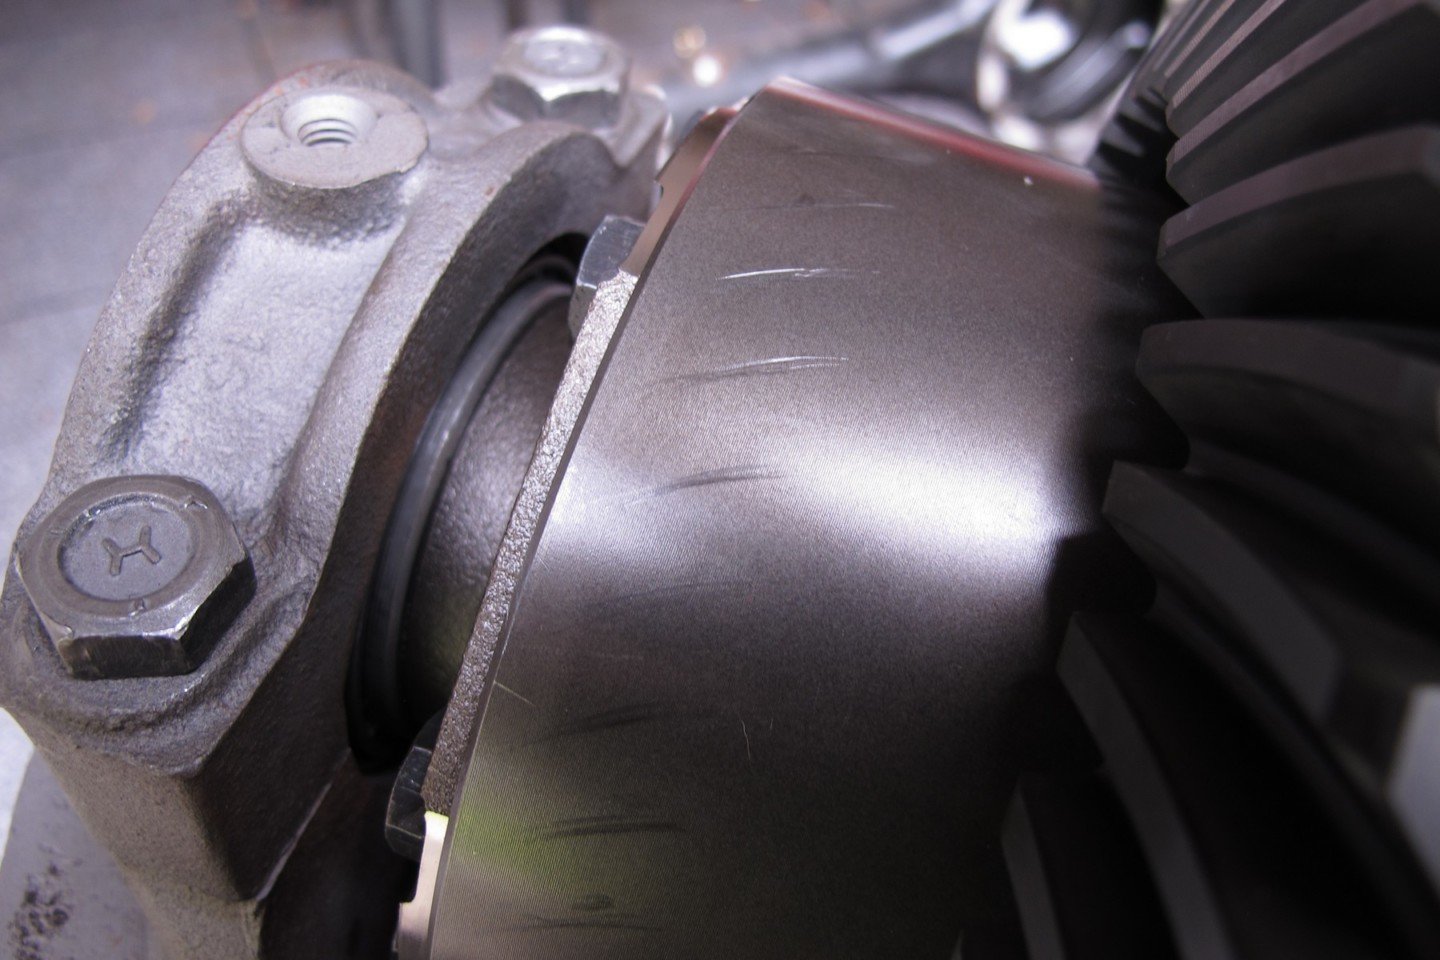
The differential rides on two bearings, one on each side. The bearings (and outer races) are clamped in the housing bores, and threaded adjusters are used to set the backlash. Moving the ring gear closer to or farther from the pinion changes the backlash. The adjusters can be threaded in and out of the housing to provide for side-to-side travel. While a spanner wrench is recommended to turn the adjusters, I didn’t have one. I used a stiff pair of needle-nose pliers.
Before I could install the new Strange axles, I needed to put the bearings on them. This also requires a press. Make sure the snap ring in the bearing race faces the wheel-mounting hub. Once the bearing is pressed into place, press the locking washer on as well.
Once the bearing preload and backlash are properly set, it’s time to reassemble the rearend and stab it under the car. I bolted the center section into the housing and readied myself for how well the axles might or might not slide into place. I was more than happy when the axles easily slid into the housing and the splines meshed with the differential. My homemade welding jig worked.
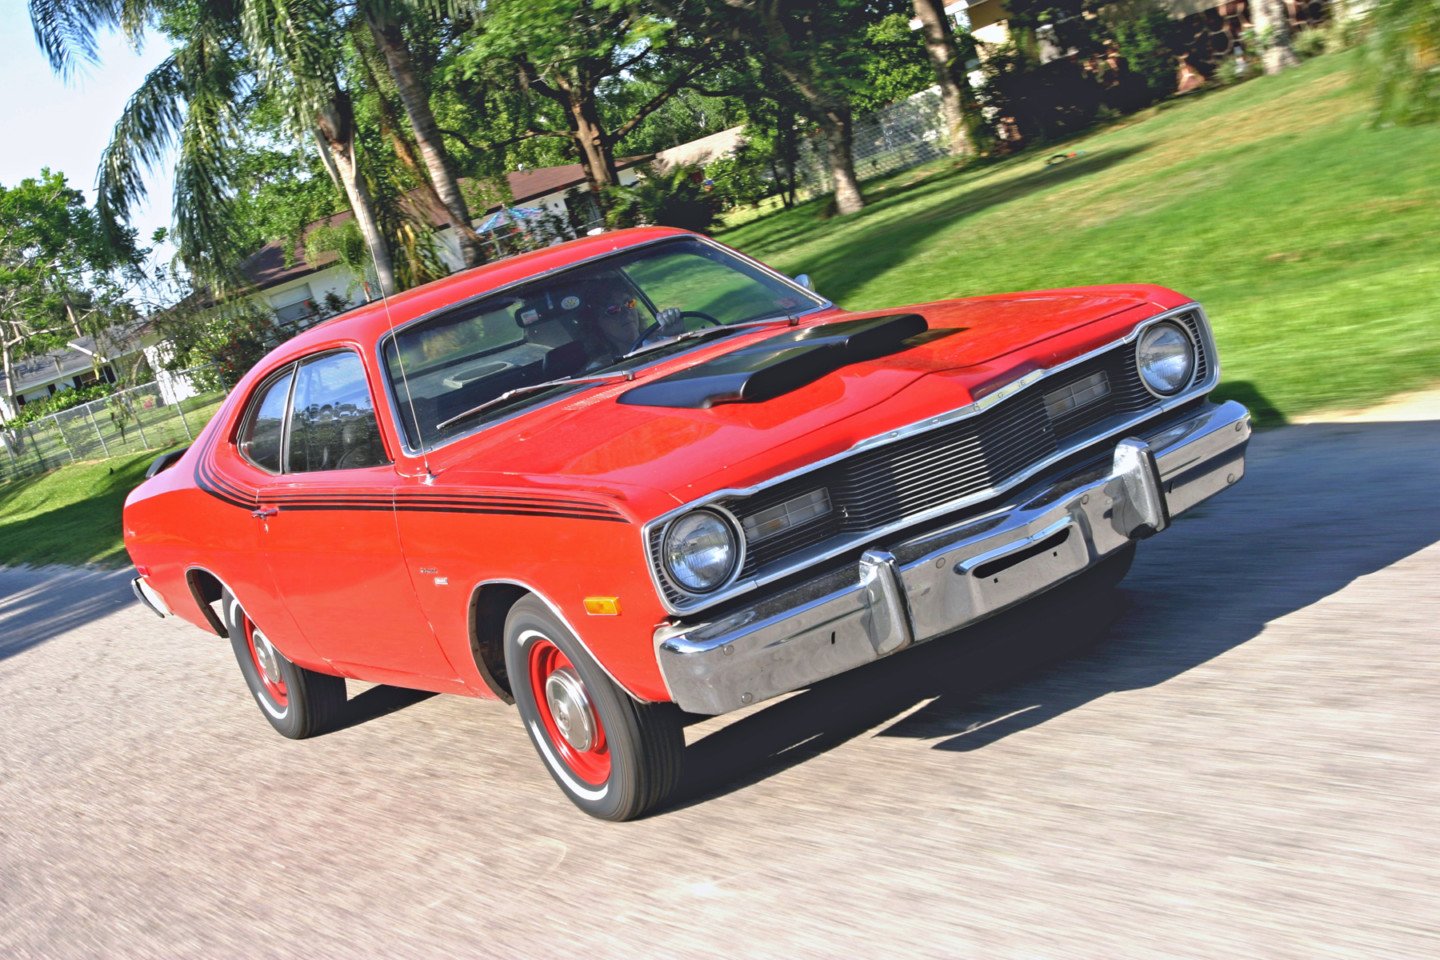
Now that the tires no longer rub the outer fender lip, we can safely haul the grandkids in the trunk…I mean back seat.
With a total of 3-inches removed from the width of the rear, the Sport now has room for suspension travel without the tires rubbing. What’s more, the swap to 3.73 gears has made longer drives a little more enjoyable and the radio is now able to be heard as engine RPM is drastically reduced. Before the rebuild, at 65 mph, the tachometer was between 3,000 and 3,200 rpm. Now, 2,200 to 2,400 is normal and it’s a whole lot quieter inside the car.


