Have you ever had a project that looked great on the outside, but felt terrible on the inside? We aren’t talking about the feel of the upholstery, but rather, the way it handles and sounds; rattles, shakes, and, shimmies – the whole deal.
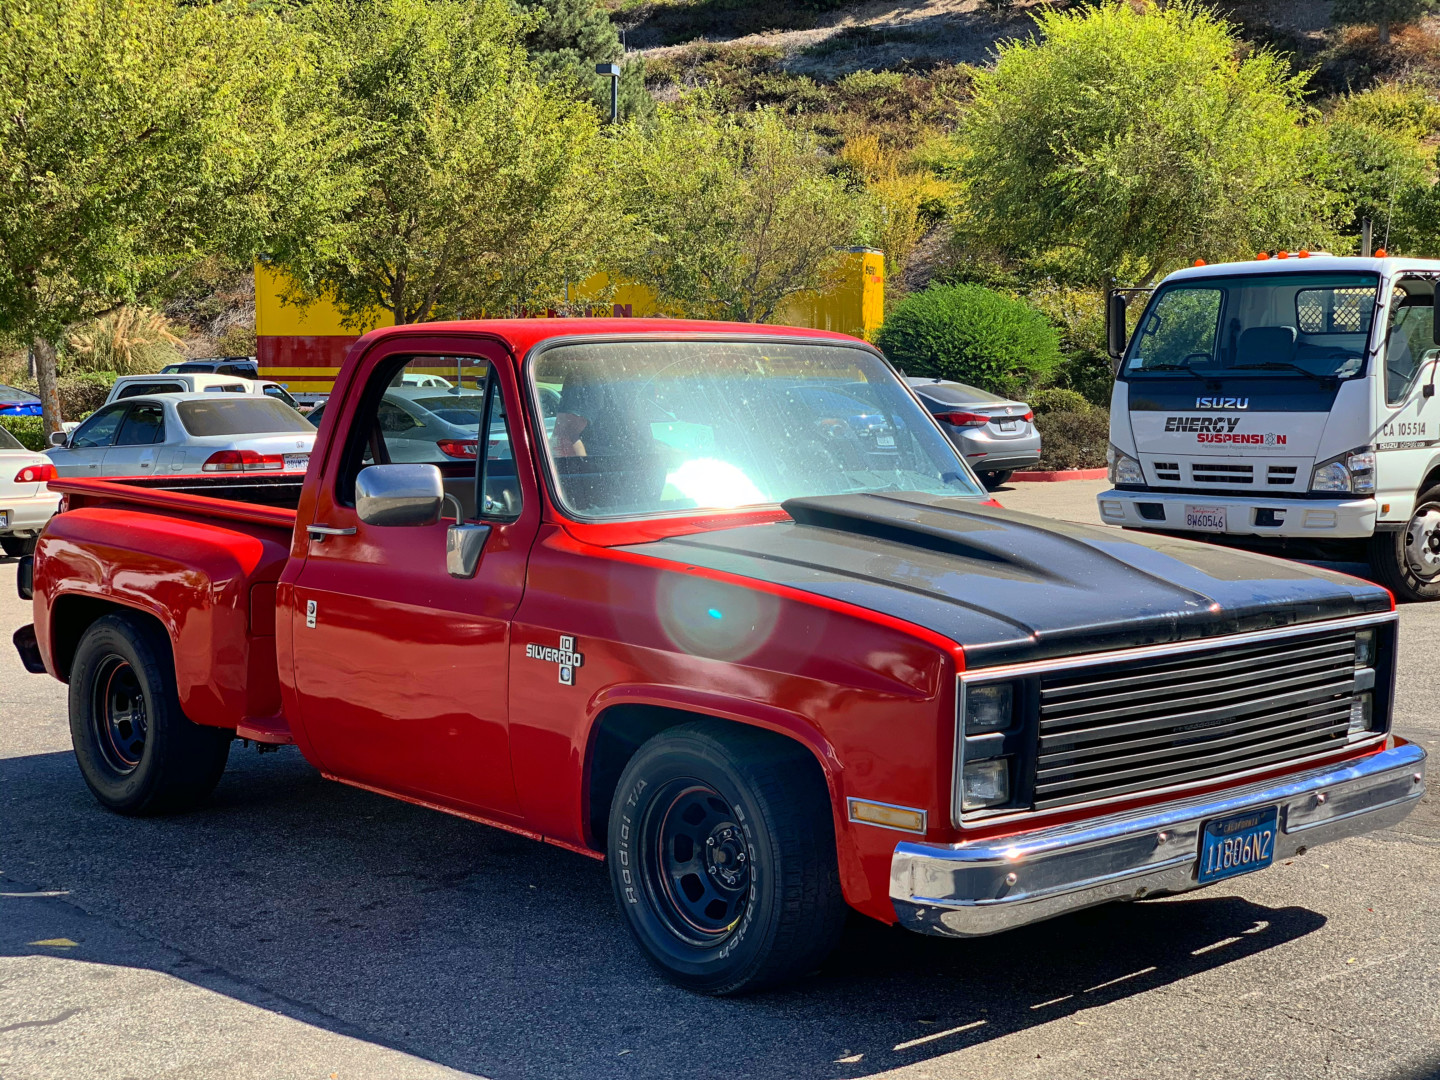
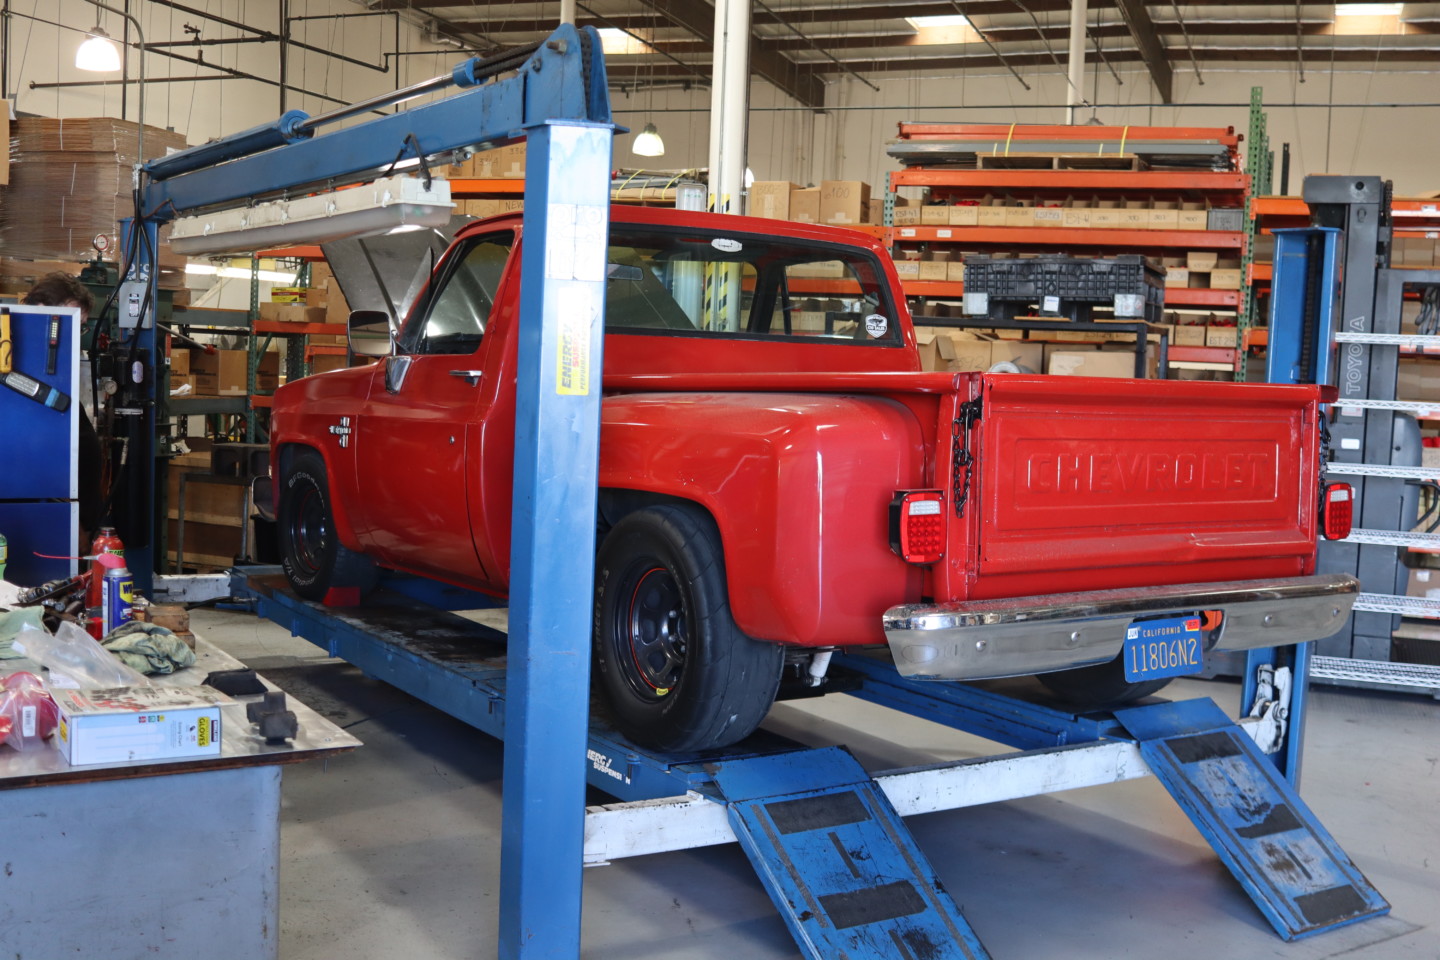
Yeah, that’s what we were dealing with on our latest project. It’s the 1984 C10 pictured here. We recently got it in a trade and while it looks pretty sharp on the outside, it was in a sad state of affairs underneath. The little 305ci small-block Chevy made the C10 pretty peppy, but it handled like you would imagine a slammed old farm truck would. So, when we had the opportunity to visit our friends at Energy Suspension, we jumped! We know they make a quality product, so we made the drive out to the San Clemente headquarters where they have been based since 1983.
Body Bushings
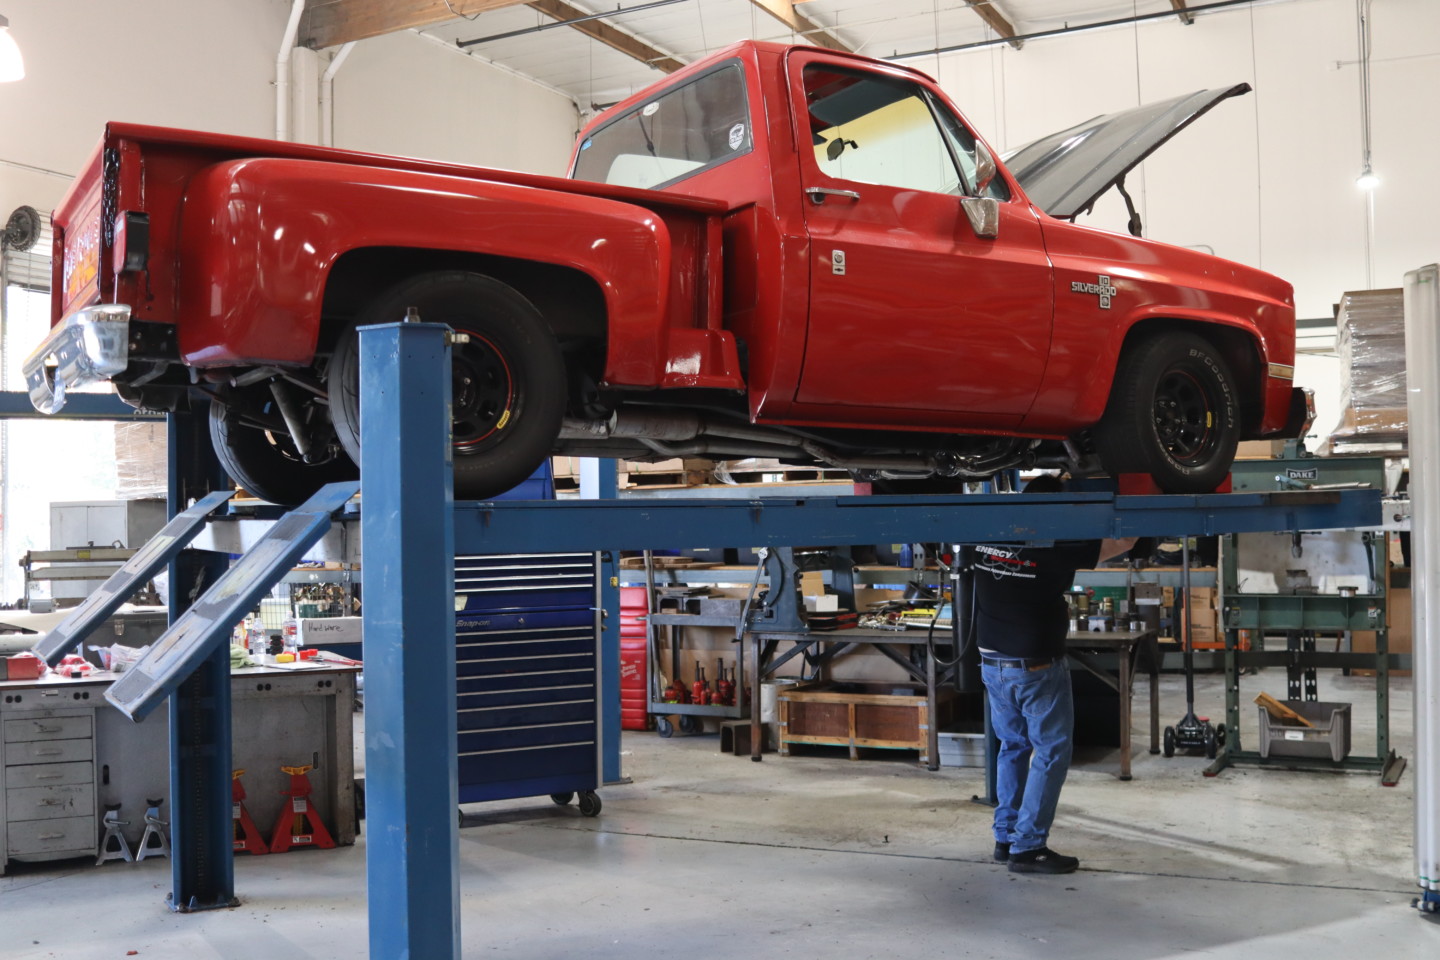
We met up with Billy Ray Harrill, a New Product Development Engineer for Energy, and we got the little red Chevy up on the lift.
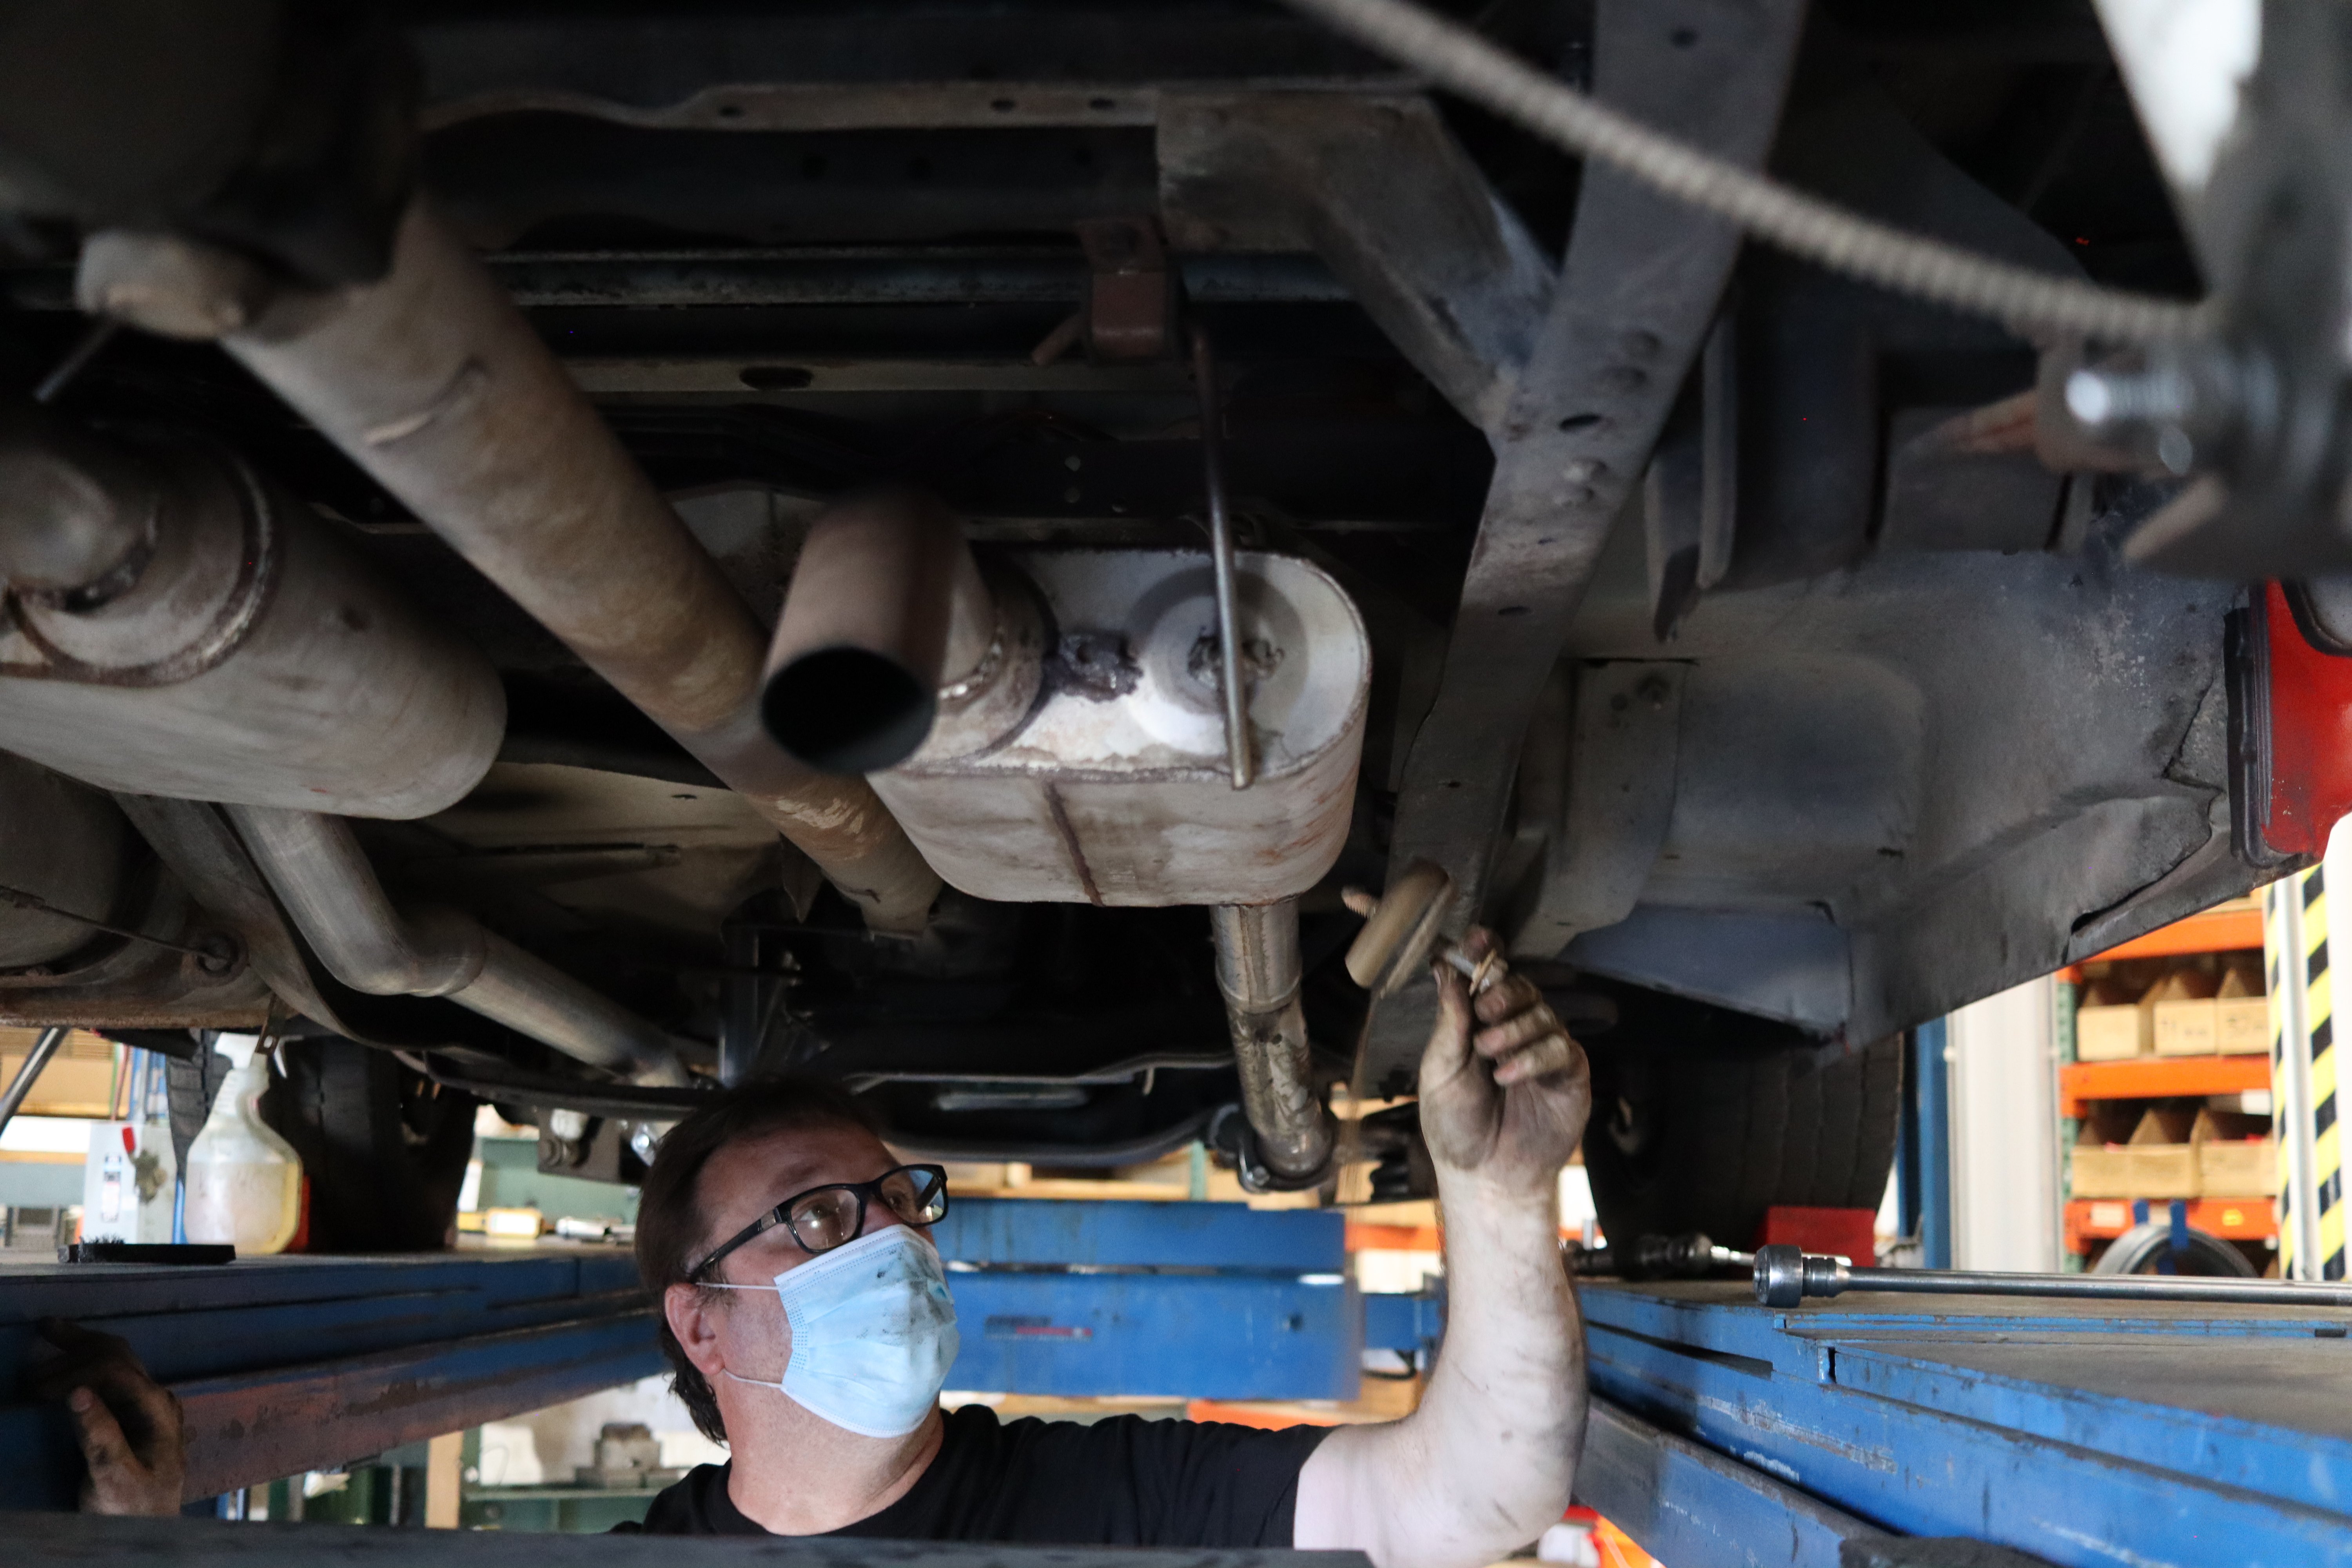
A quick inspection revealed the shot body and rear leaf bushings, not to mention the engine and transmission mounts. They were absolutely done!
So, we sought to tackle all of them. Why, you ask? Well, save for the obvious, but on the drive there, every bump and pothole proved to upset the whole truck. Seriously, it was so bad, it was bouncing into the adjacent lane! Not only that, but when we were traveling at speed, the little red wagon would kick the rearend to the right under acceleration and to the left when we let off the accelerator pedal, which only solidified what we were seeing underneath the truck – worn out bushings and suspension components.
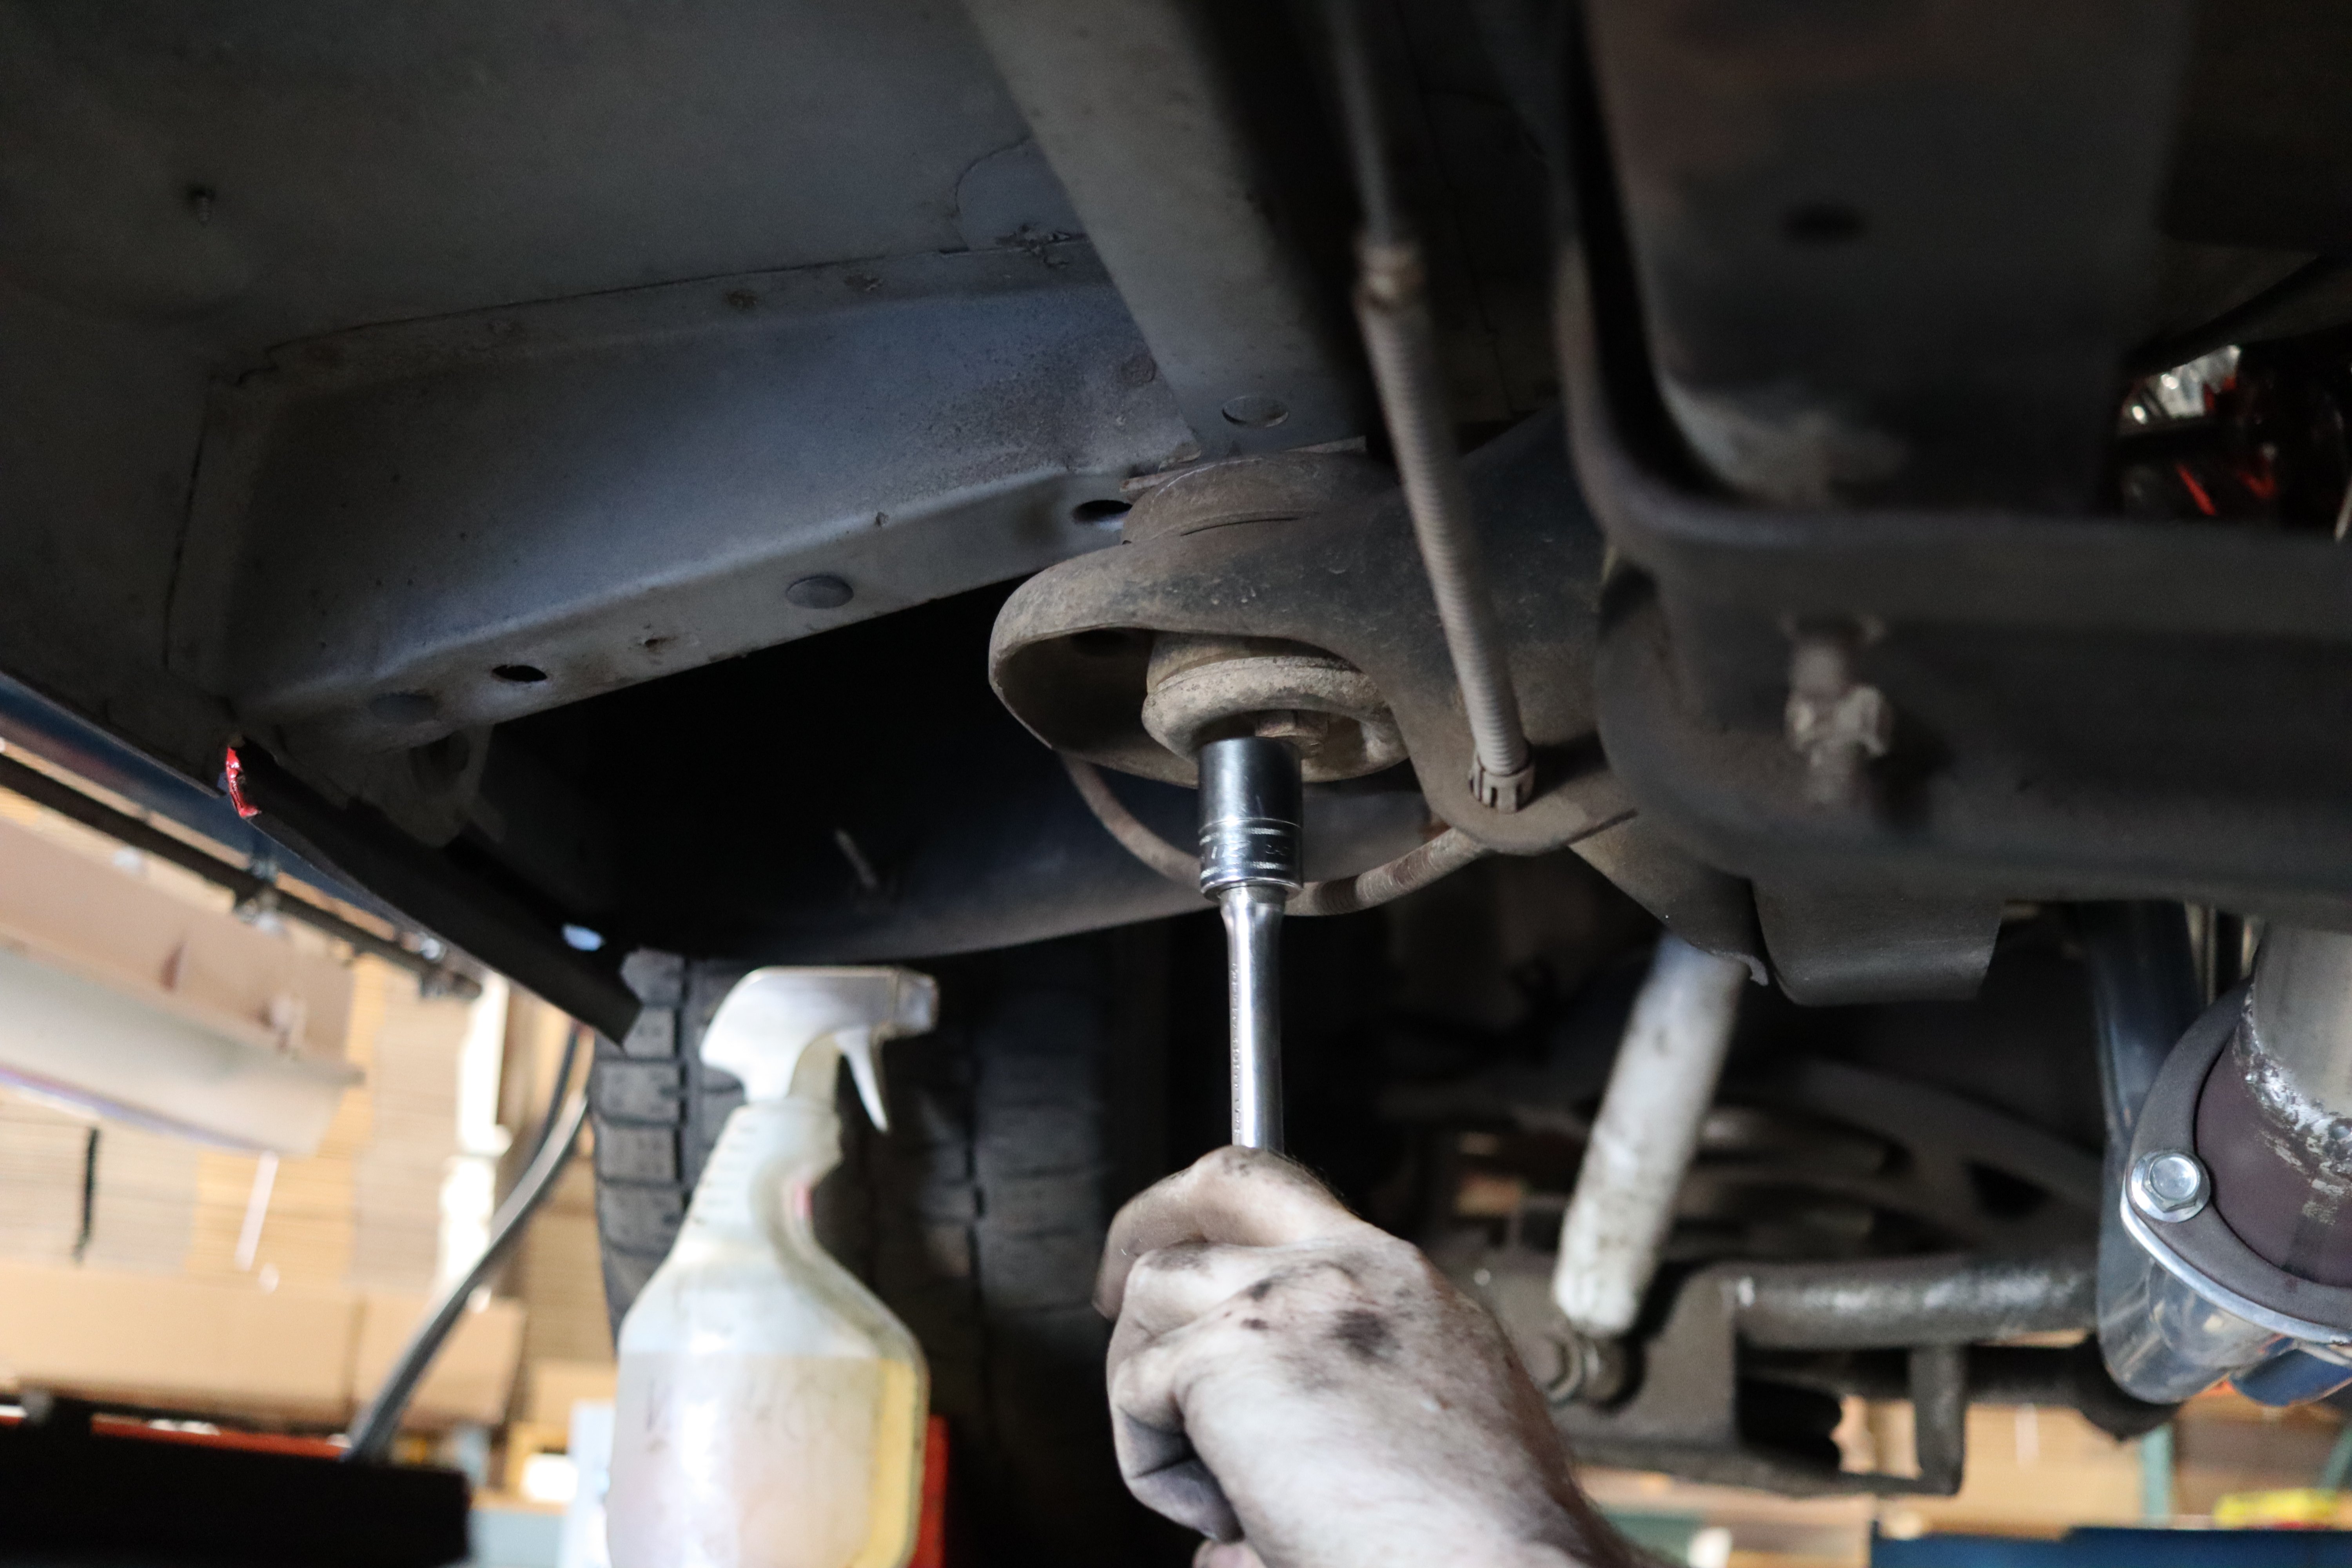
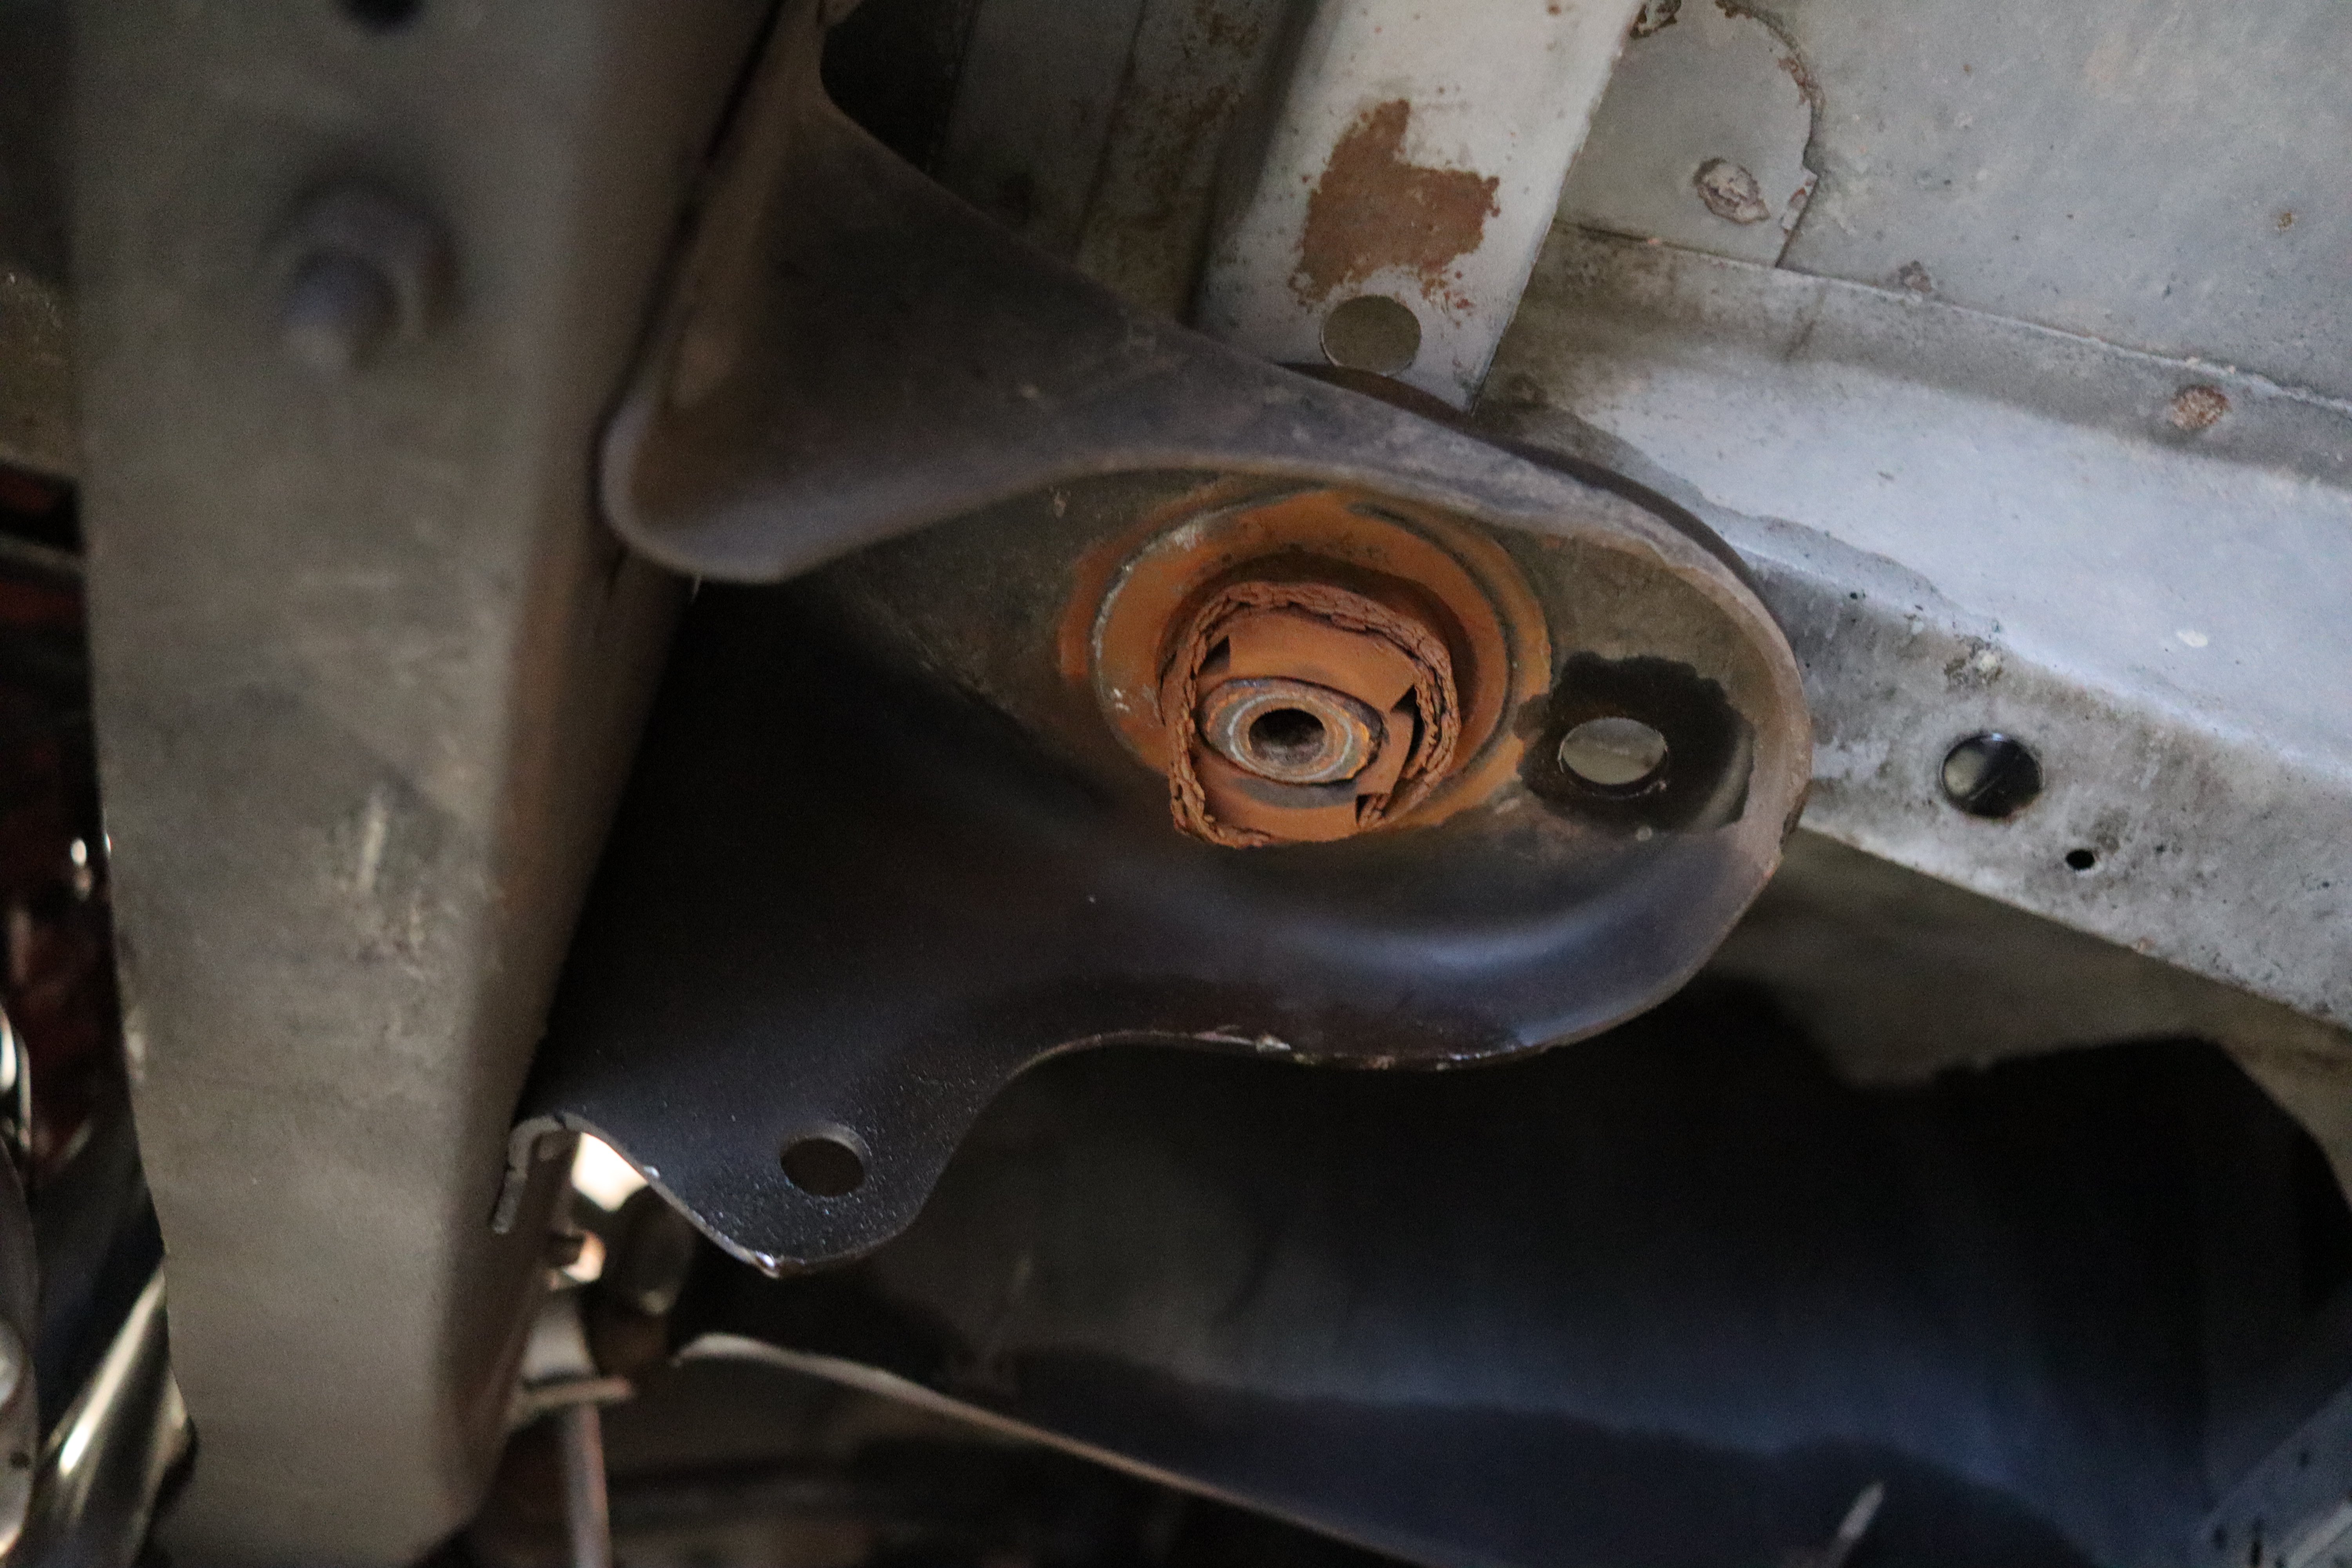
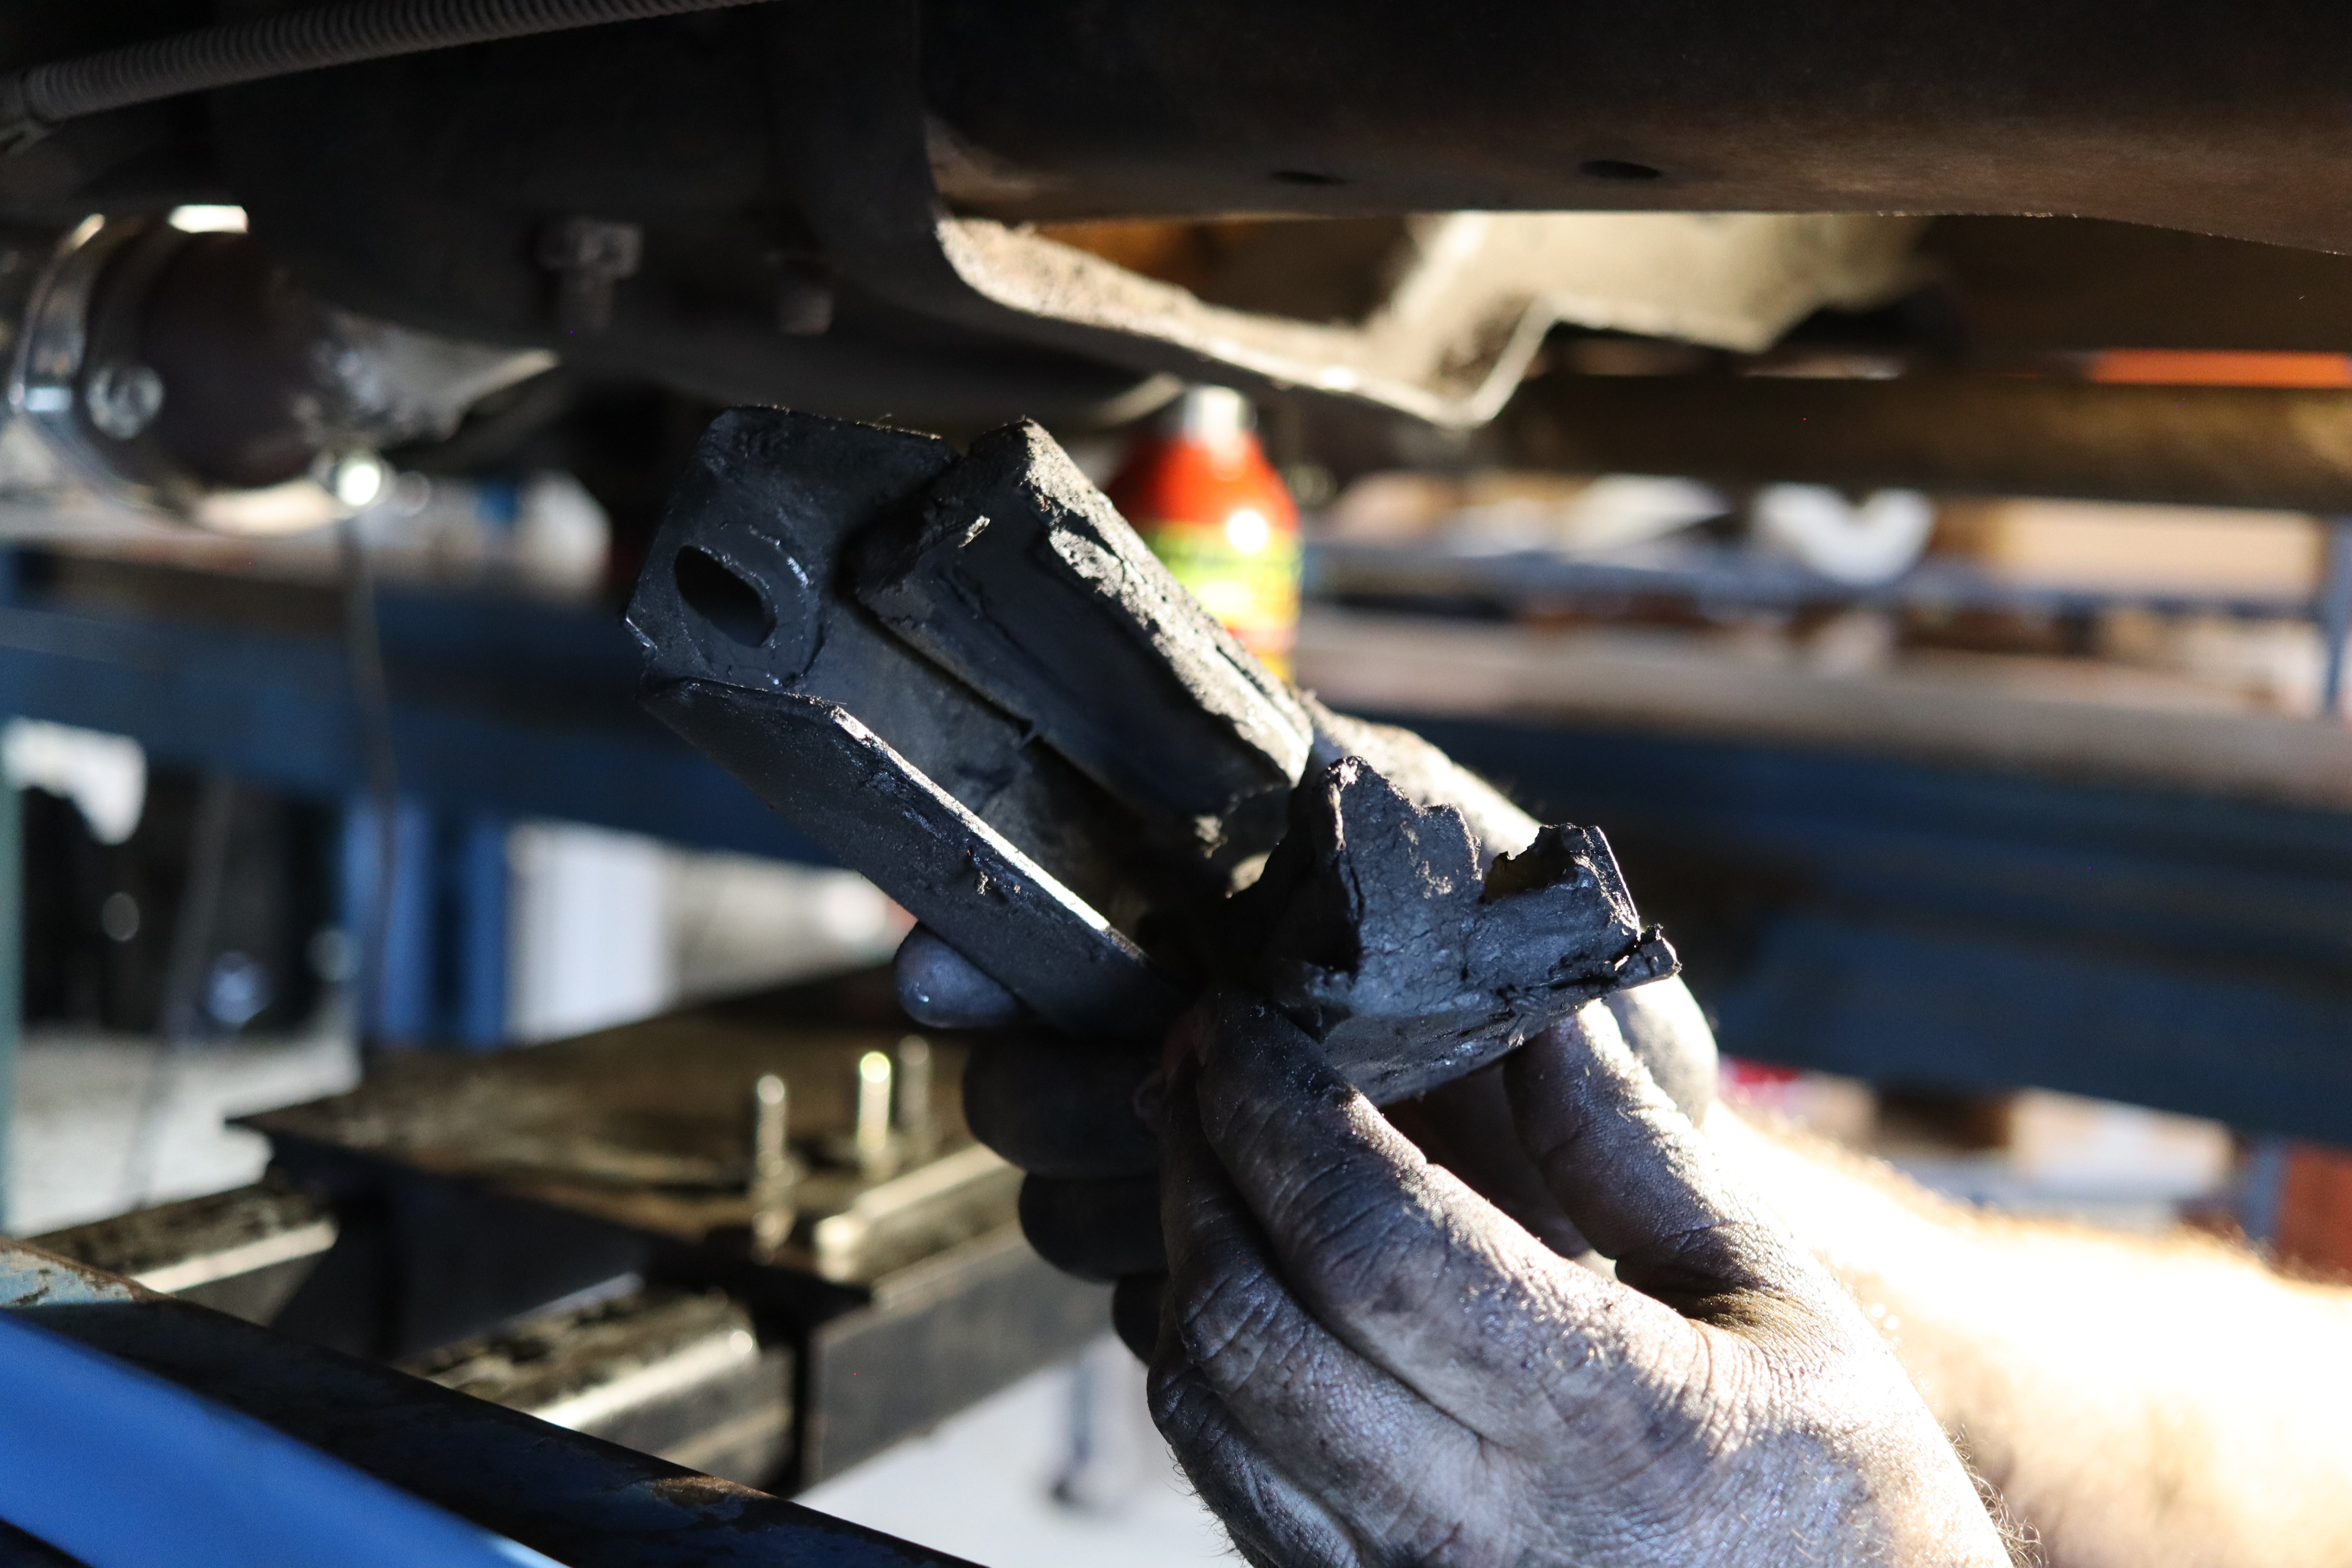
After applying a liberal amount of lubricant, Billy removed the factory hardware and body bushings. Clearly, they were due for a change.
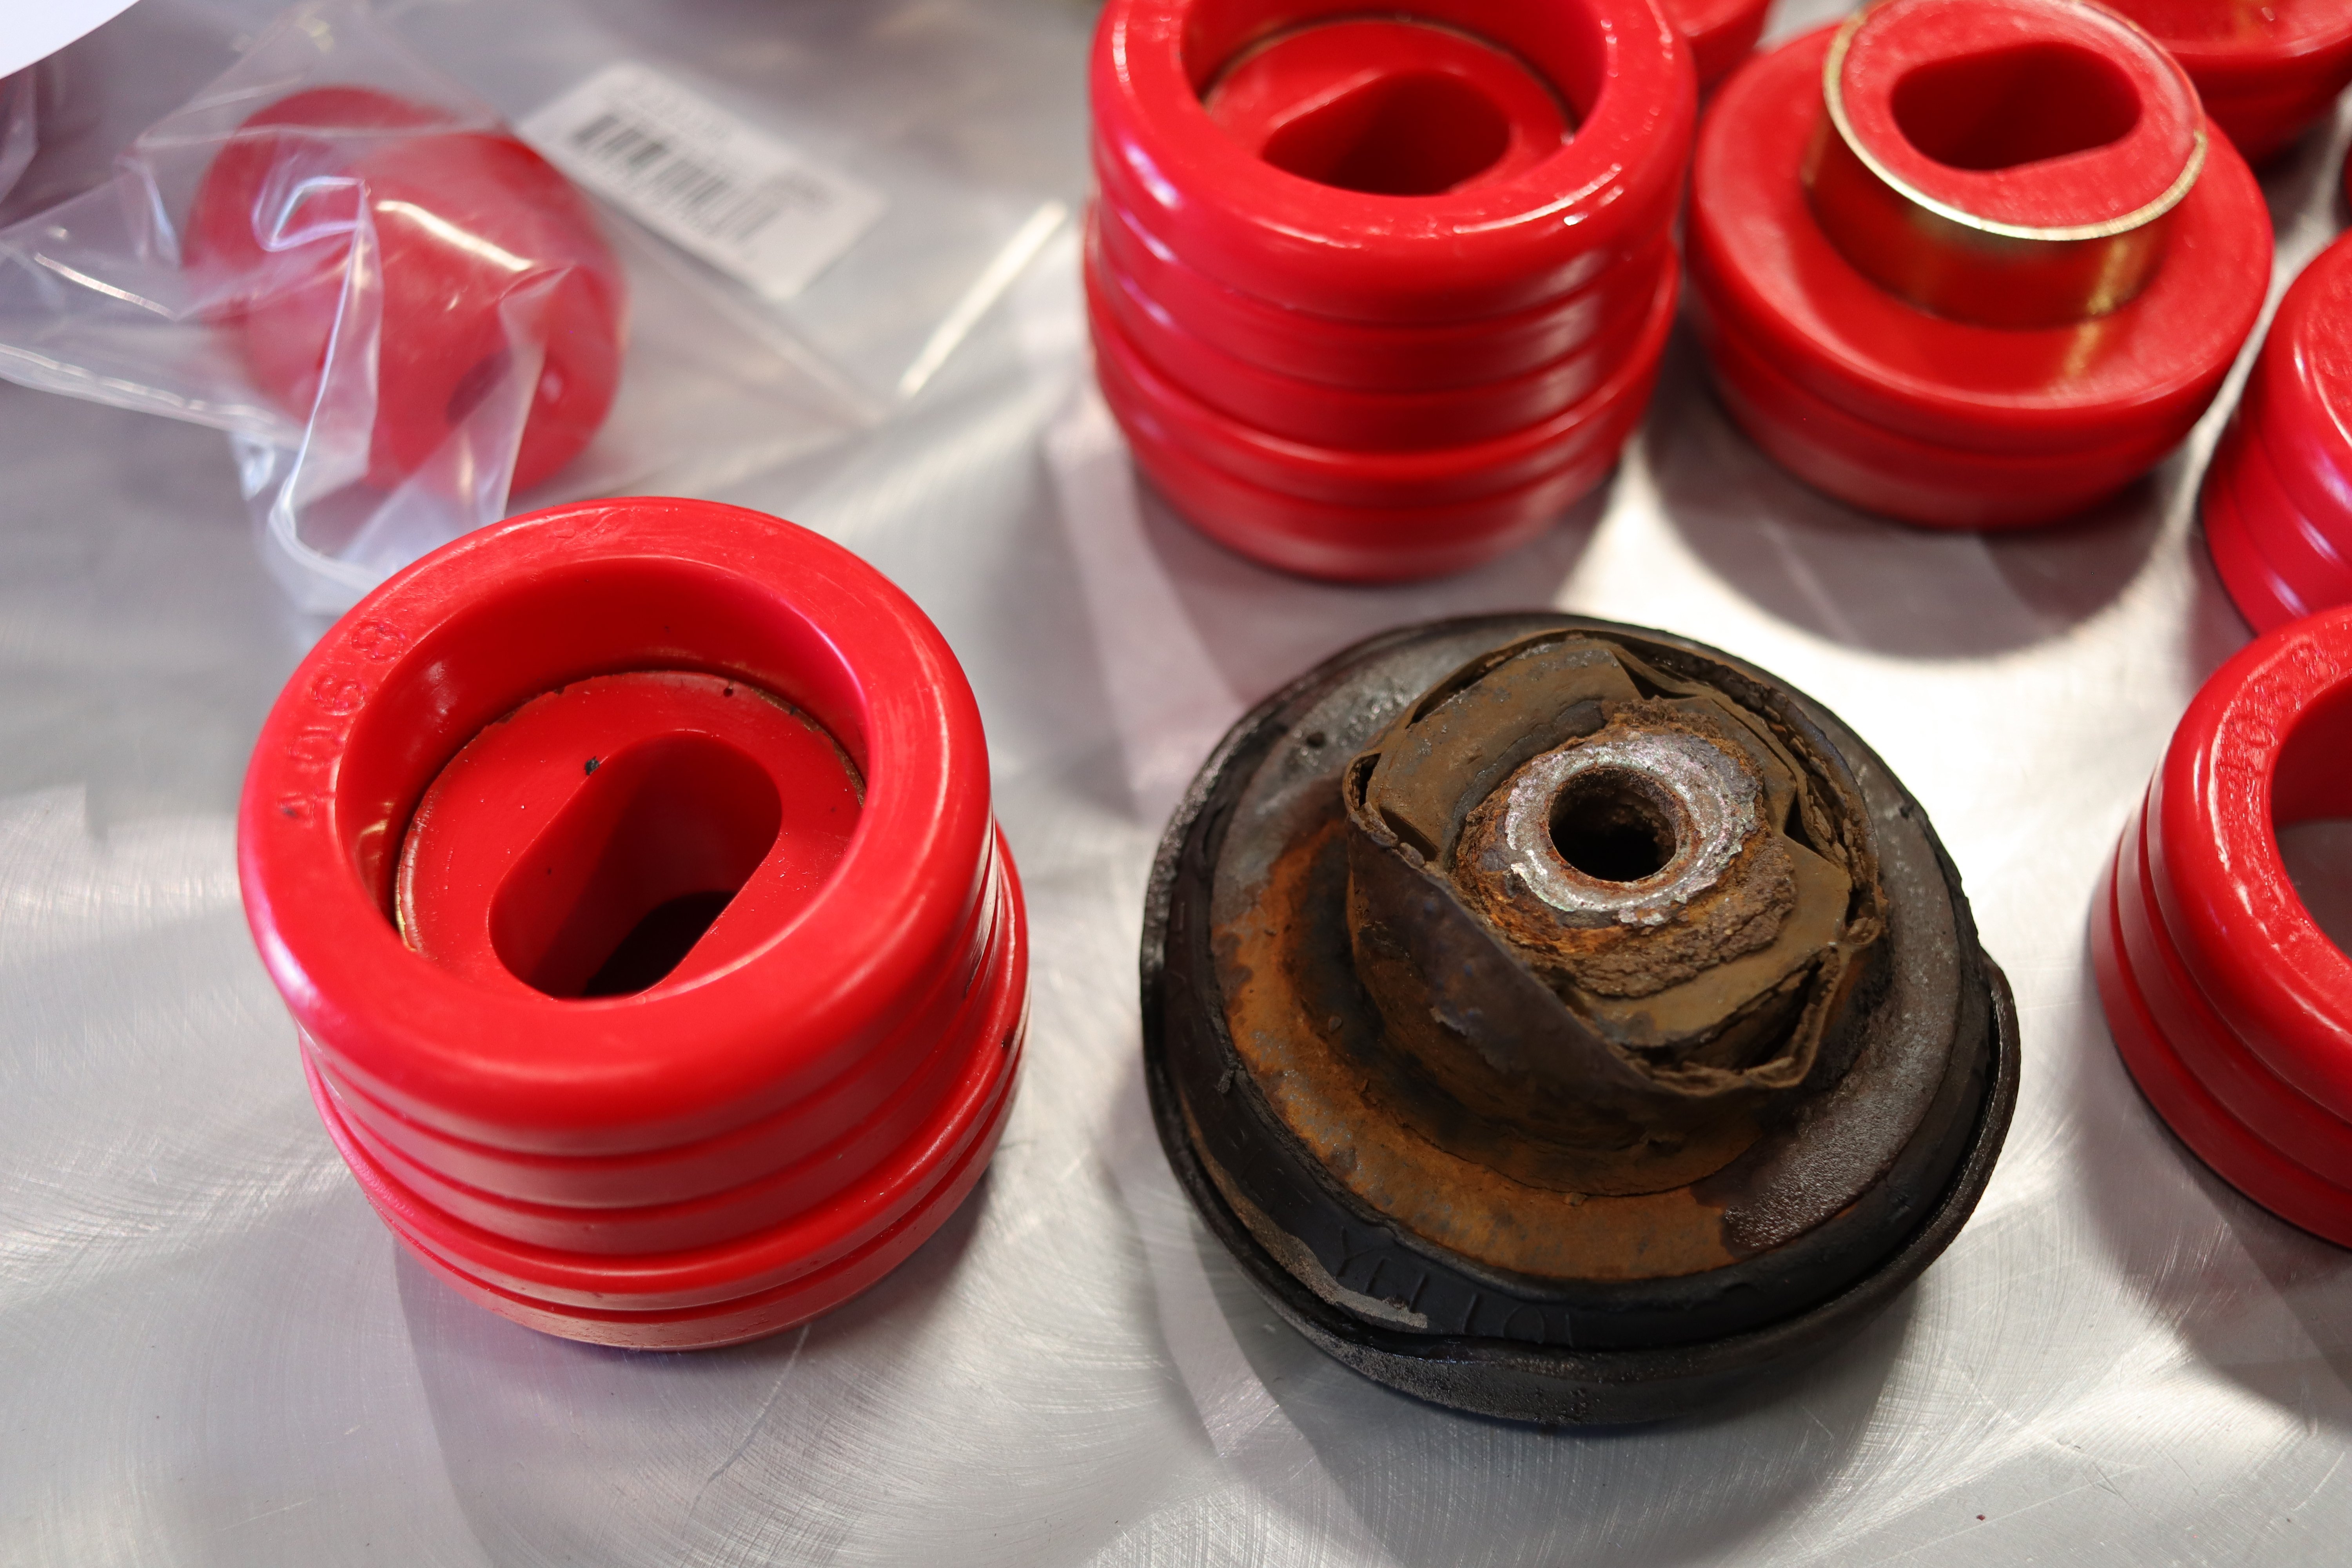
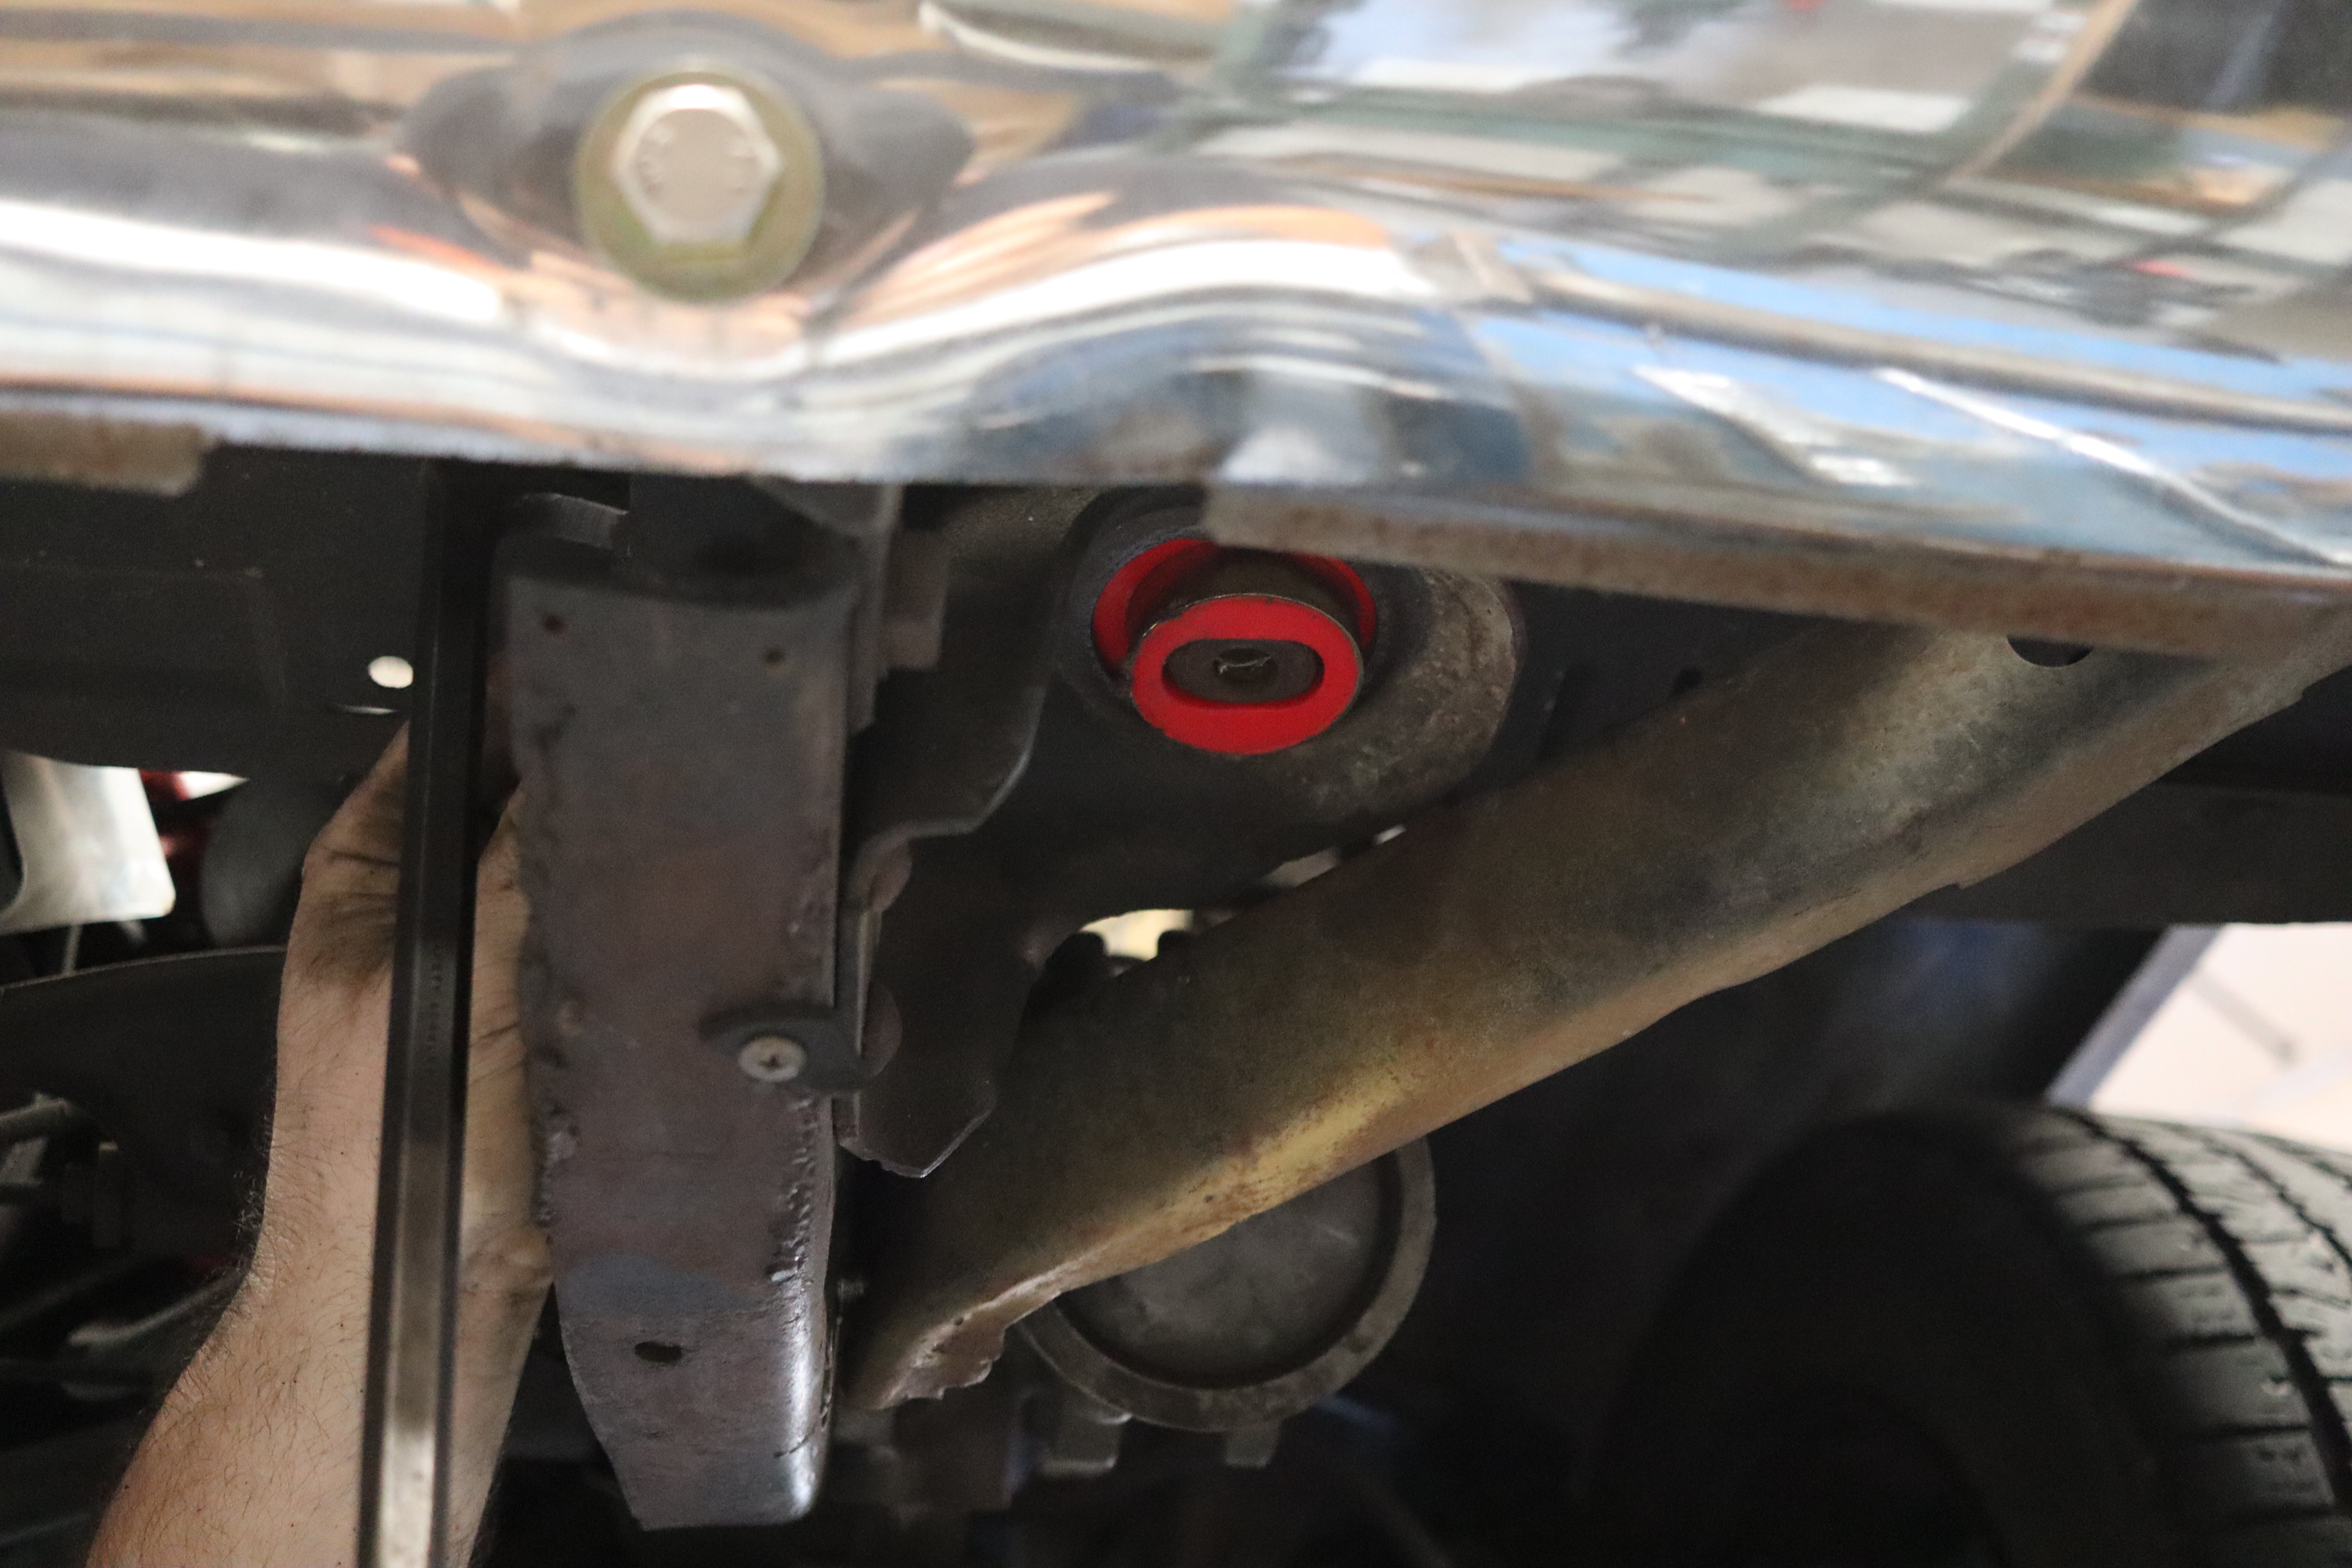
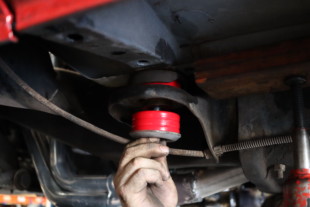
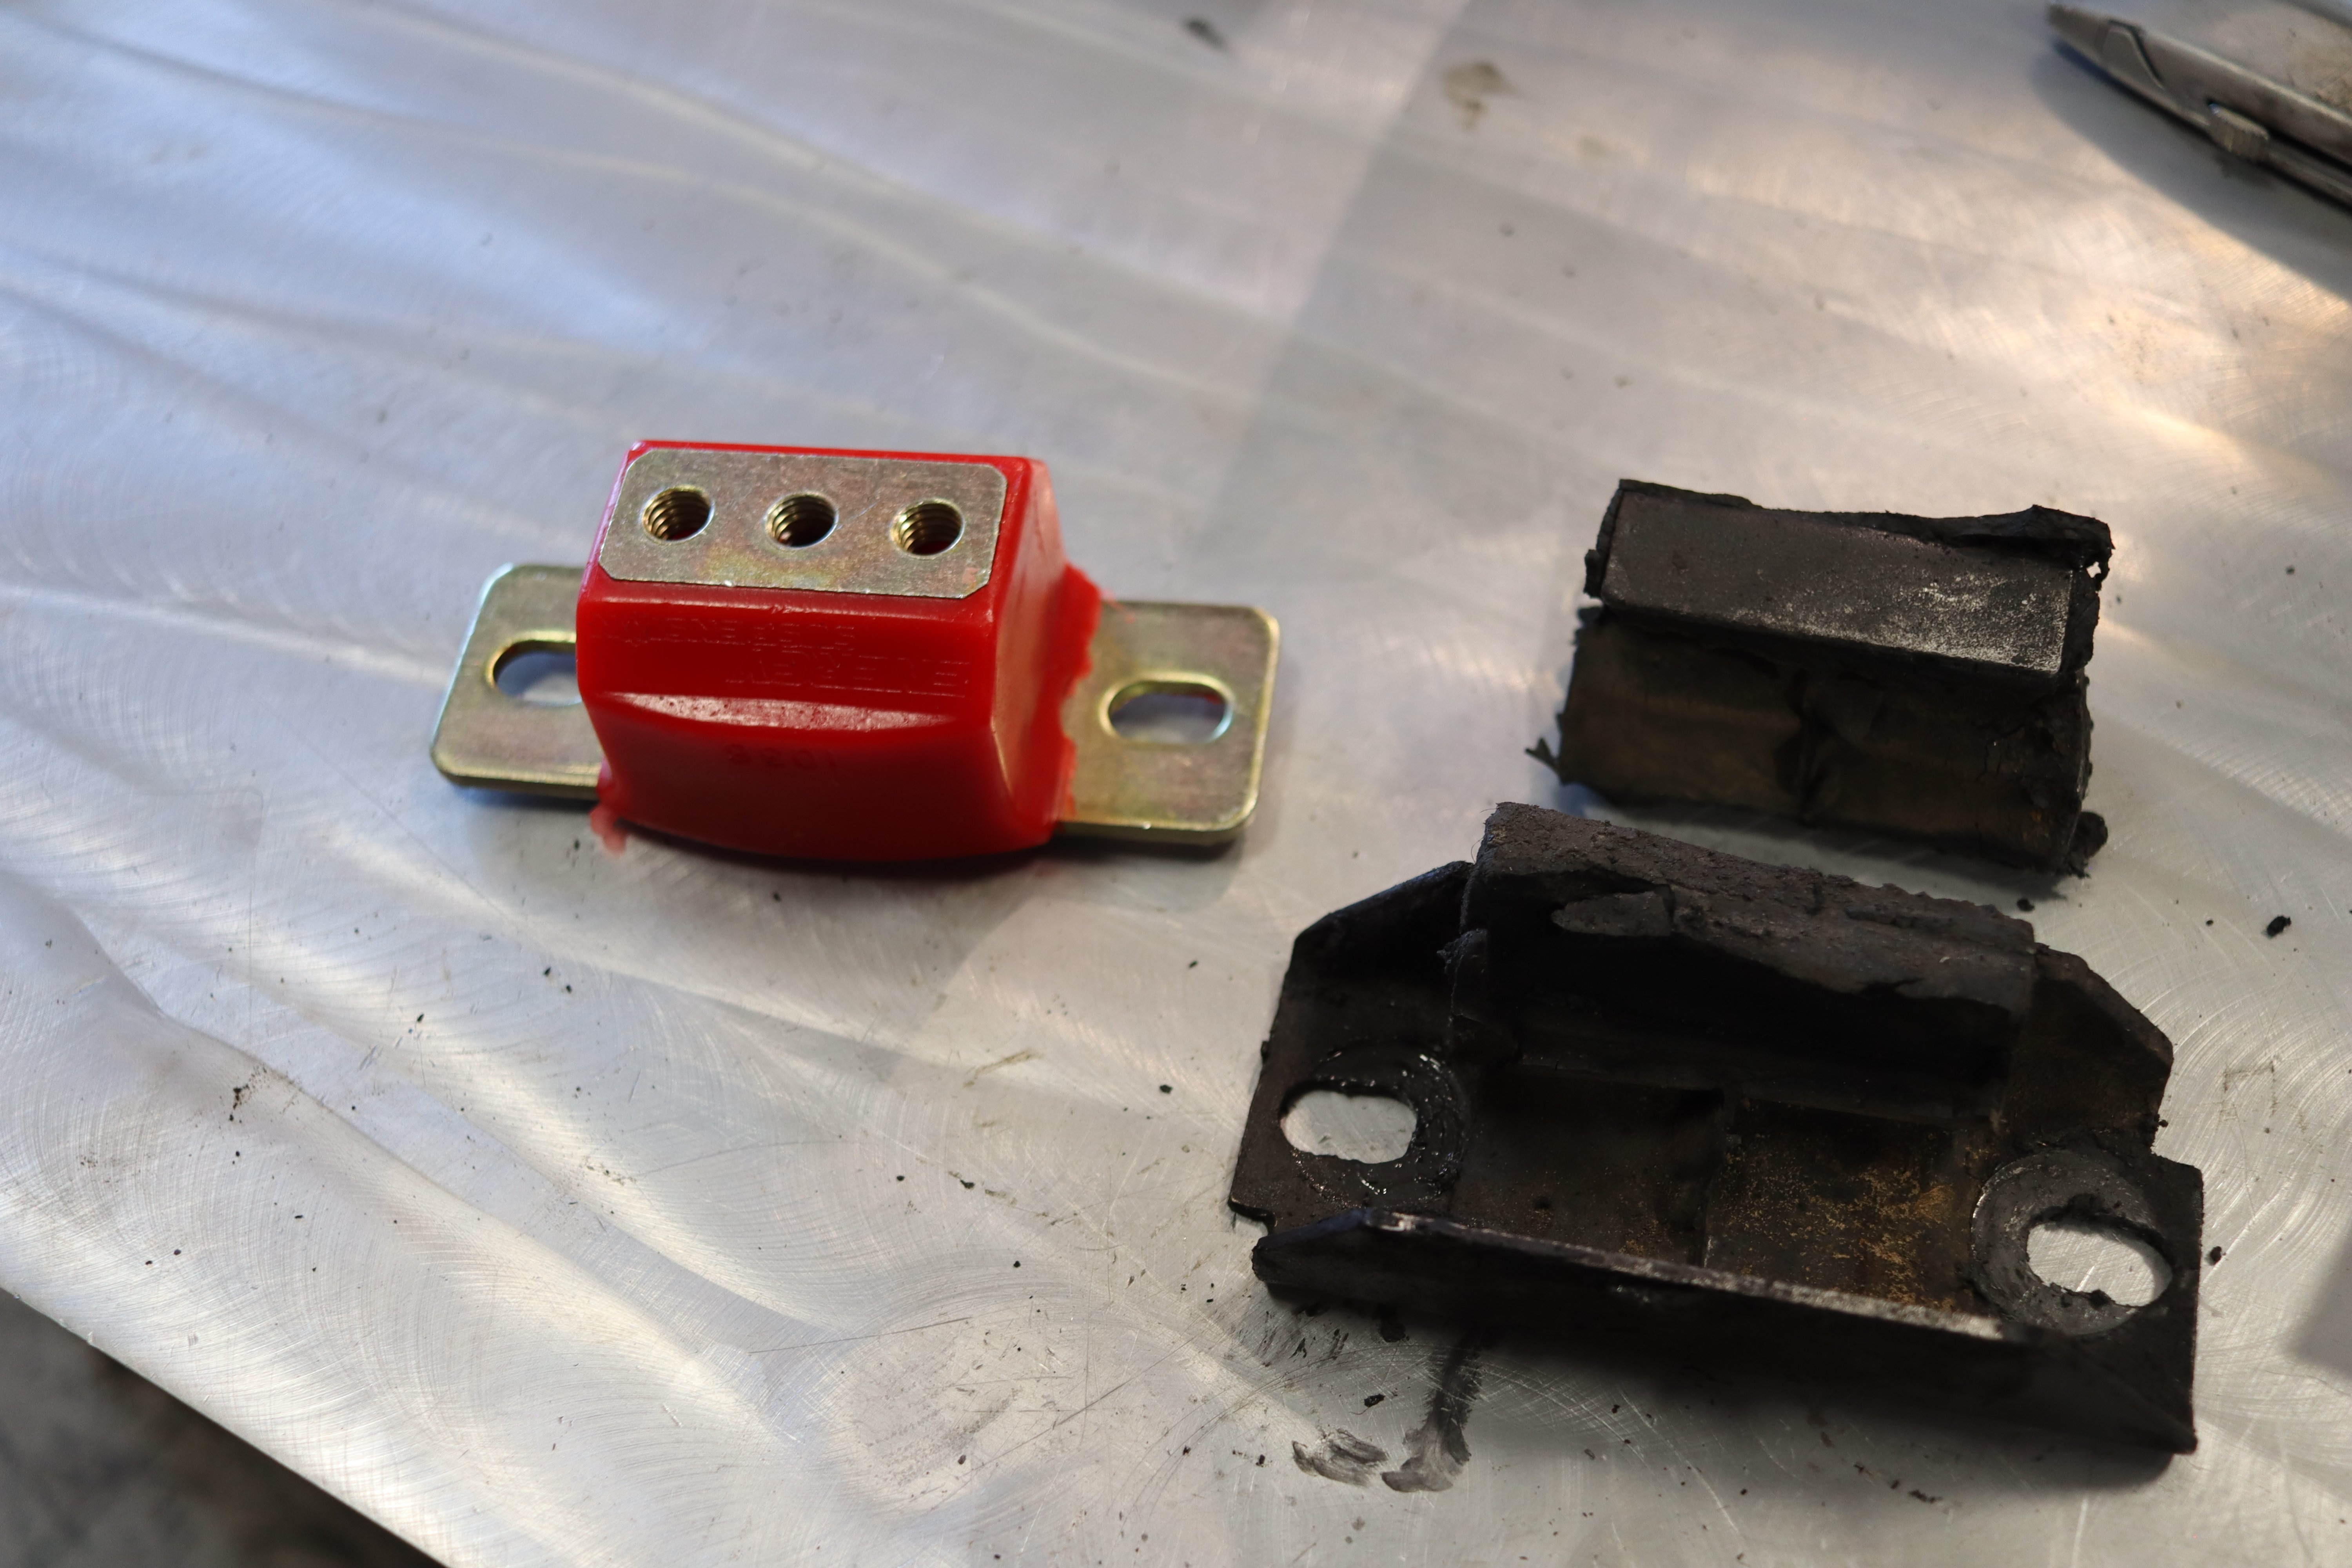
We began by removing the factory body bushings, which were in surprisingly decent shape. They weren’t as cracked as we’d have thought, which led us to believe they had been replaced before. Once those were out, Billy made quick work of replacing them with Energy Suspension’s body bushing kit. Part Number: 3.4116R
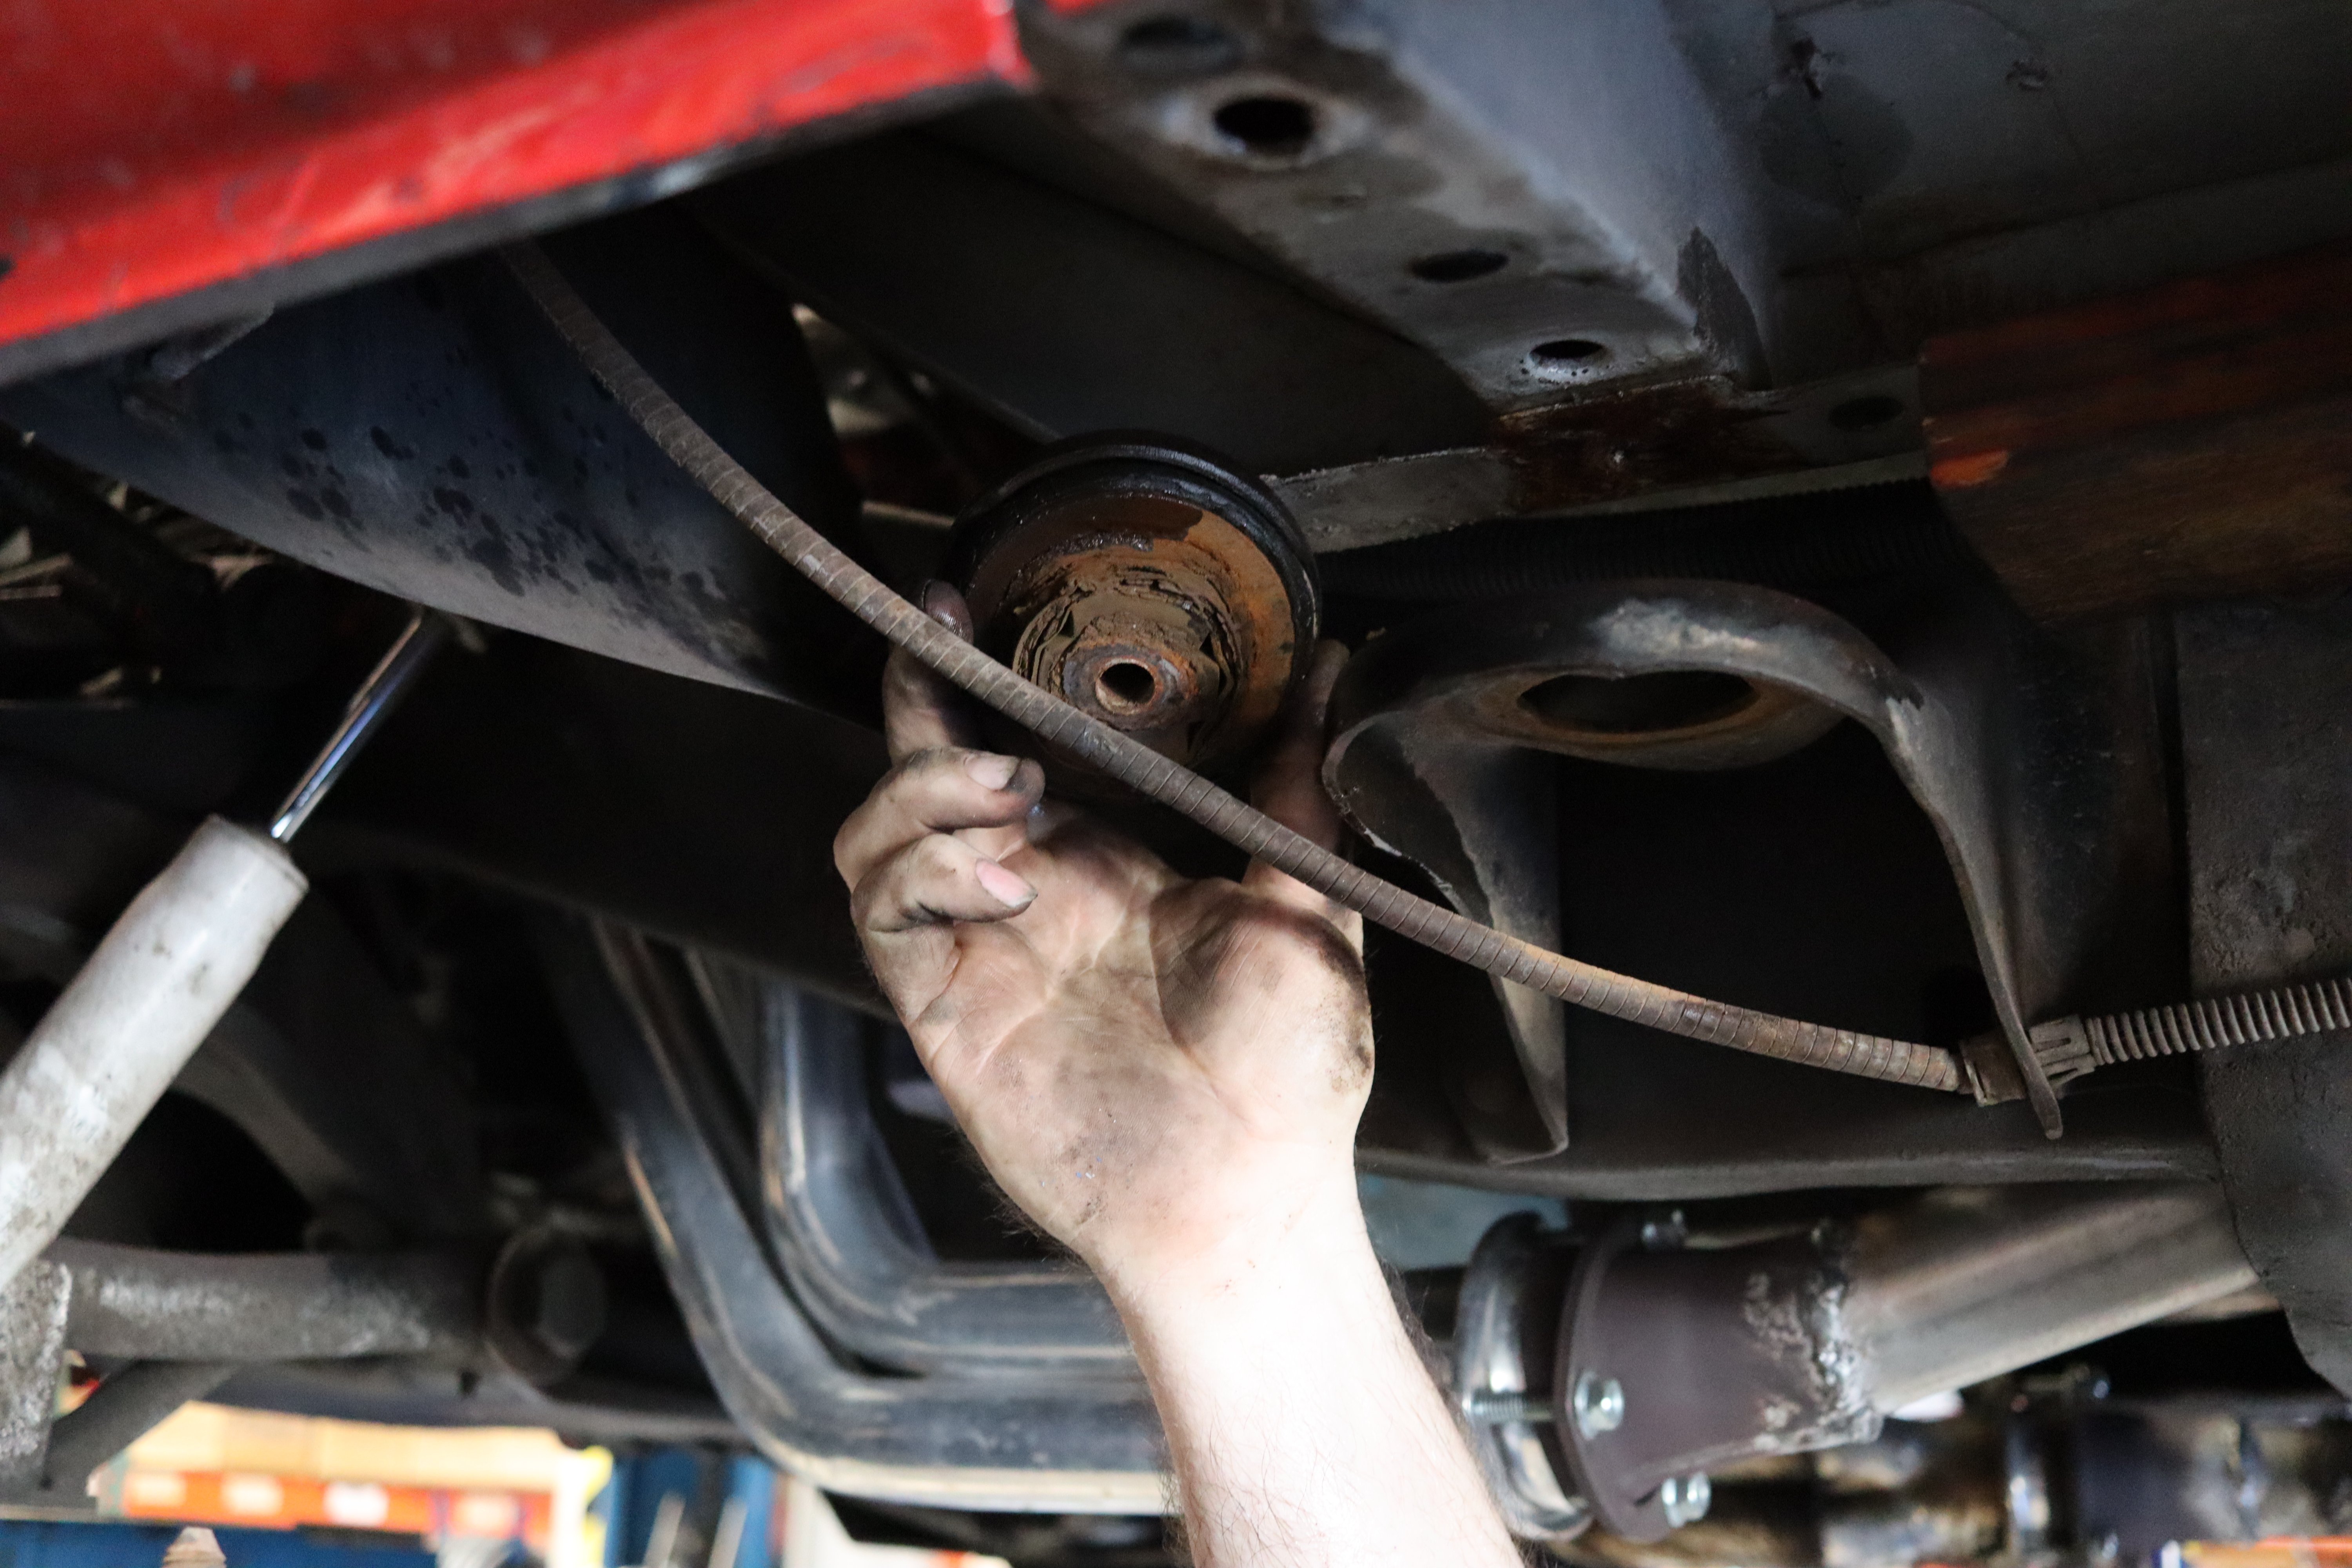
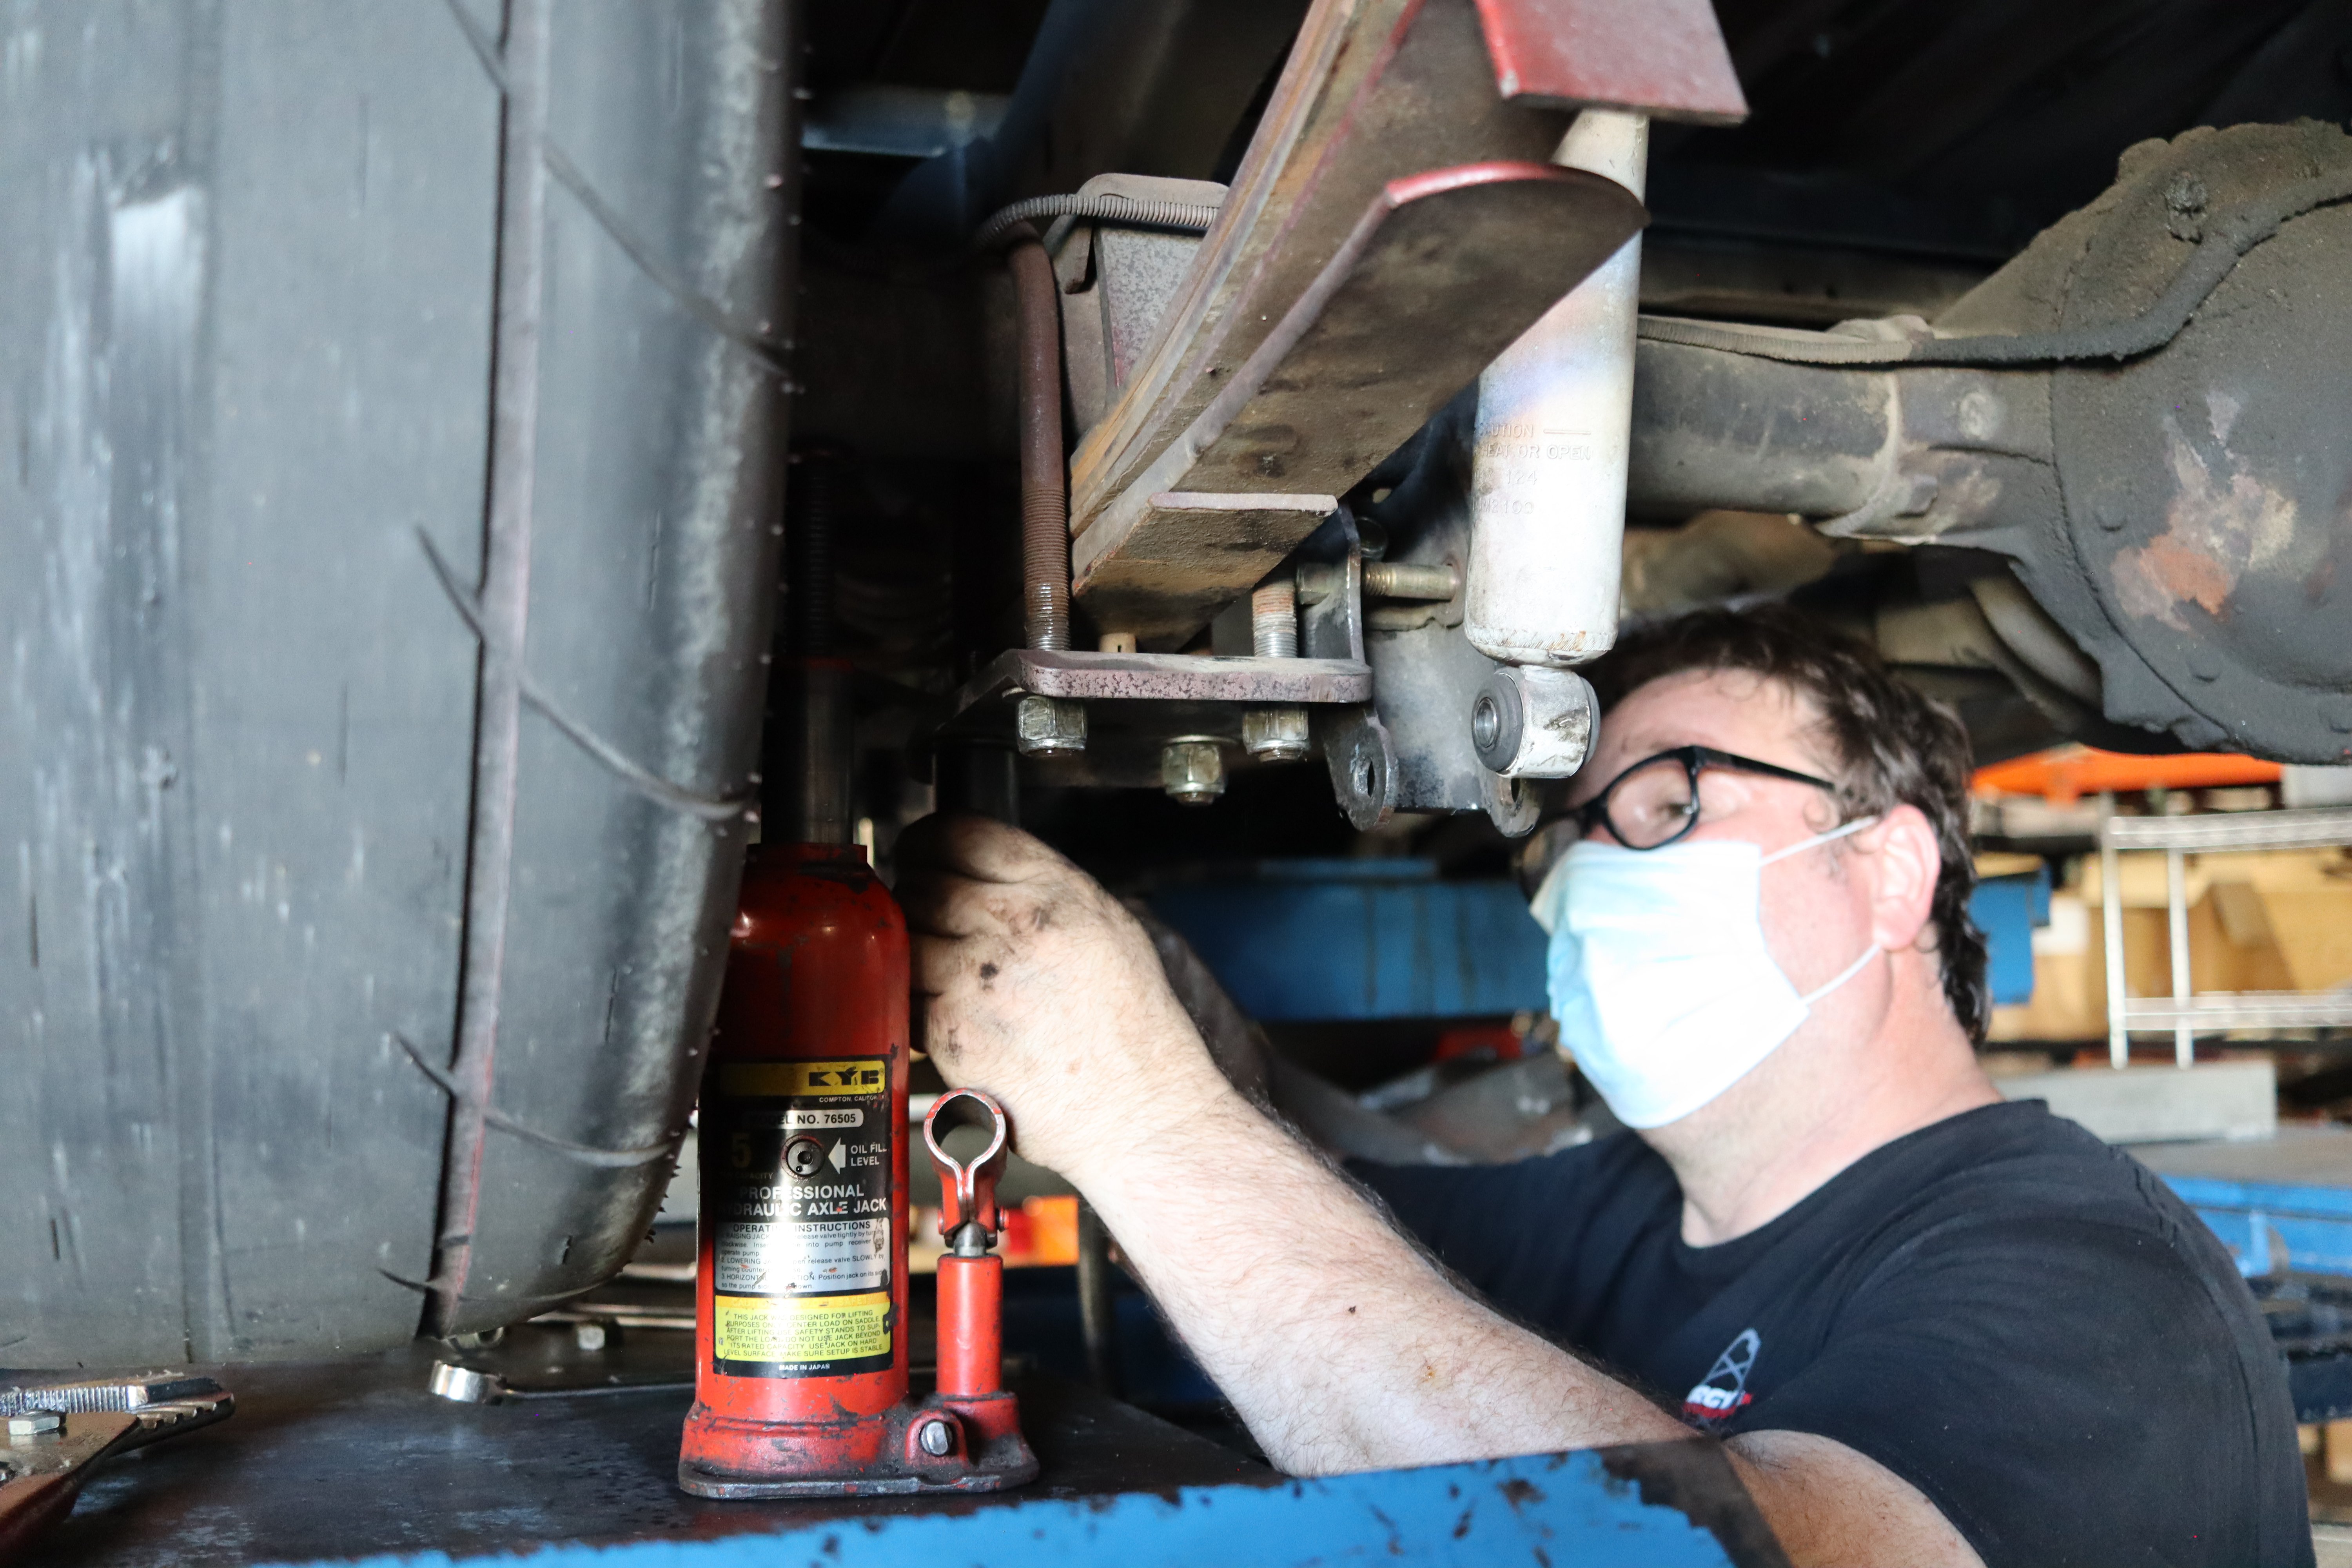
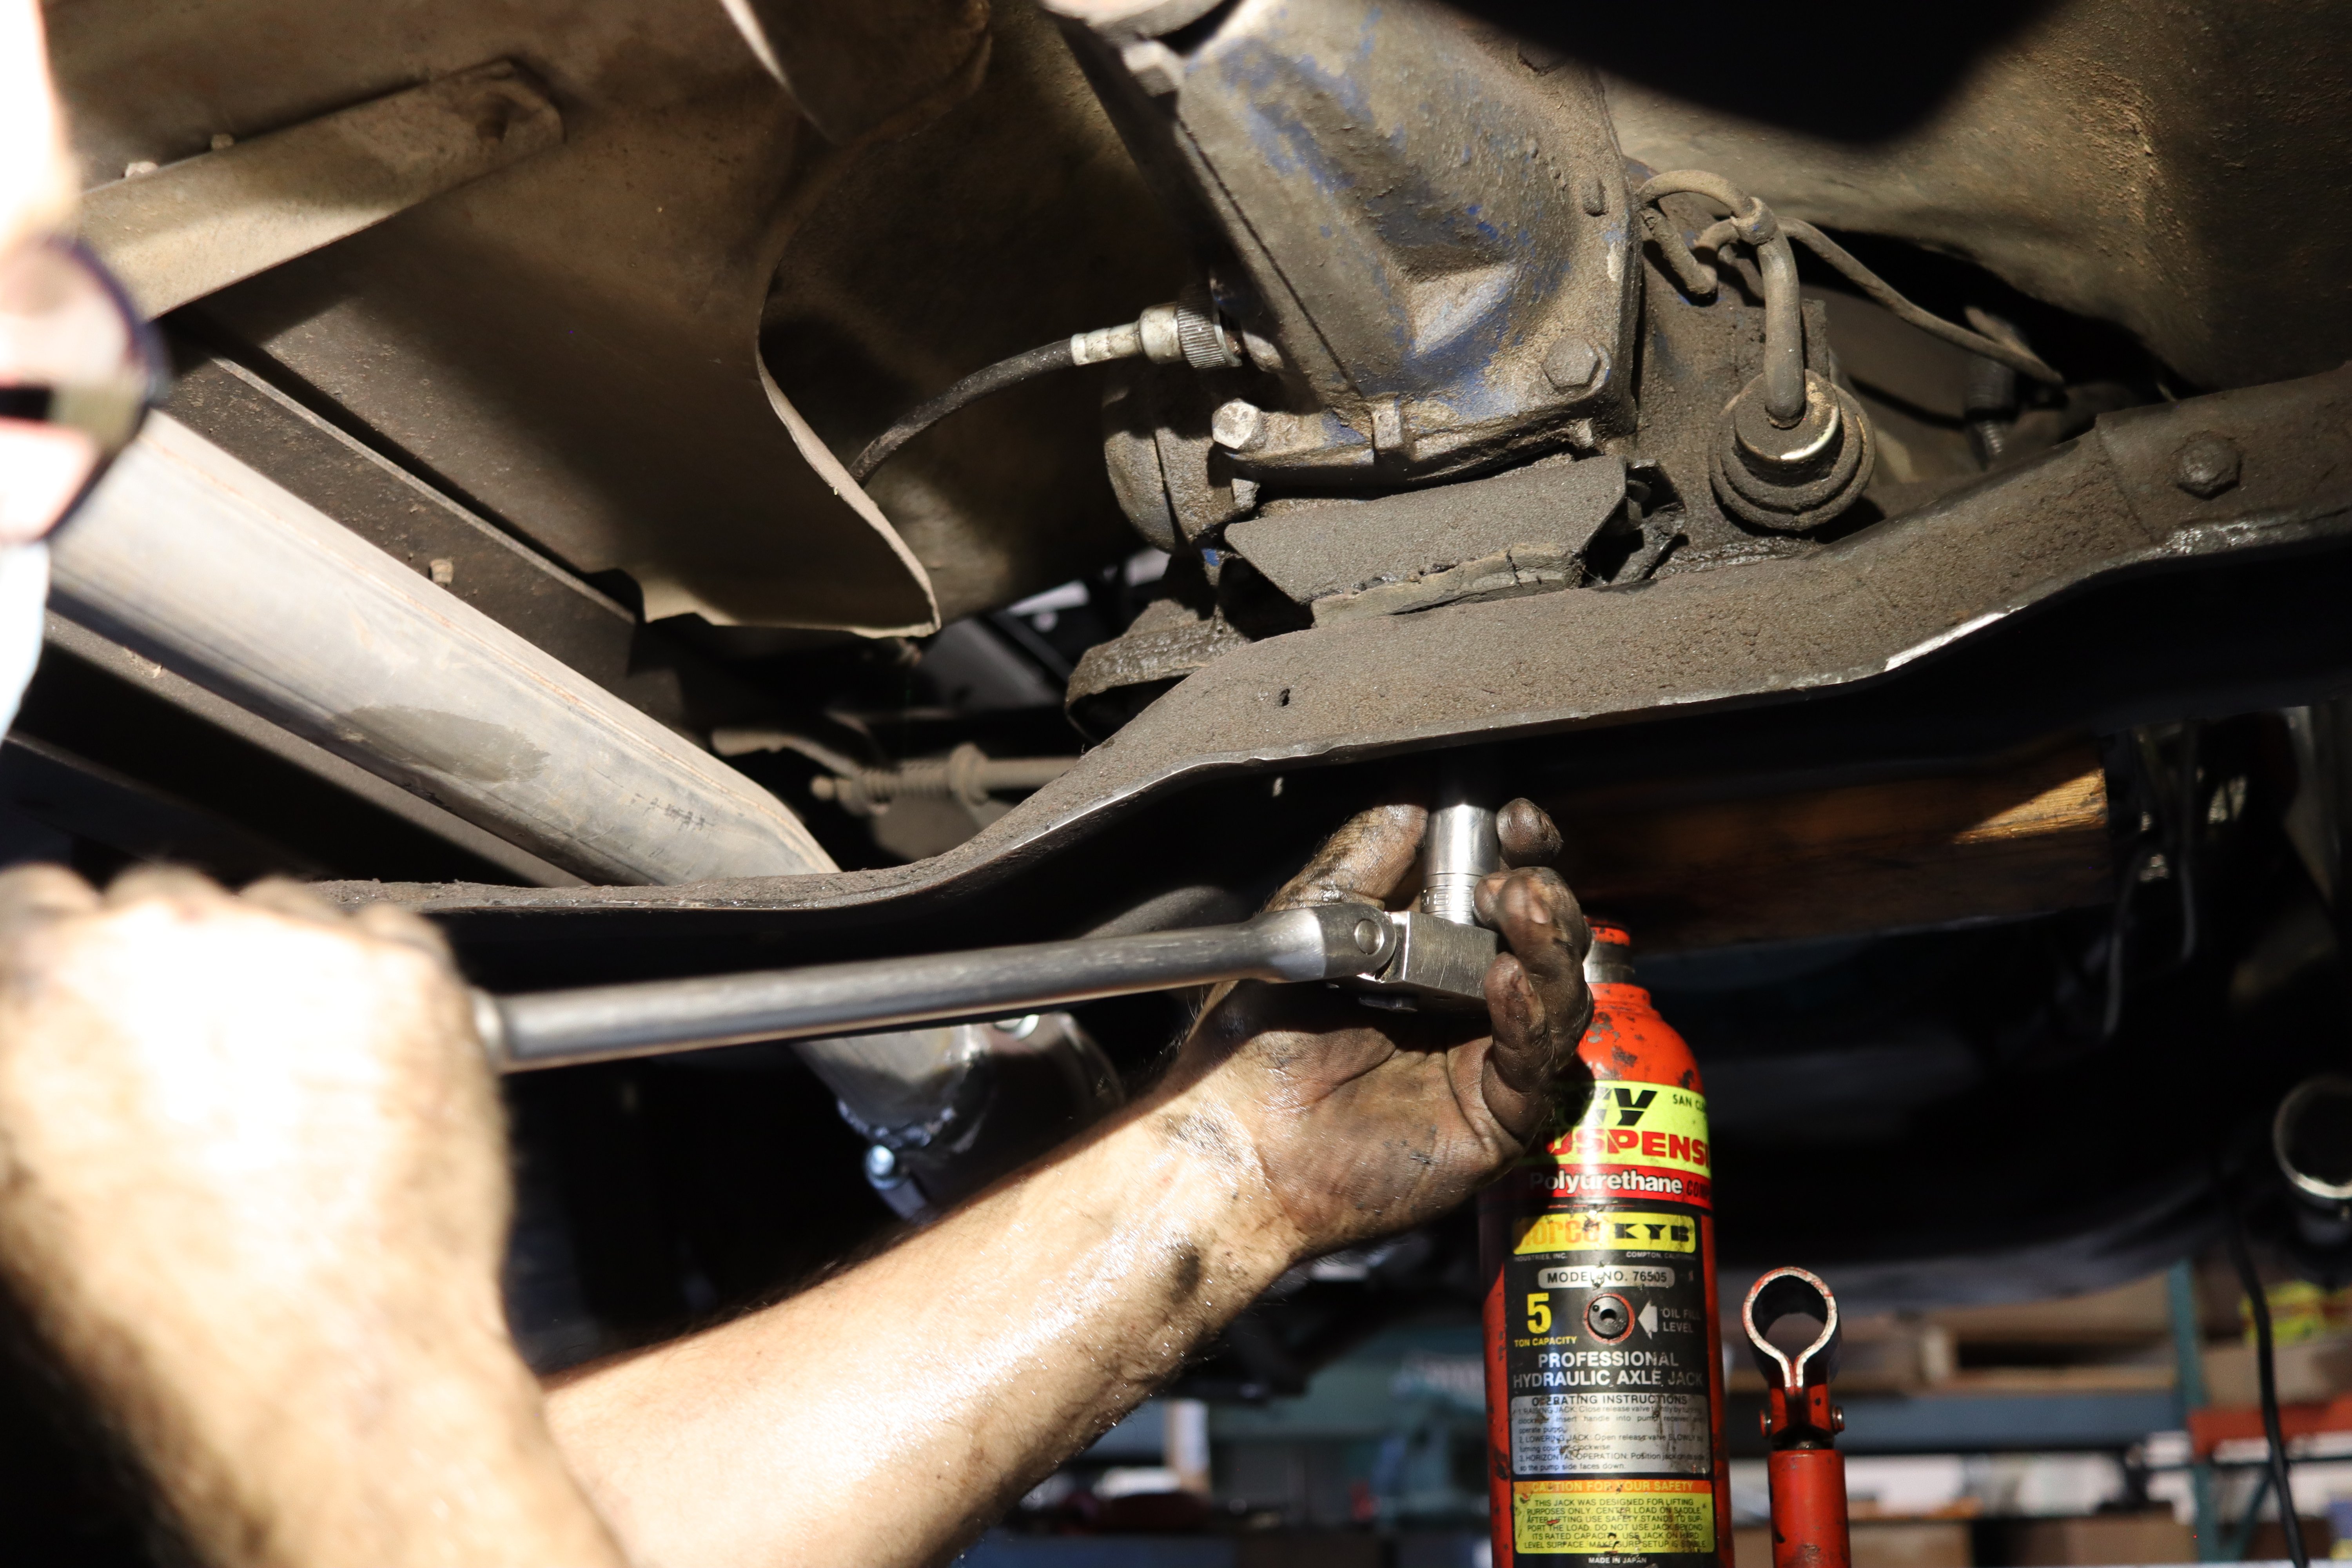
By using a piece of wood and a bottle jack, Billy was able to create enough room to remove the upper body mount bushing. He then removed the old bushing from the shell to be used with the new Energy bushings.
One of the highlights of Energy Suspension bushings is the proprietary formula they are made from. It’s not rubber, so it’s made to last. And, it doesn’t squeak like rubber or some other polyurethane bushings do – that is, if you lubricate them properly upon installation.
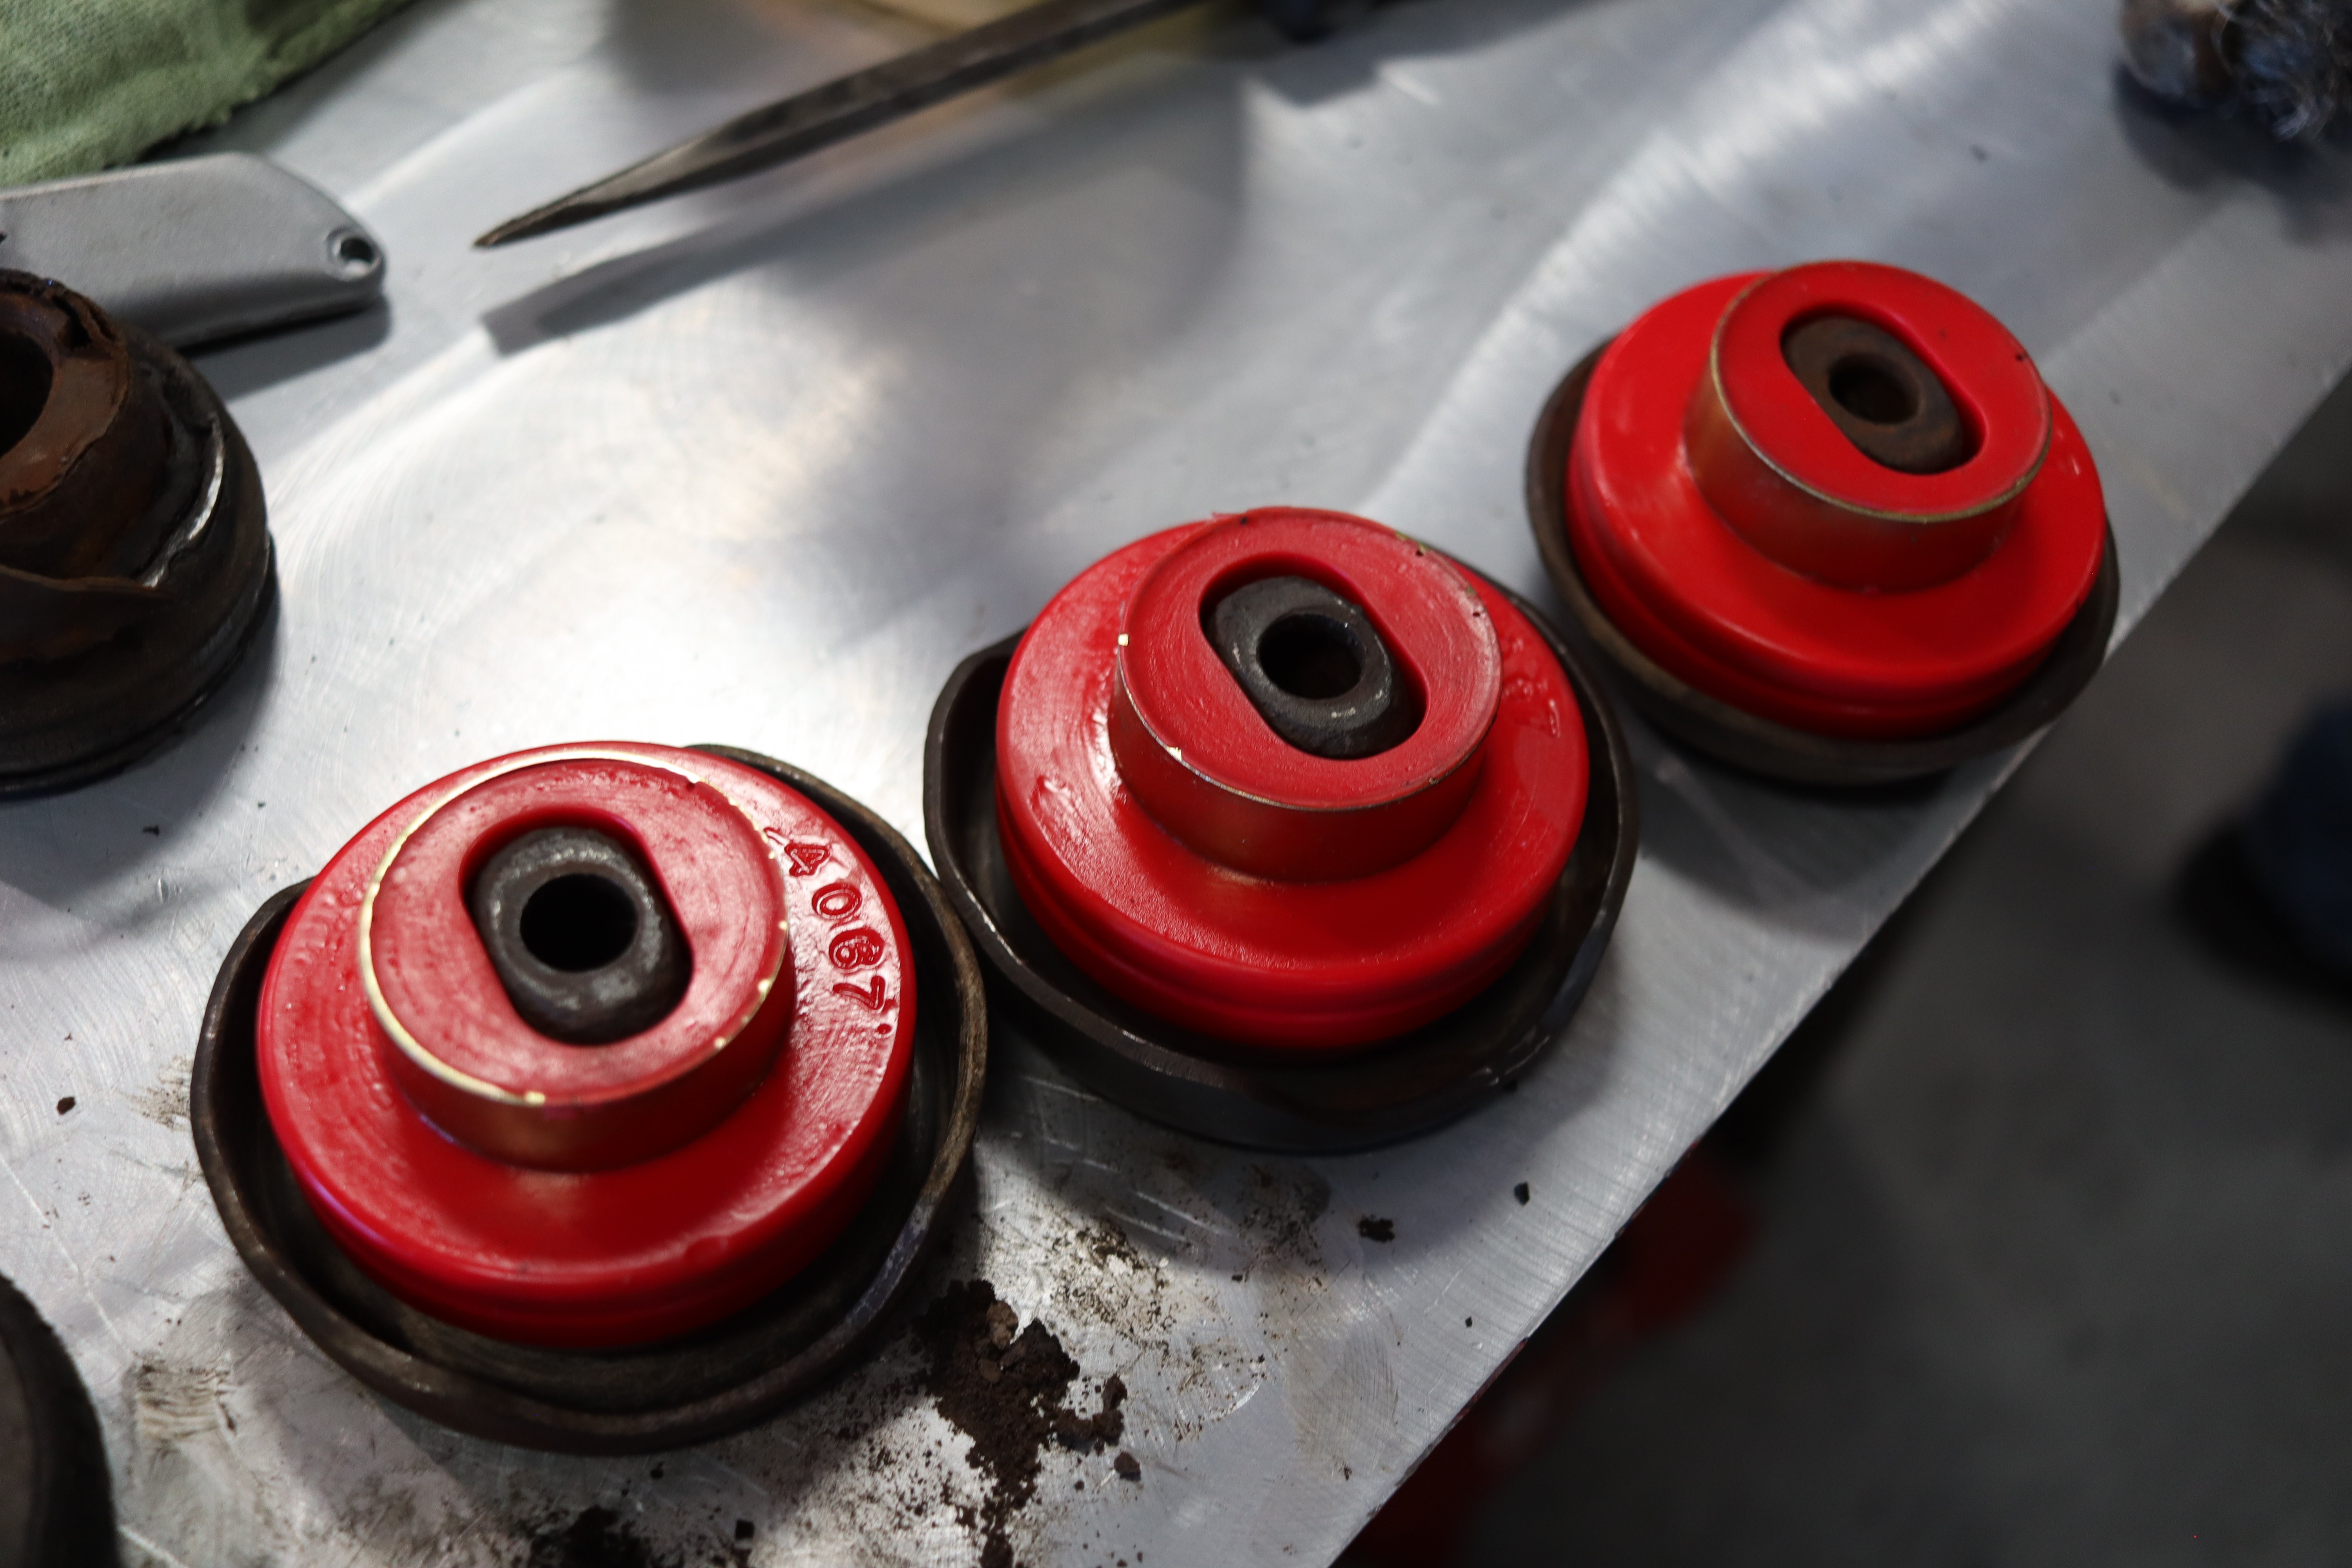
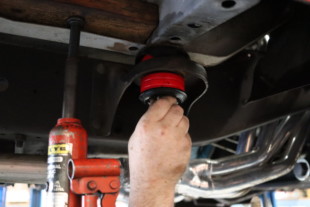
After separating the old rubber bushings from the shell, Billy installed the new Energy bushings and placed the upper half back into the C10.
Speaking of the installation, it was another easy day for Billy and crew since the truck was on a lift and they’d done it about a million times. Billy had it done in a couple of hours. We’re talking every single body bushing. Billy told us “sometimes this can be a pain if the car or truck is rusted-out since the body bushings bolt to the chassis via body mount holes. If the car or truck is rusted out, then you’ll need to do a lot of patching and metalwork – which is common for this year C10.” Luckily for us, our red stepside is a California truck so it didn’t have any rust to speak of.
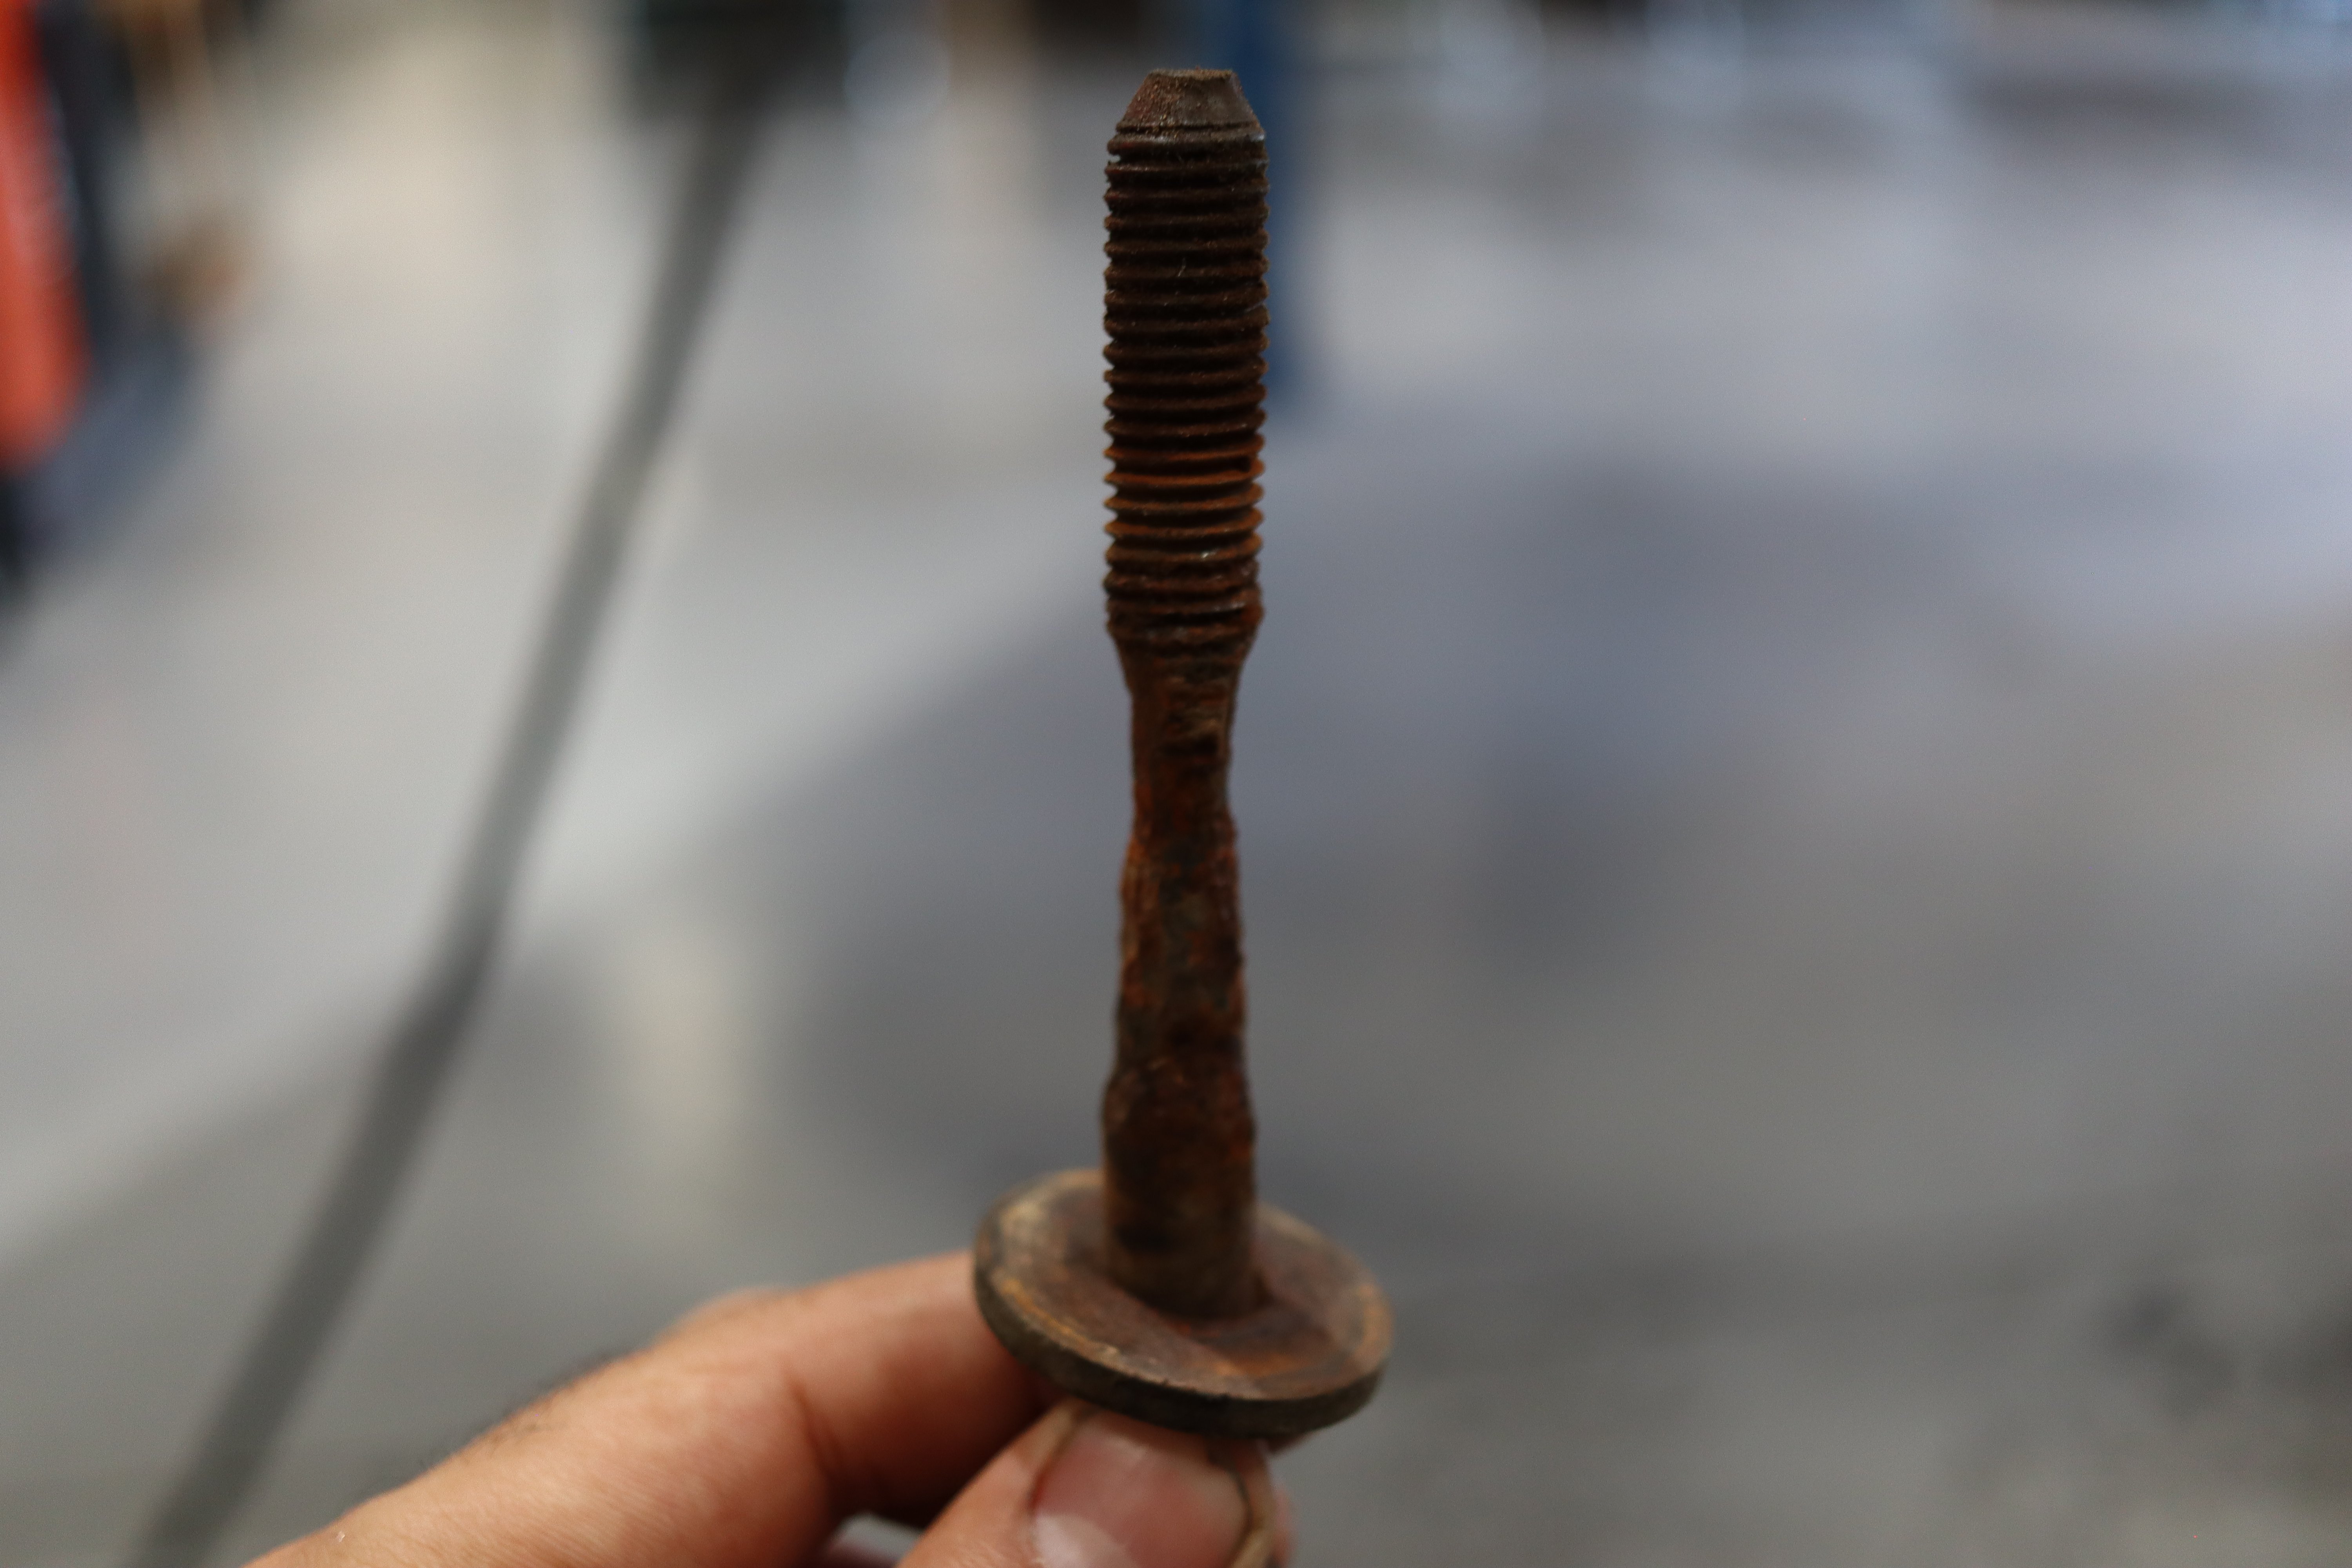
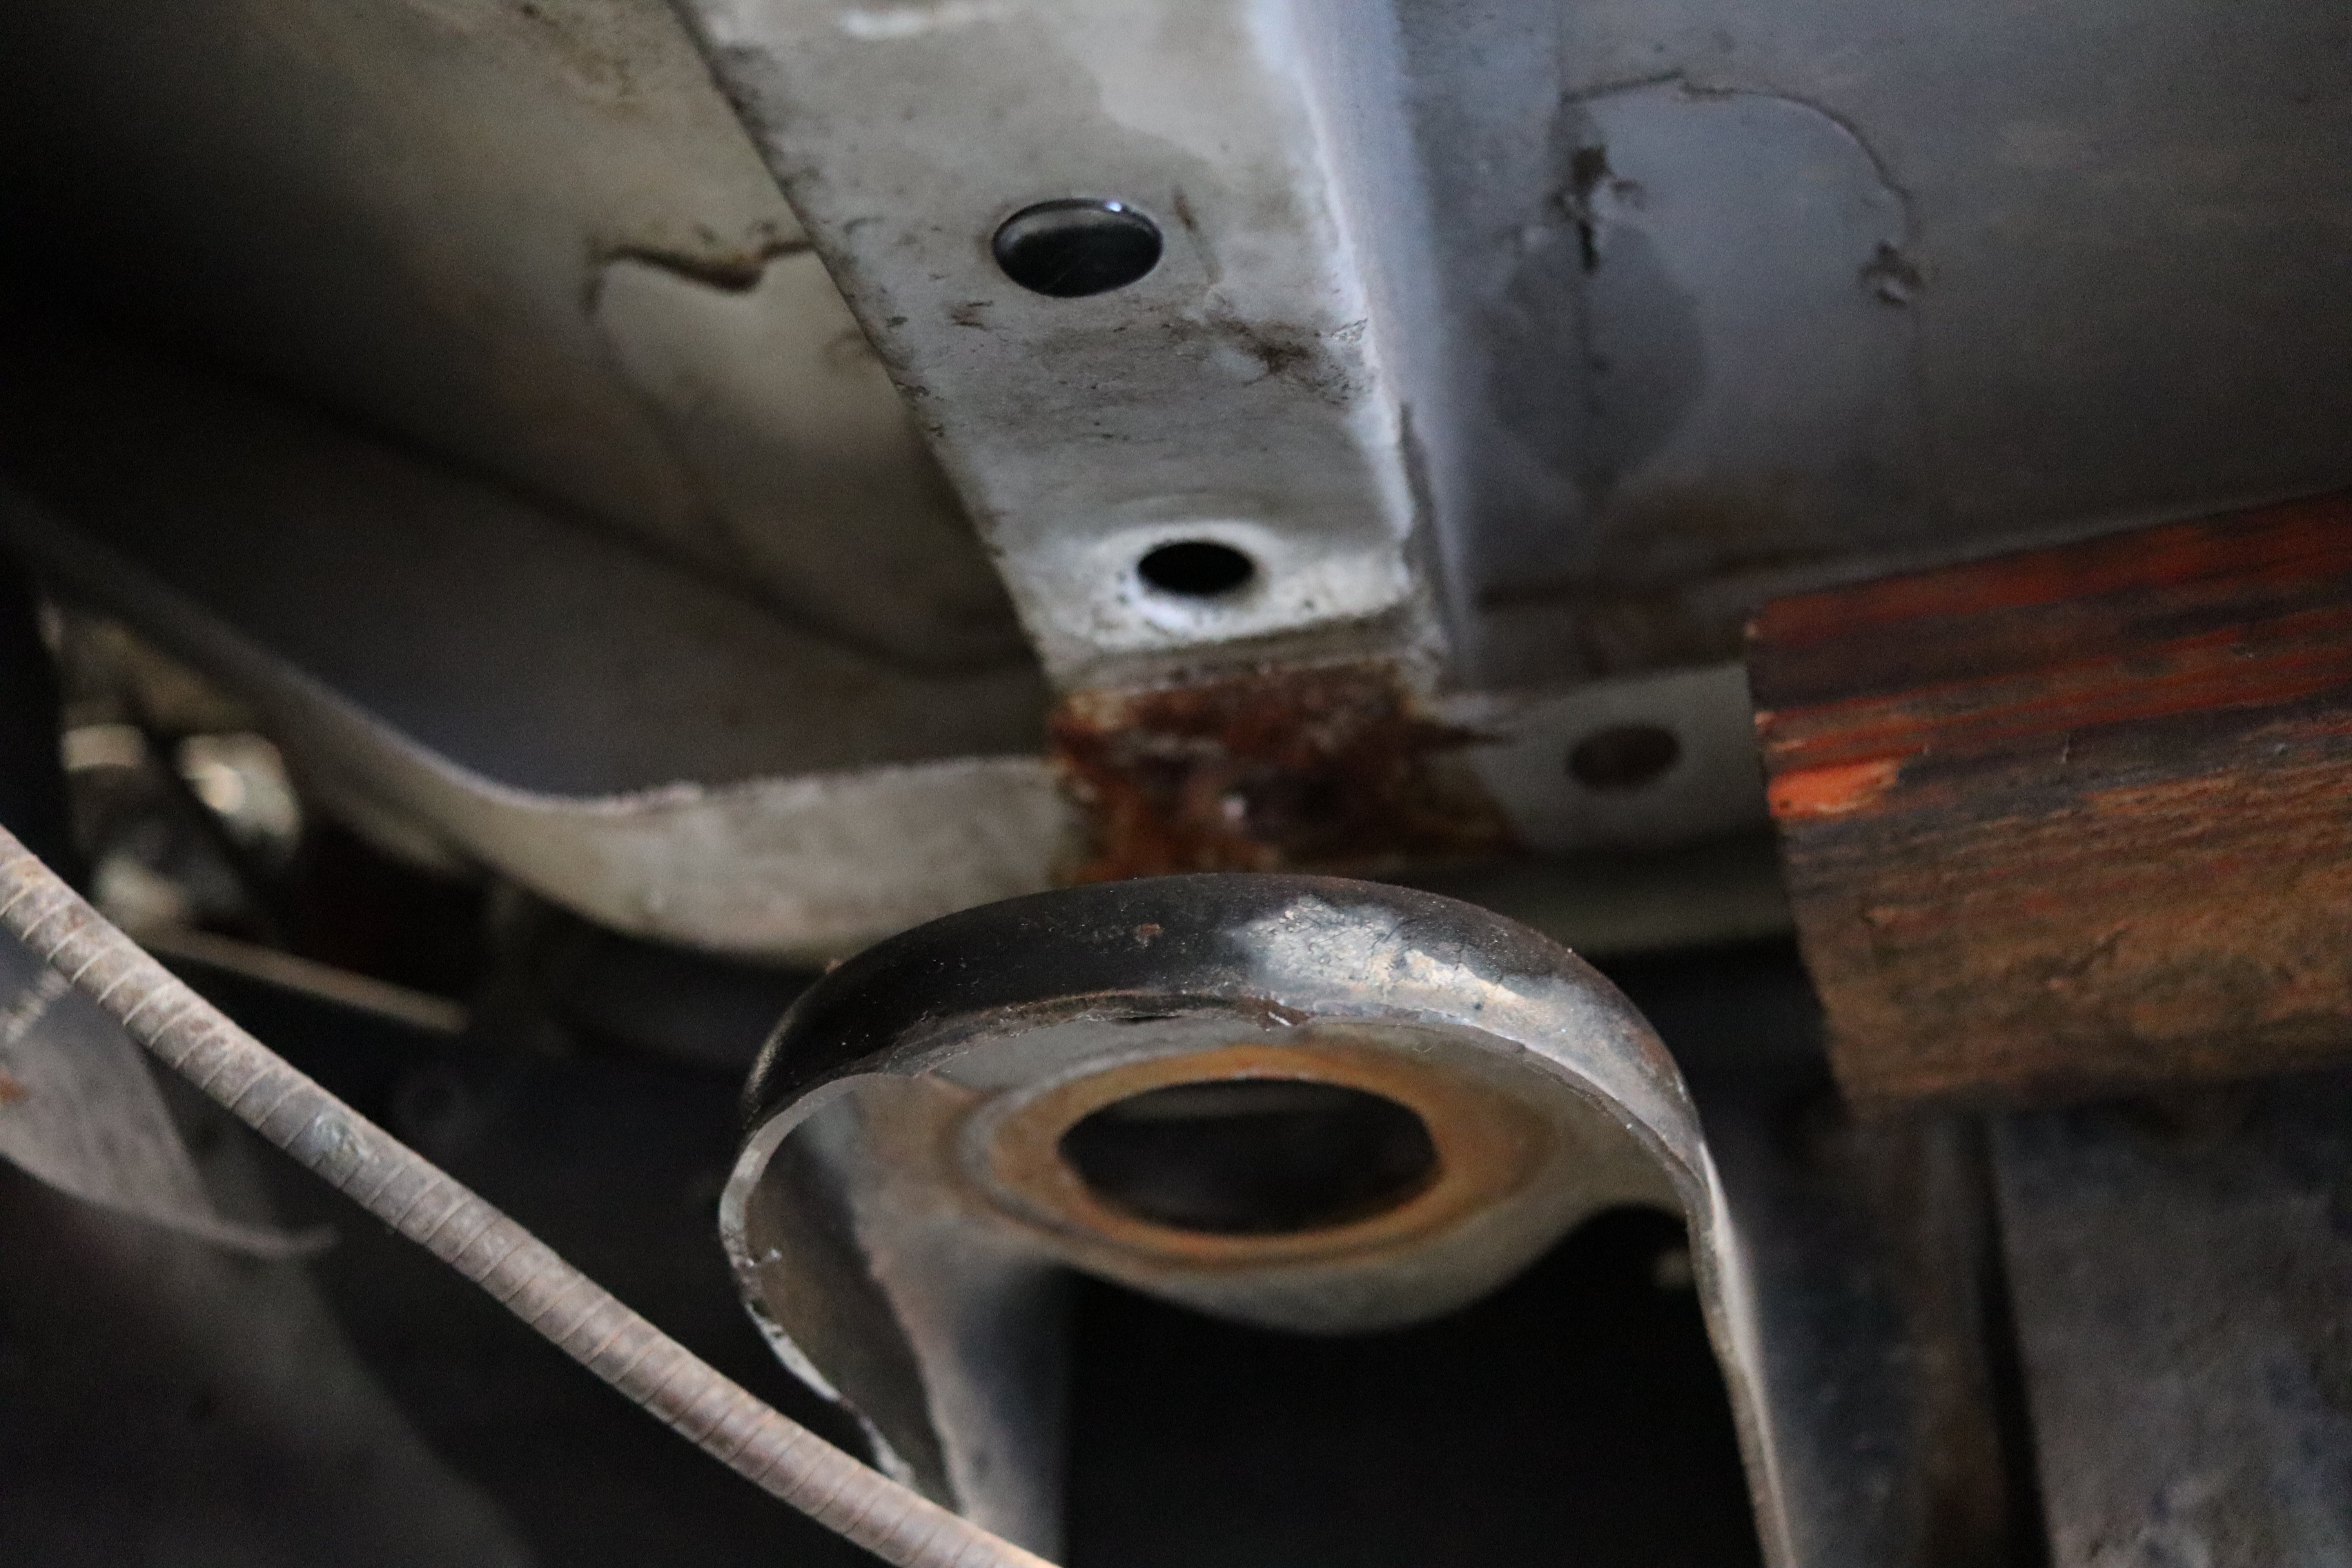
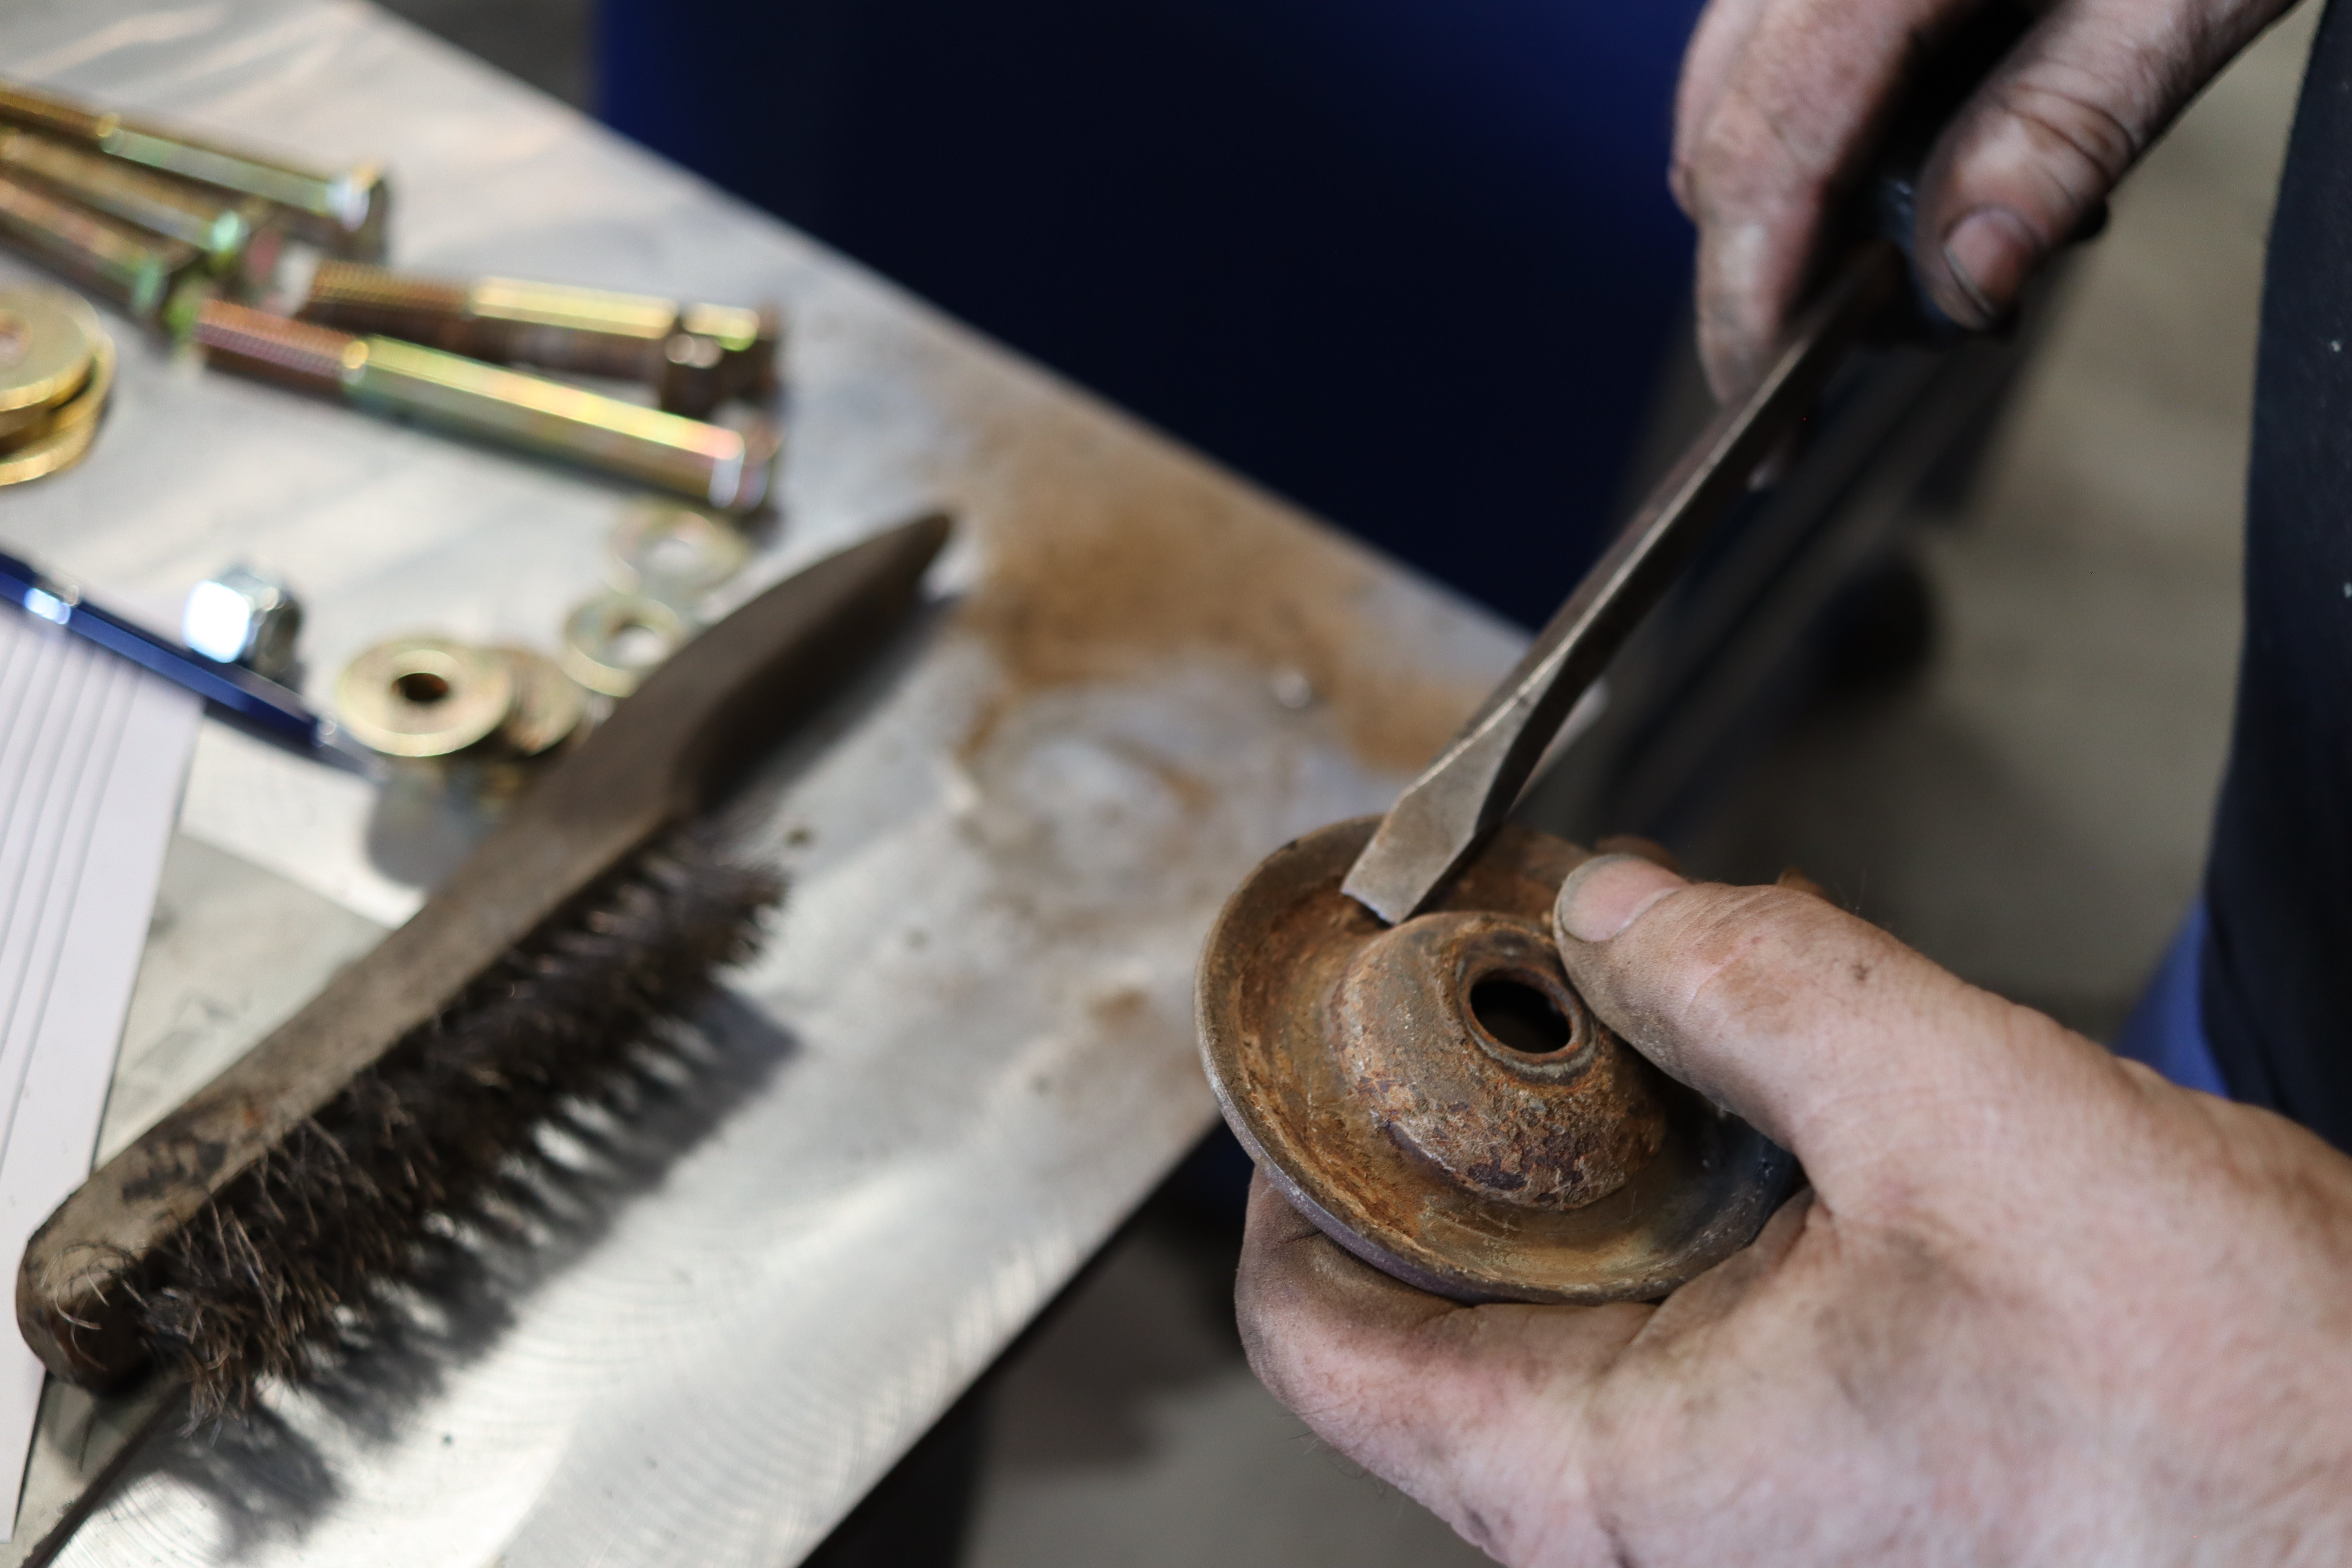
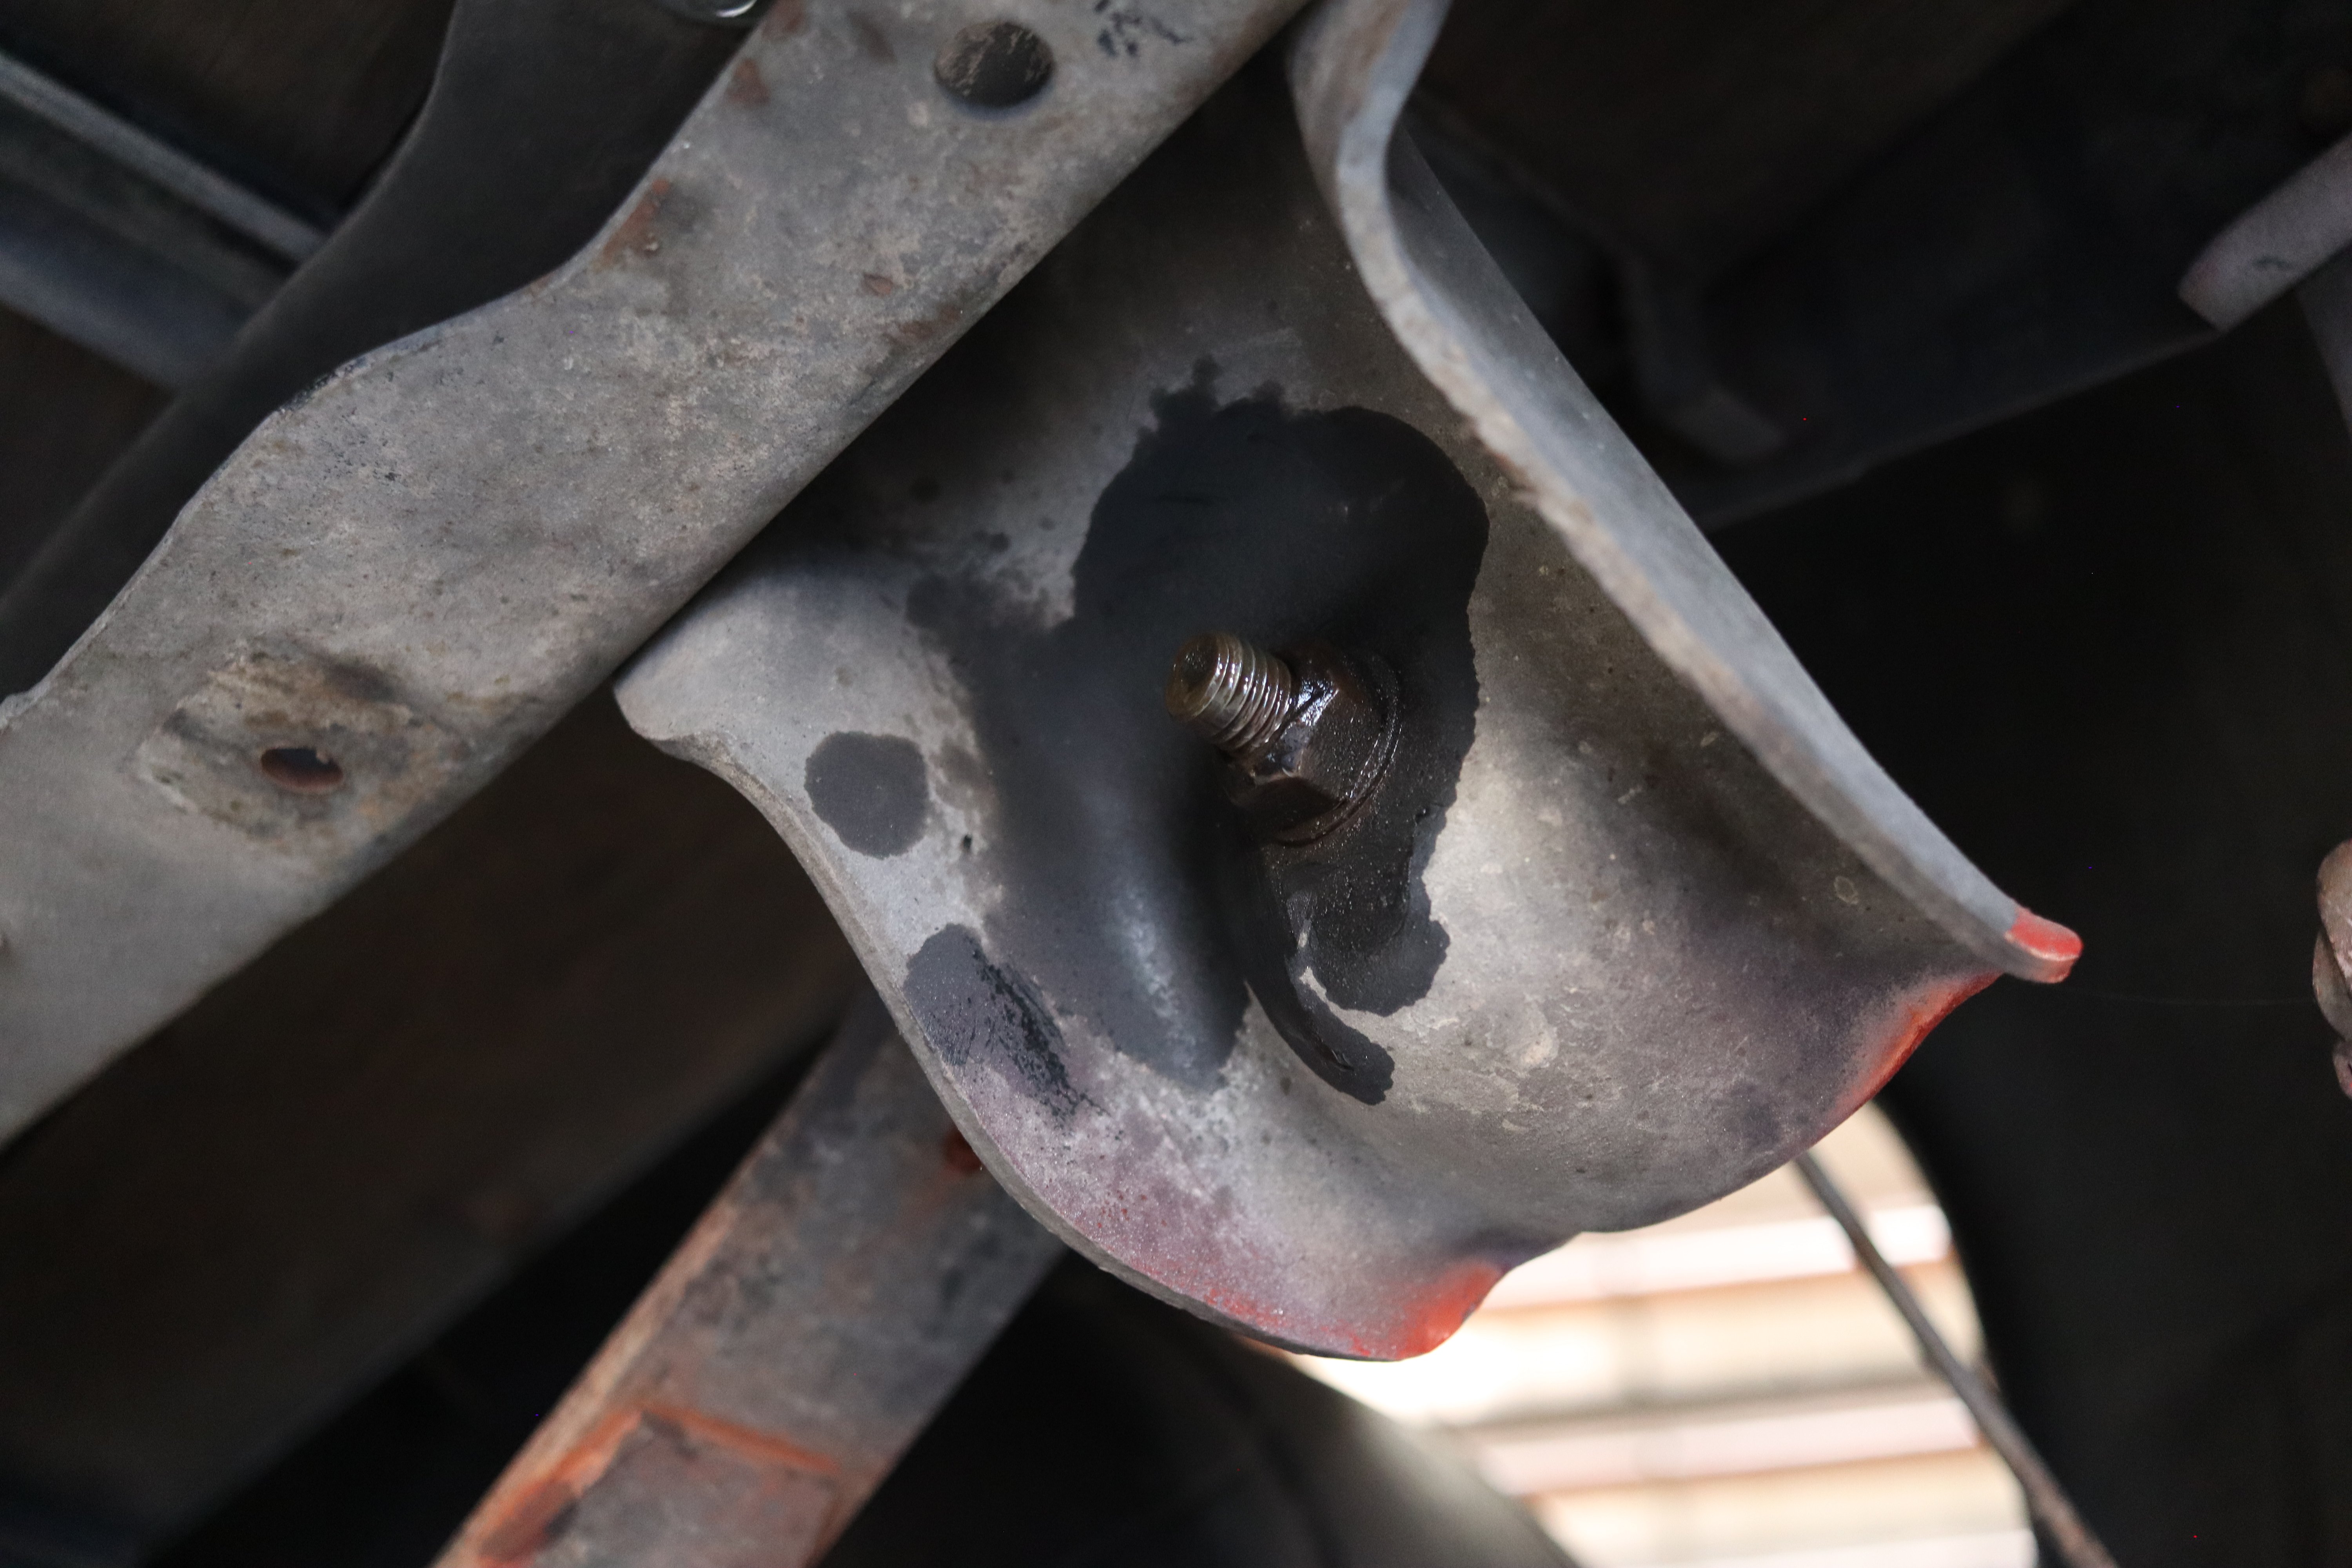
After cleaning the large debris from the bottom body bushing mount, Billy gave it a quick once-over with the media blaster before shooting them with a coat of paint. He then replaced the crusty old hardware to complete the refurbishing process.
One important thing Billy told us to note was, “if a bolt doesn’t want to come out, don’t force it with an impact. Work it out some and let it cool down, then work it out some more until it’s all the way out.” The heat caused by rotational friction can damage the structural integrity of the hardware and you can easily end up with a sheared bolt, creating a whole mess of headaches for yourself.
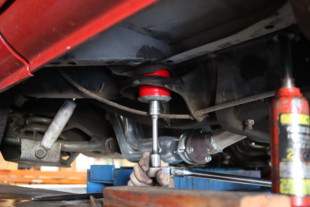
Reassemble and torque to spec were the final steps in the process.
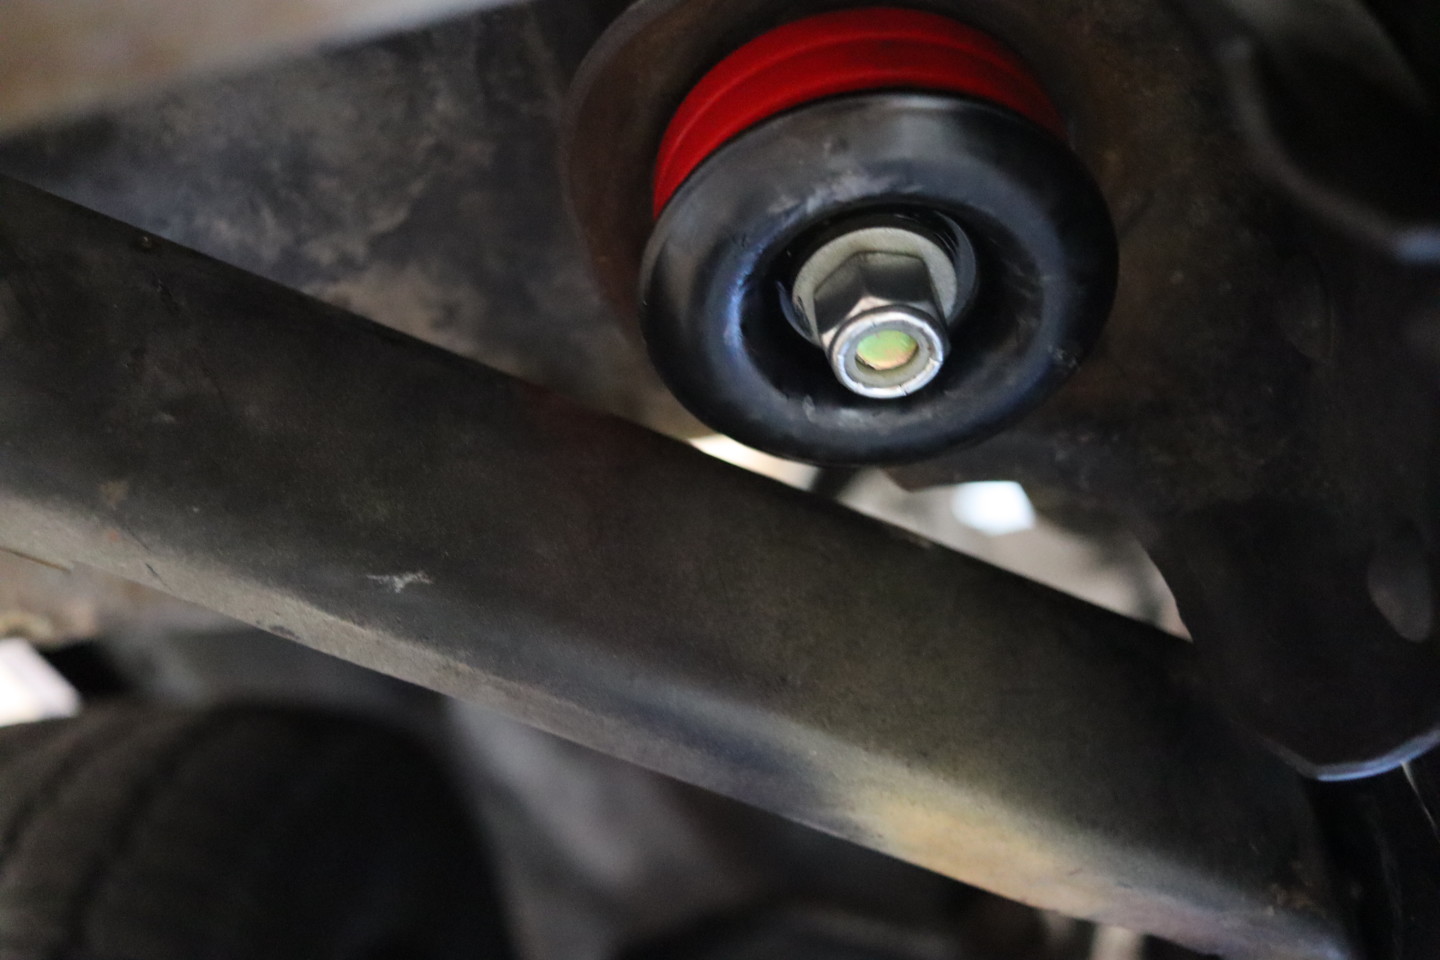
Not bad for a quick rattle can job. The Energy body bushings took some effort to get installed, but overall, it appeared to be fairly easy for the crew.
So, use a liberal amount of lubricant and let it cool, working your way around the truck or car until you have all of them out. Then just replace them as Billy did here, and bolt them back in evenly.
Leaf Spring Bushings
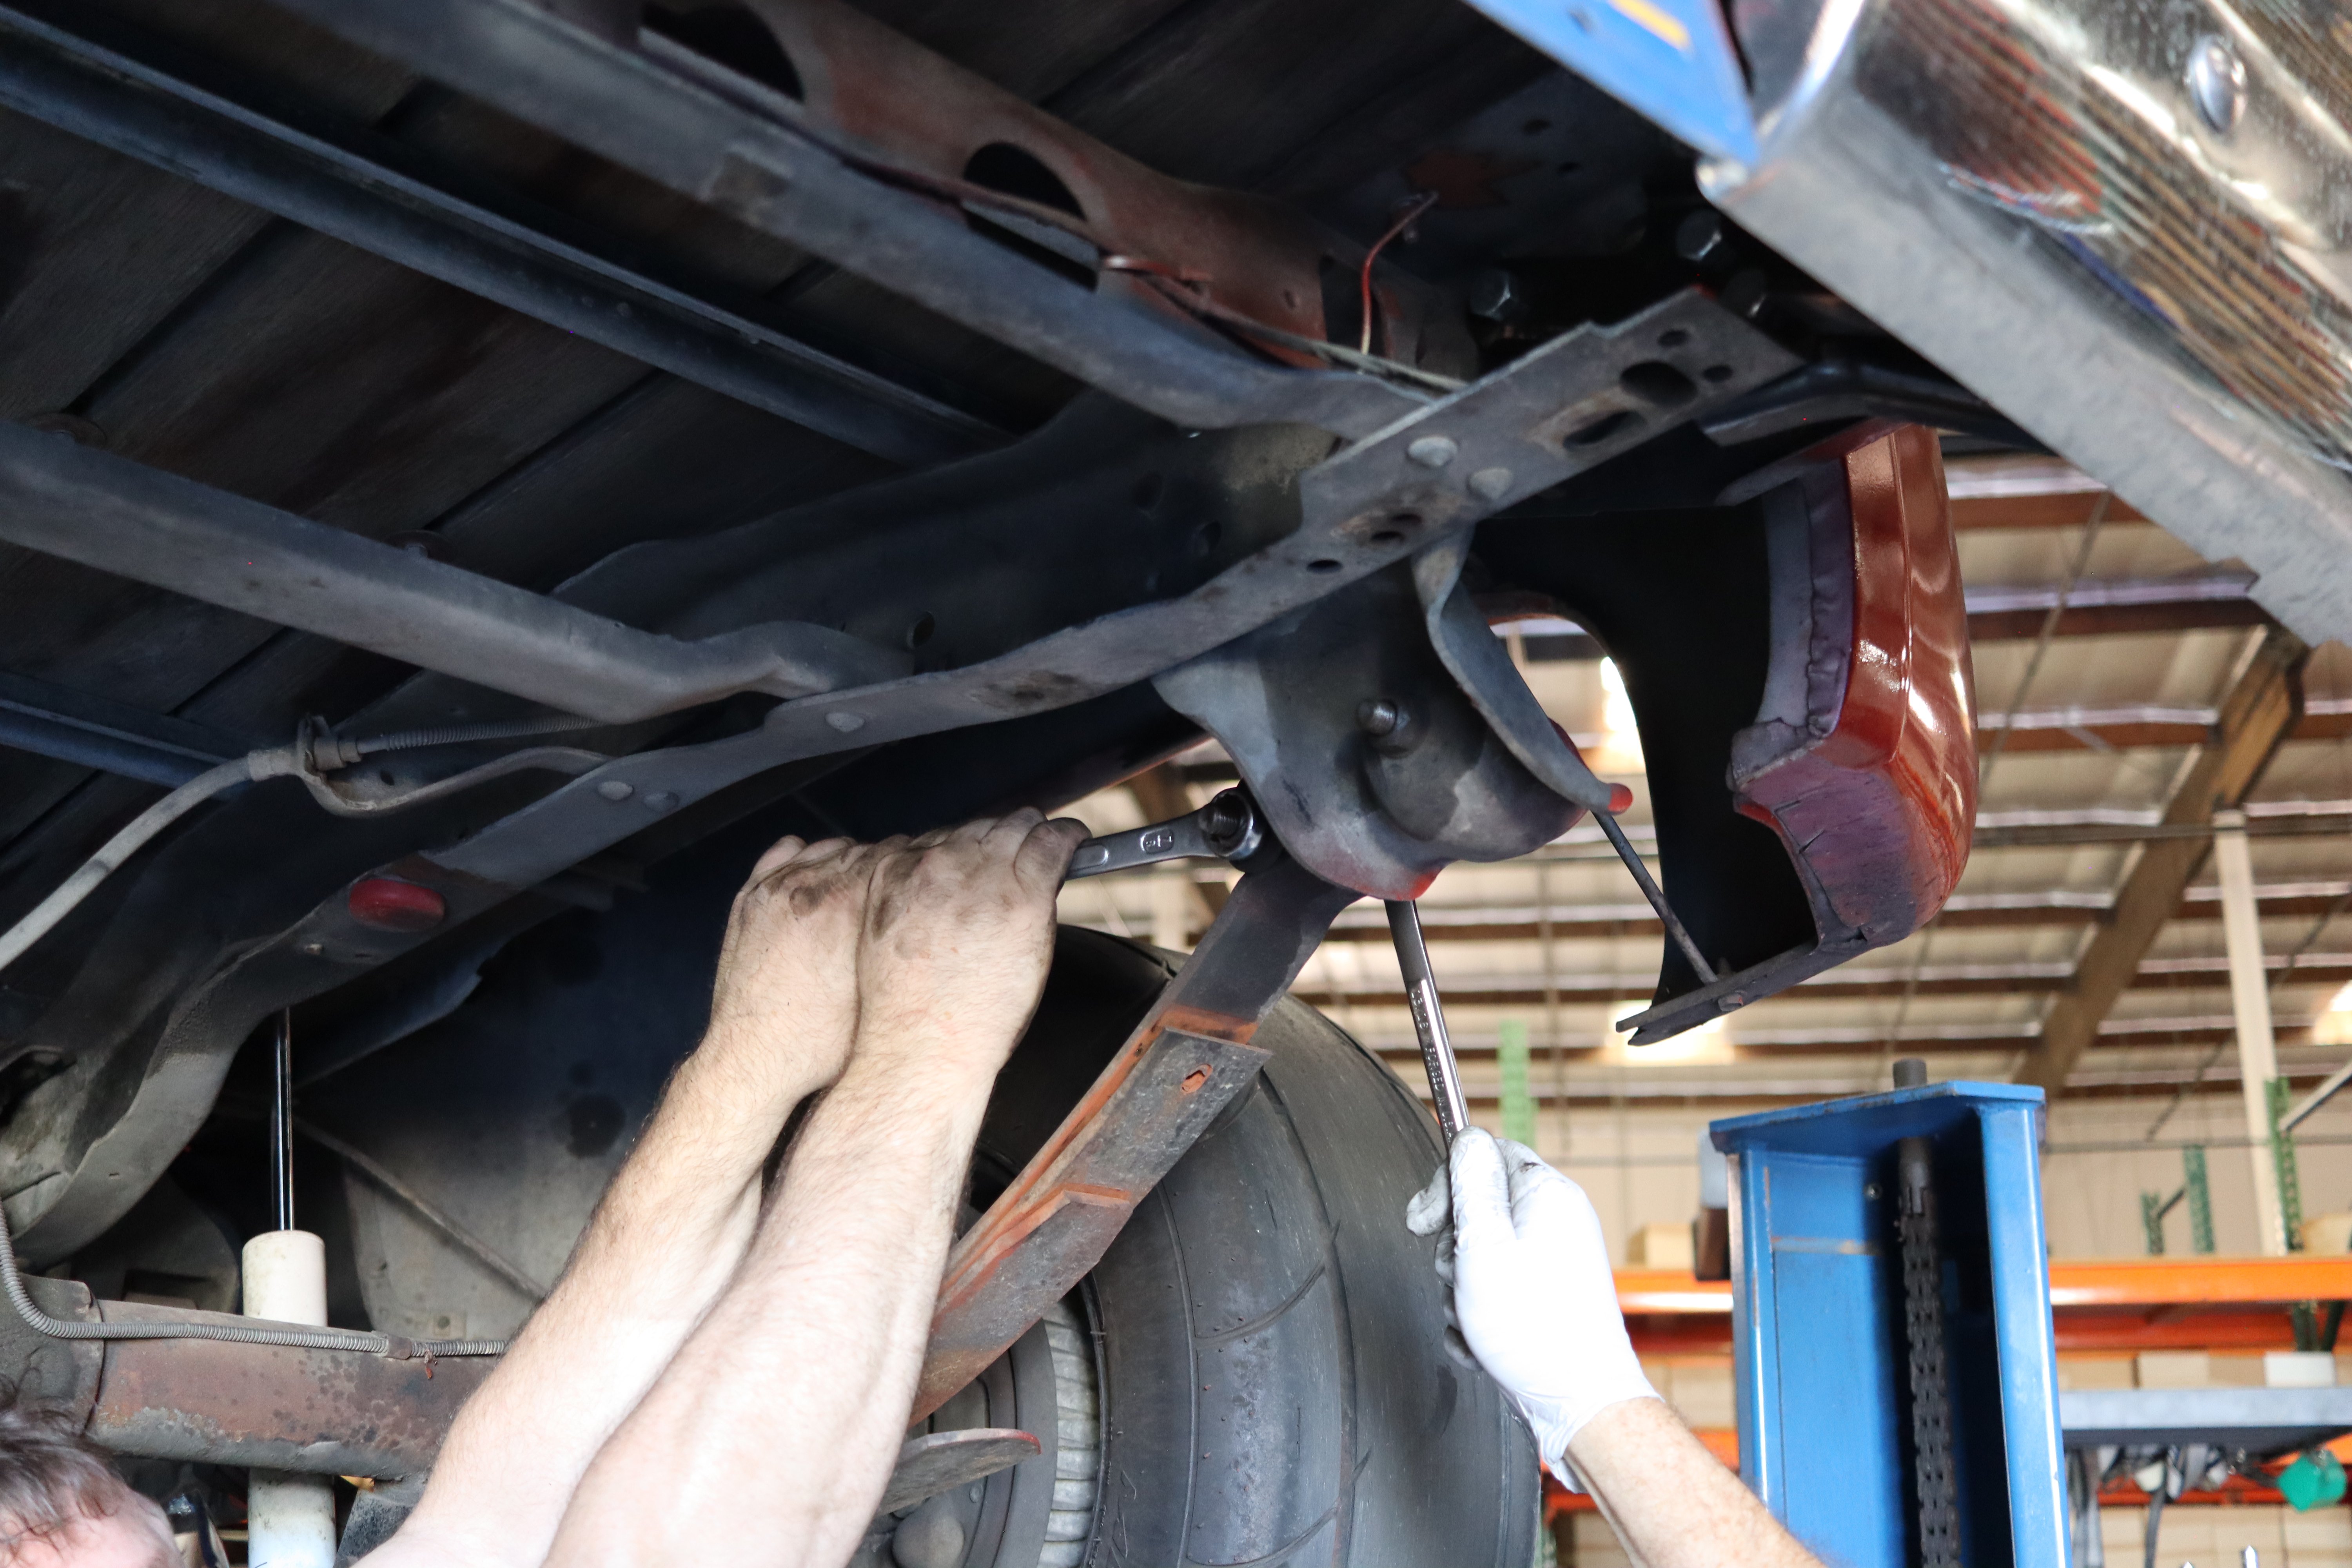
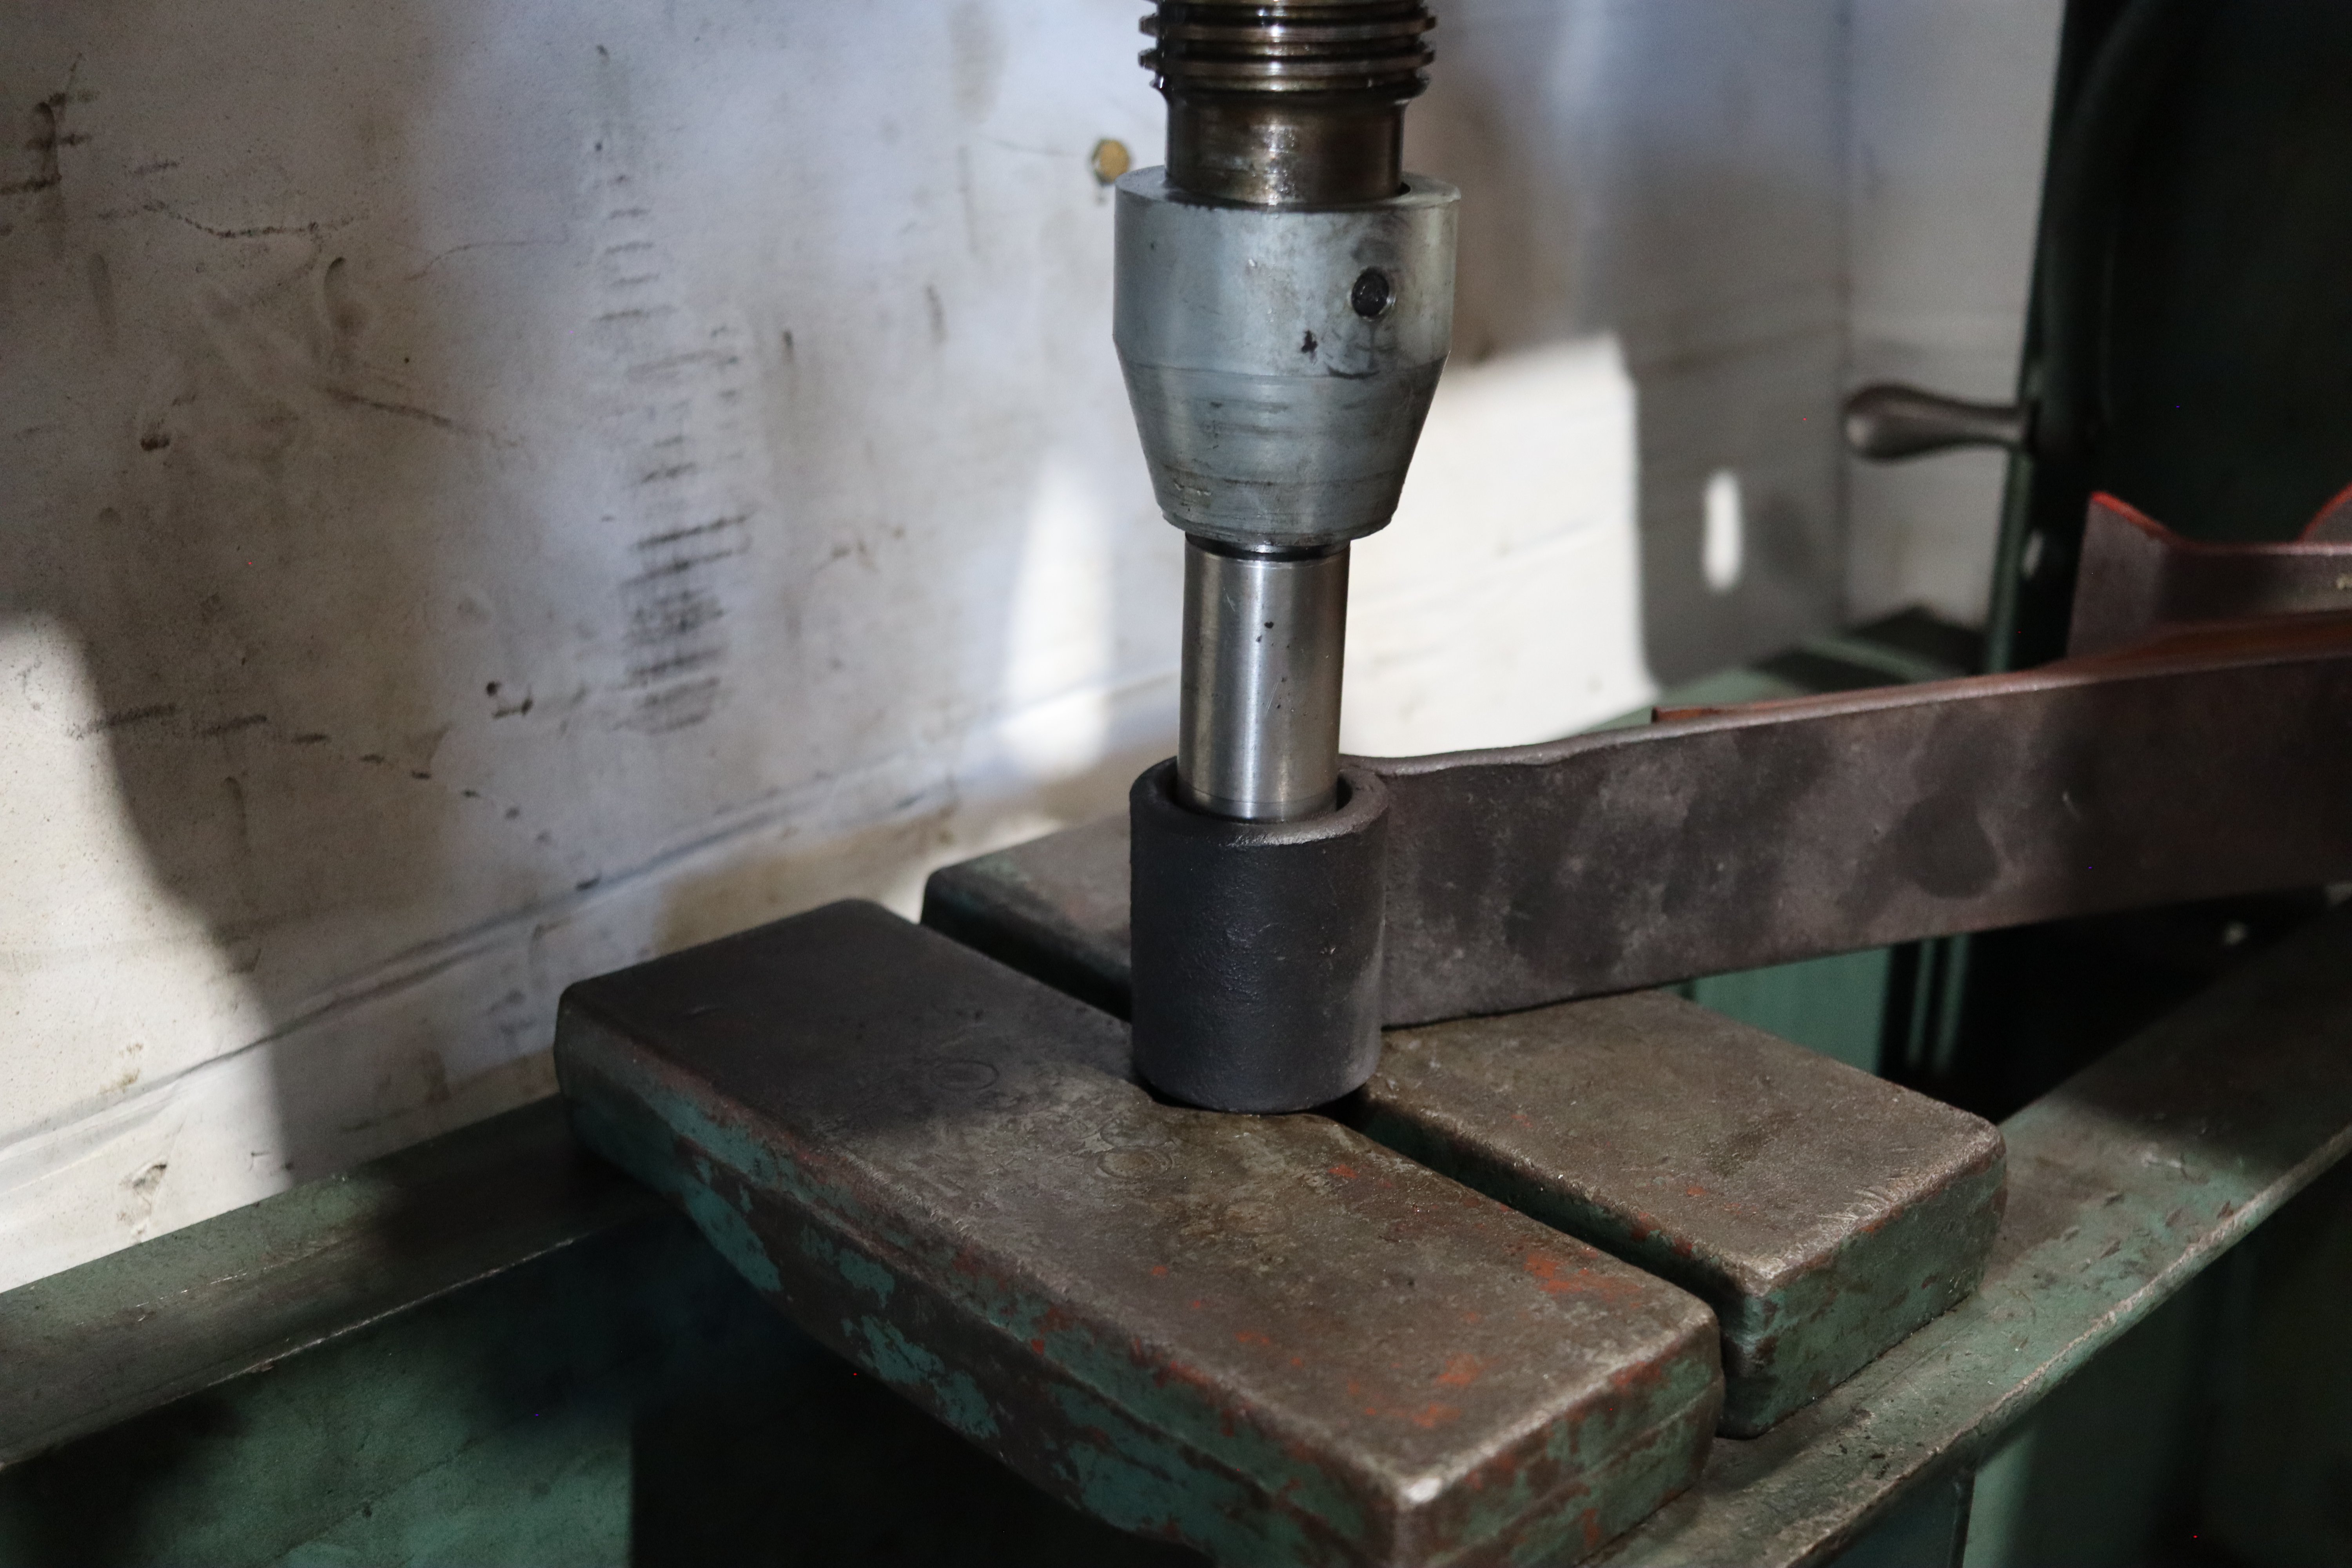
The first difficult challenge the guys faced was when it came time to pull out the rear leaf springs. Billy and the crew had to jack up the rearend while it was on the lift and unbolt the clapped-out old leaf springs. With the springs out, they had a few options. Some people elect to burn out the old bushings for want of better equipment, but Billy said they don’t recommend that because of the implicit fire hazard. Instead, he used a combination of an air-chisel, plenty of lubrication, and a press and die.
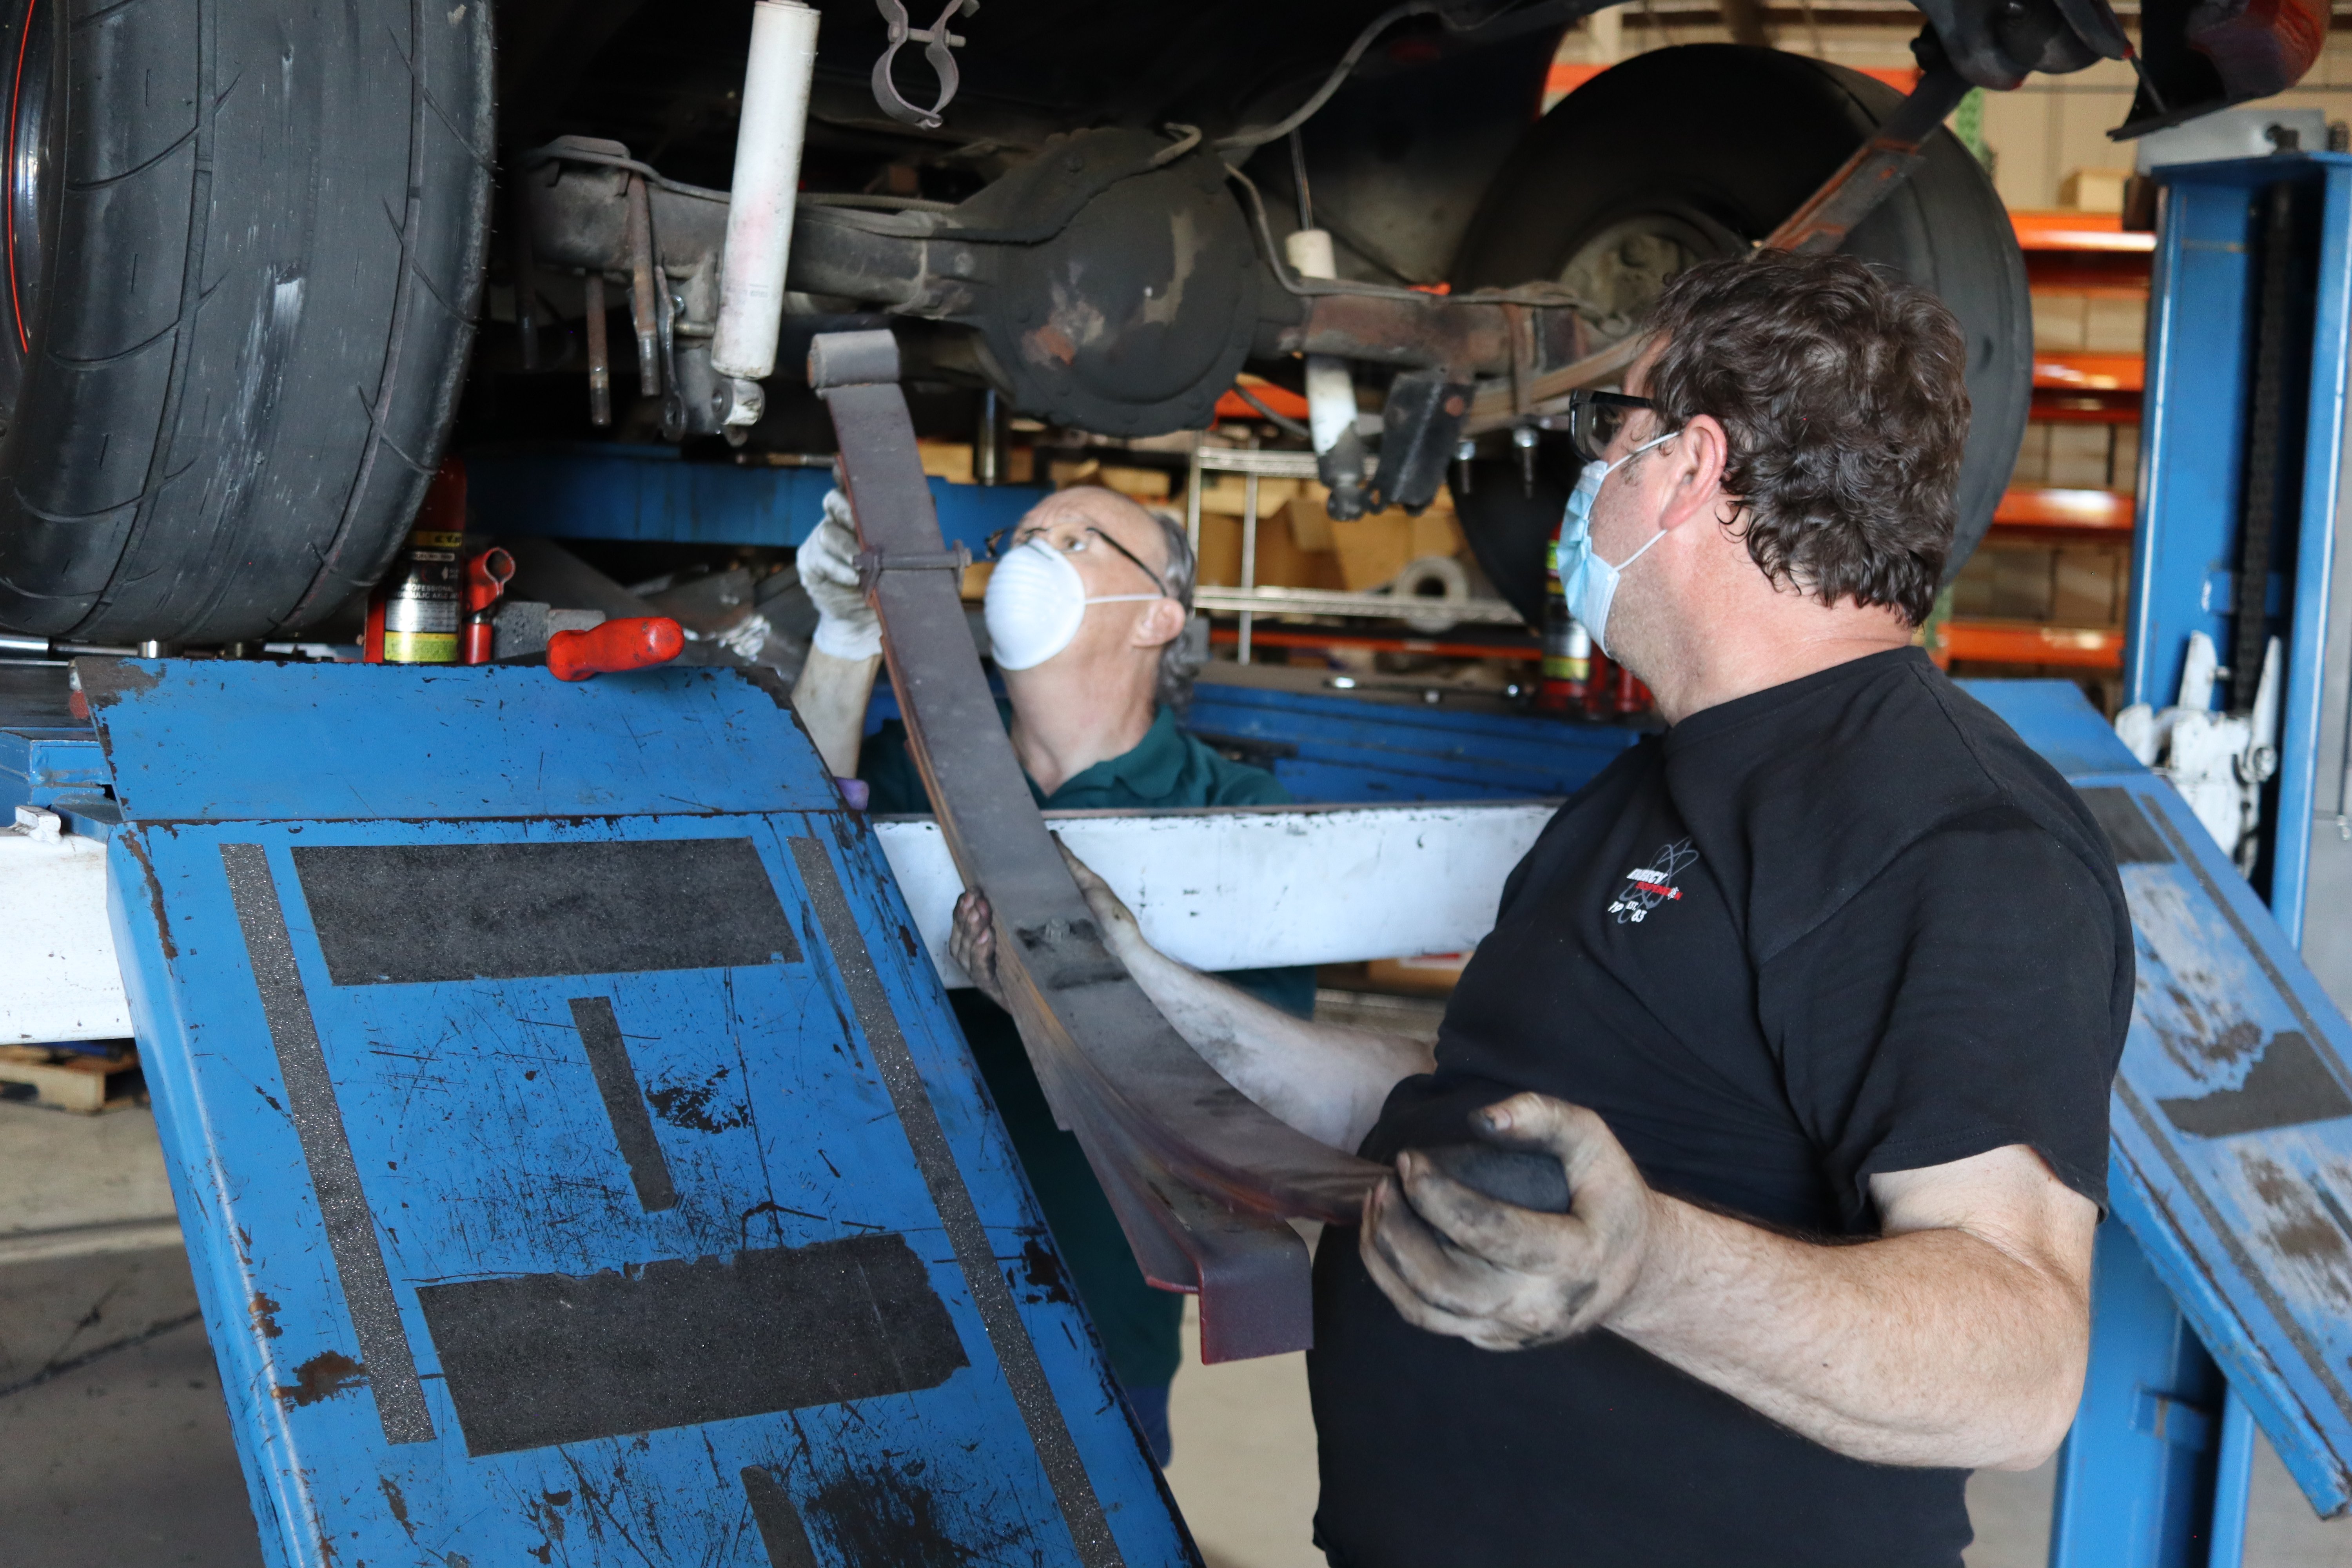
Removing the leaf springs turned out to be a two-man operation.
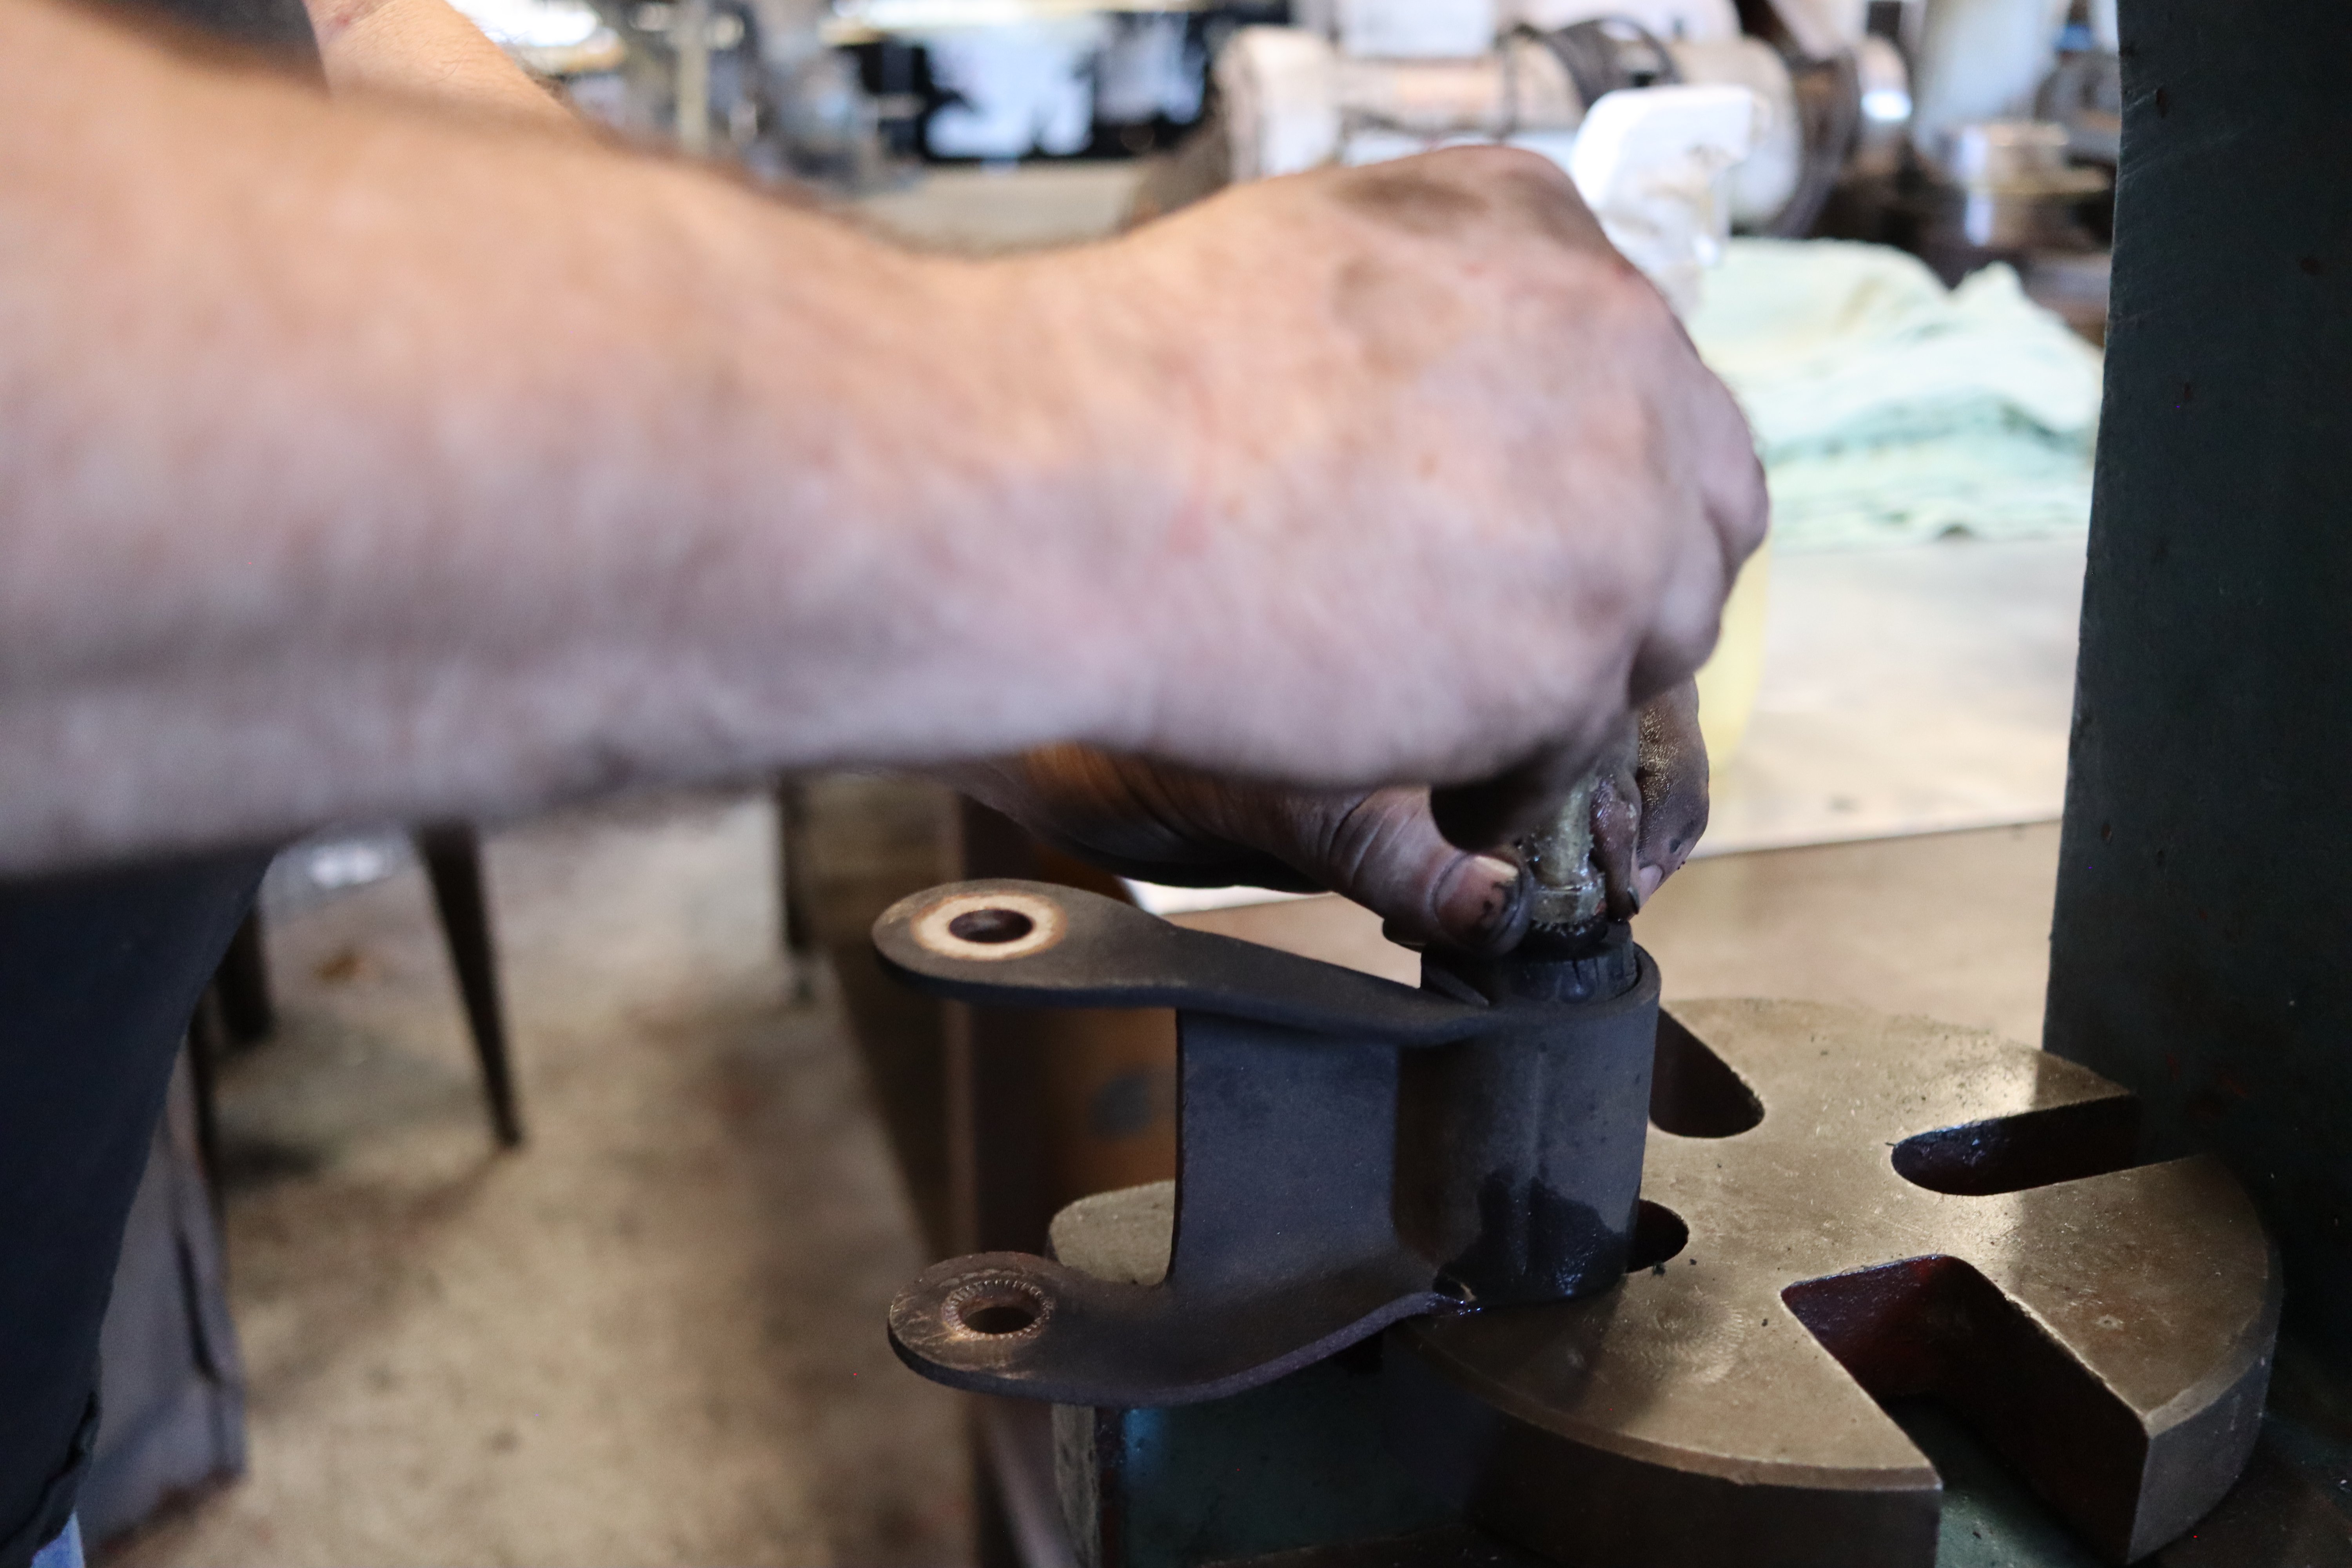
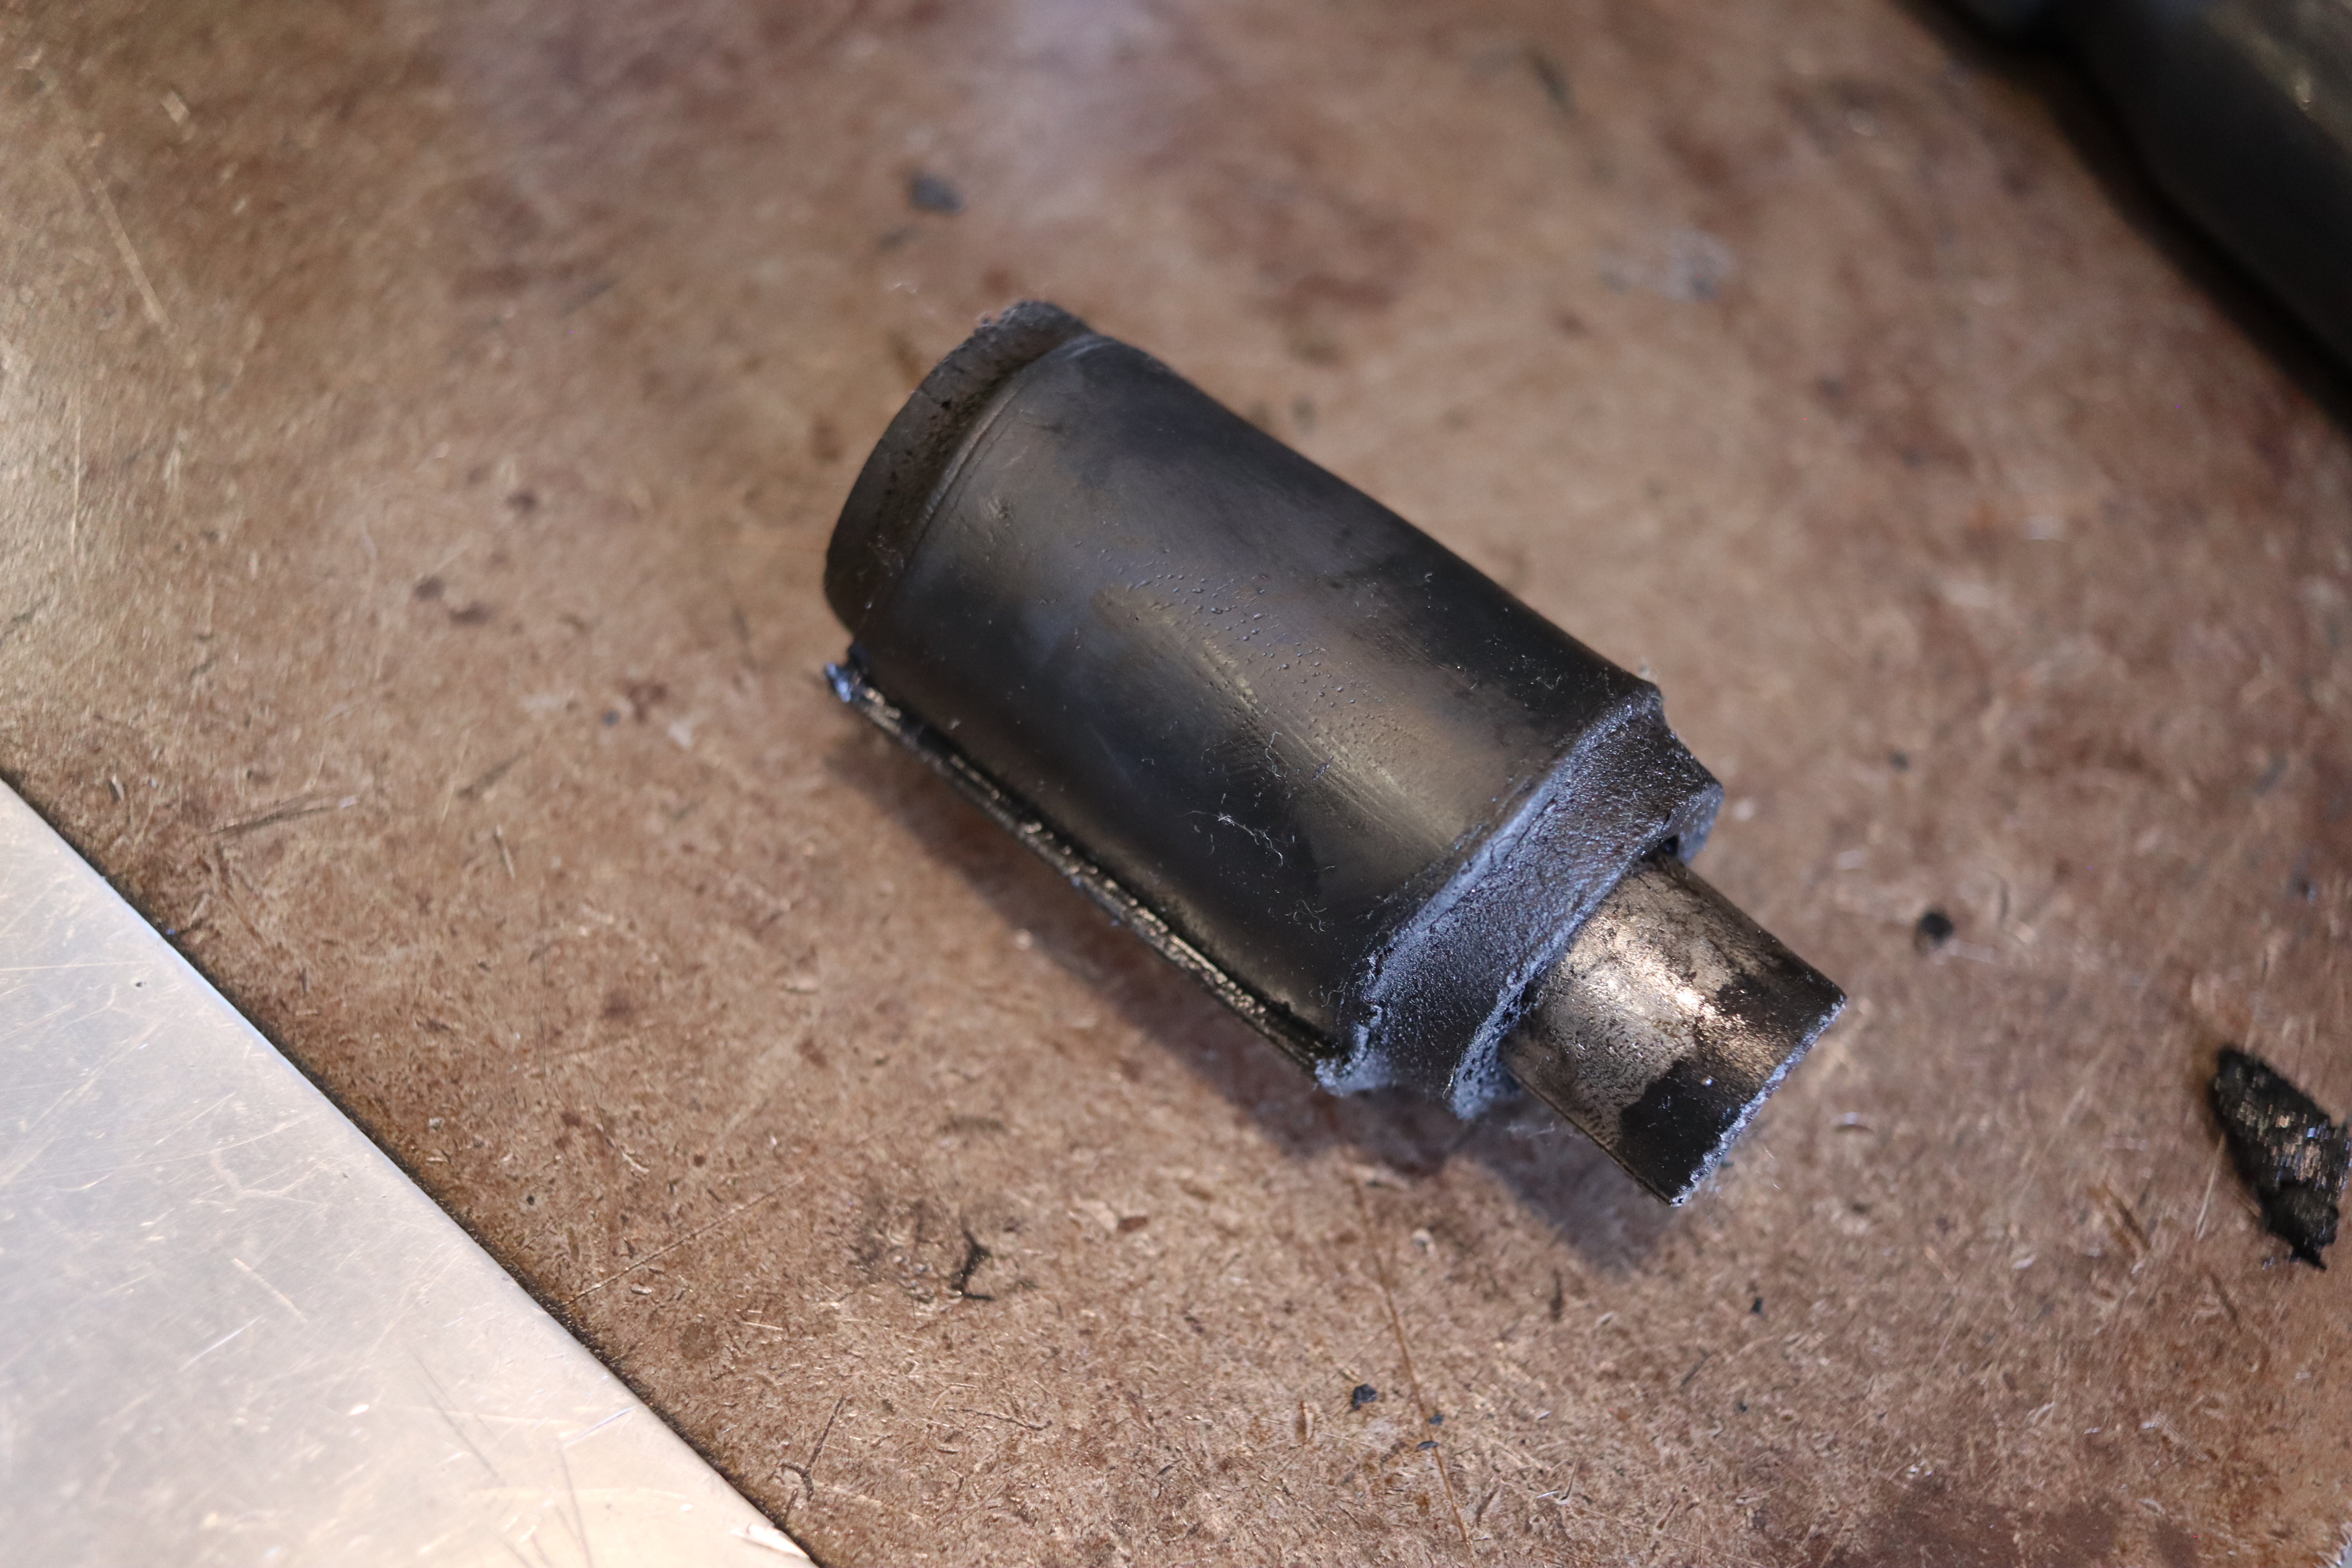
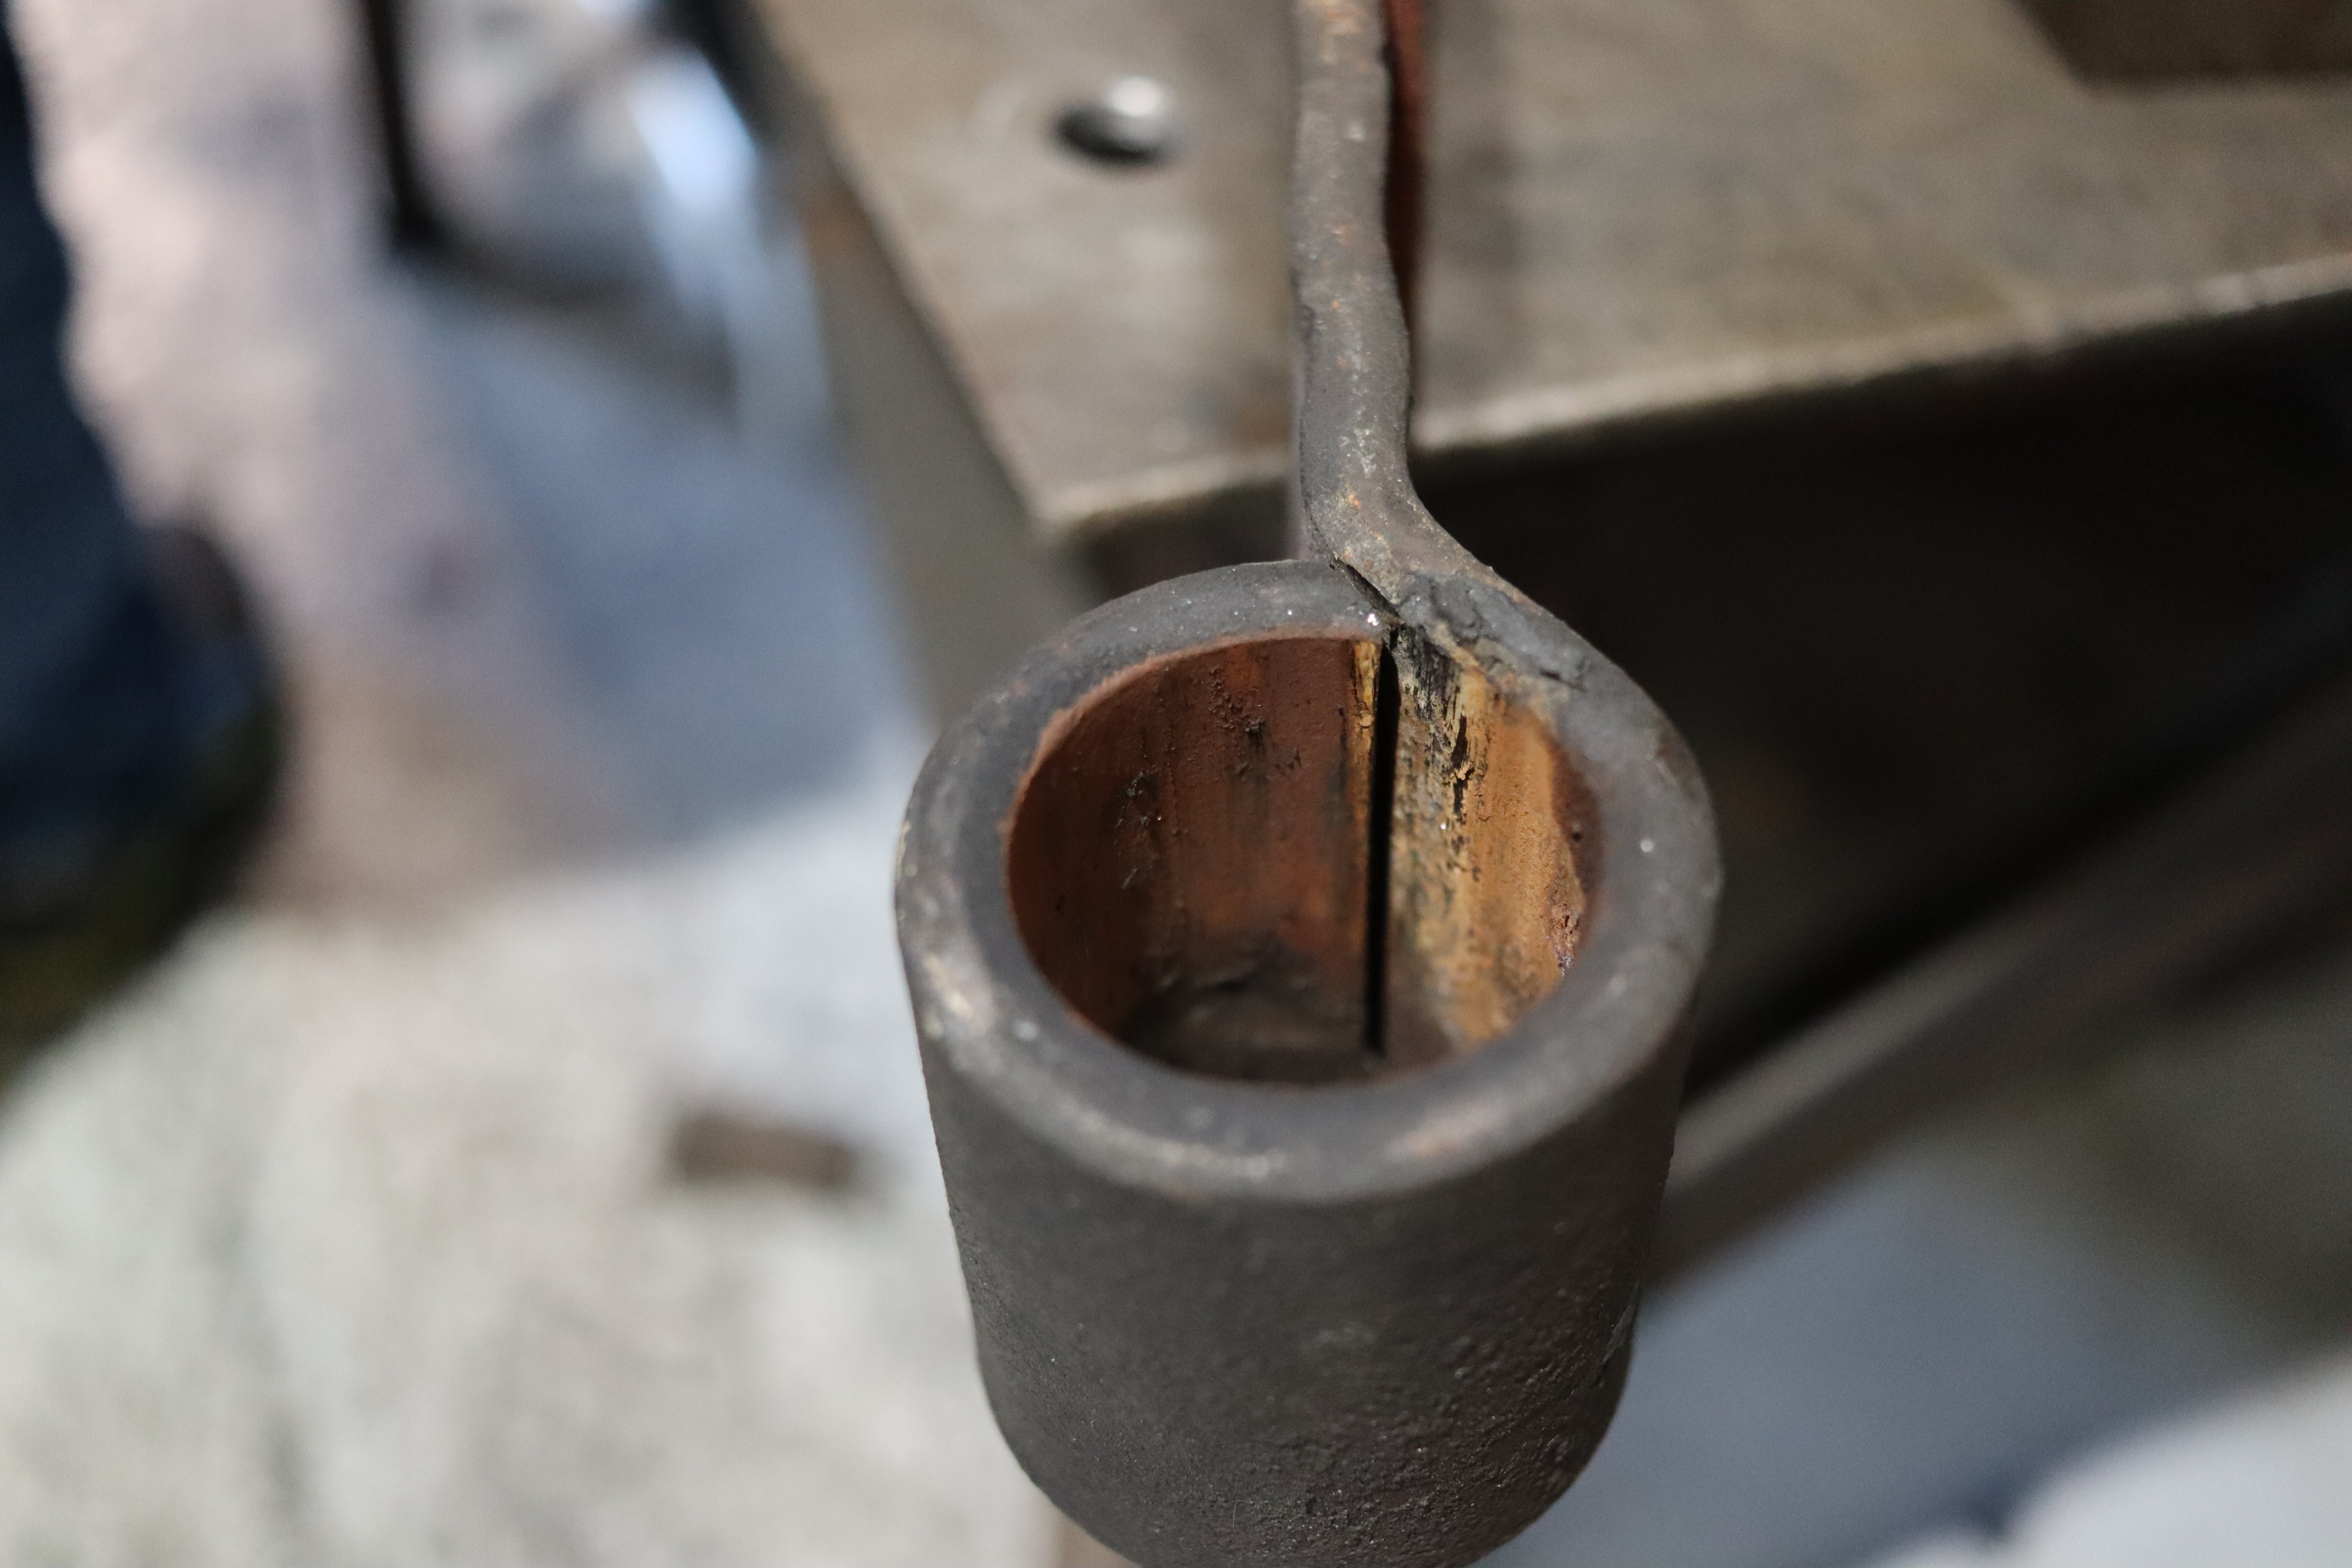
He soaked the old rubber in lubricant and worked them out with relative ease. First using the air chisel to drive out the bushing and inner sleeve, finishing them off with the press. The press made quick work of it, but if you don’t have one at home, a hammer and chisel might be your best bet, although you better eat your Wheaties that day, because you’ll be beating on that bad boy for a while.
It took some doing, but with the help of an air chisel and a large press, the bushings came out of both ends of the leaf spring and the shackle they ride in.
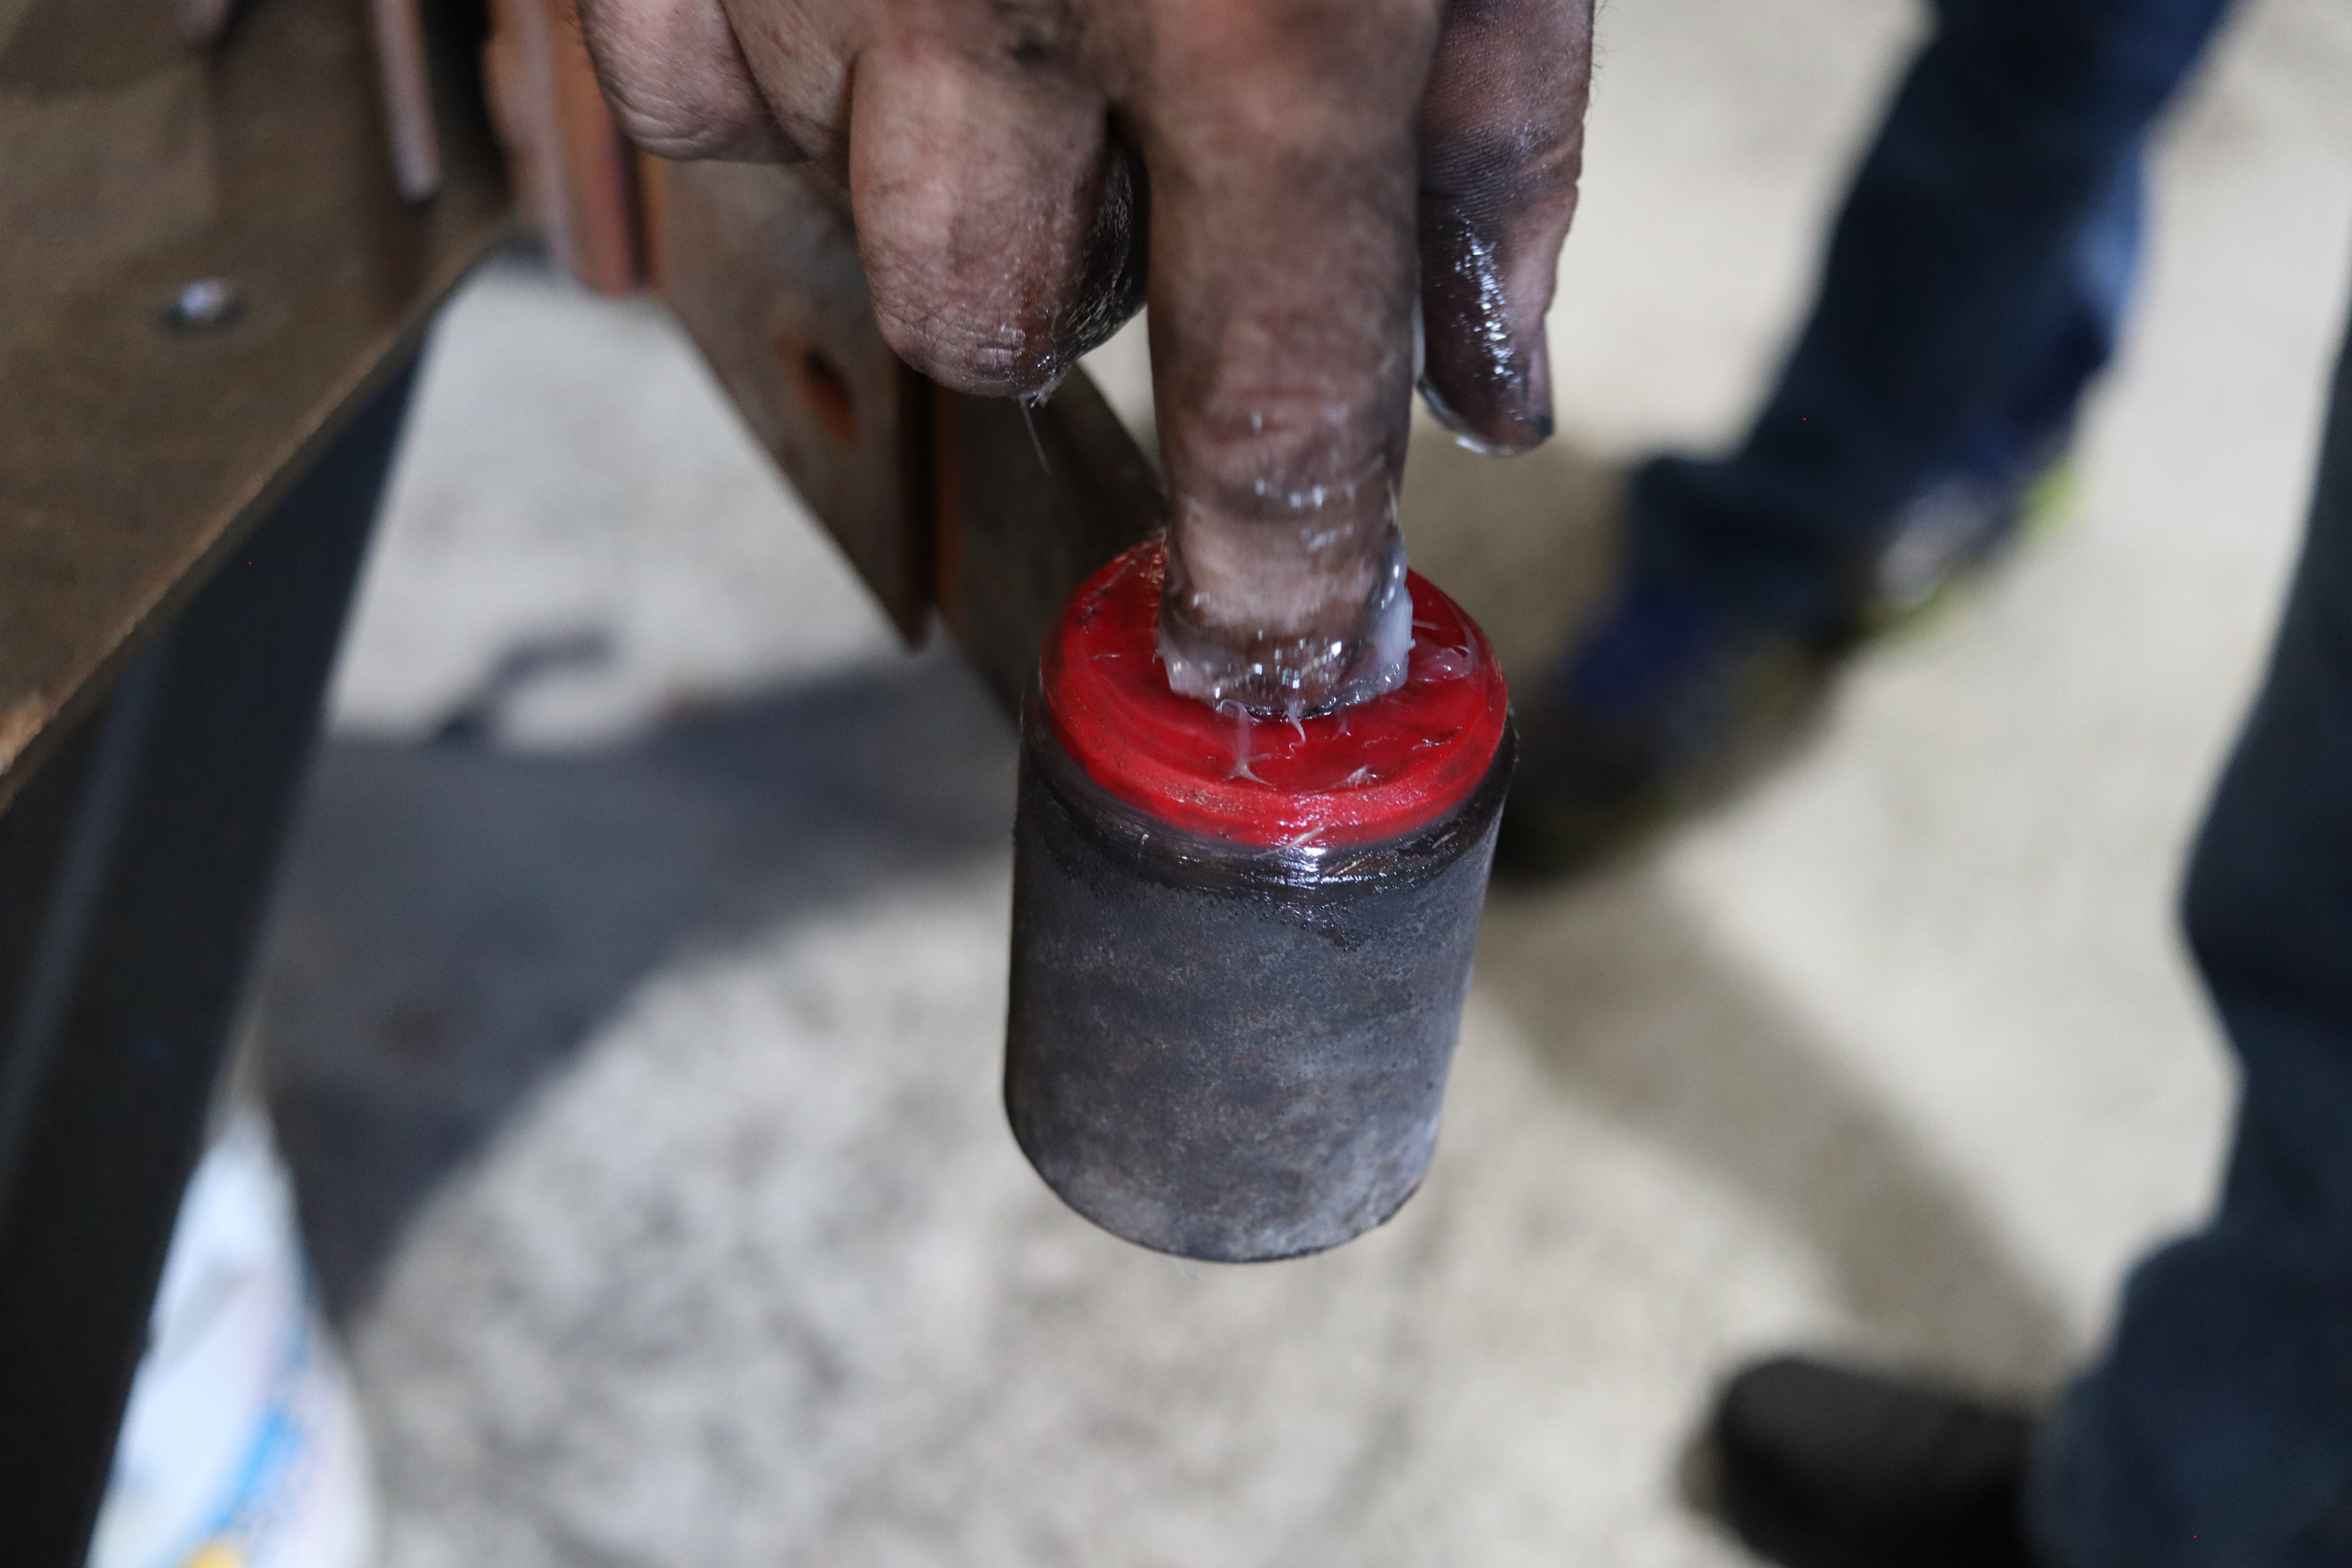
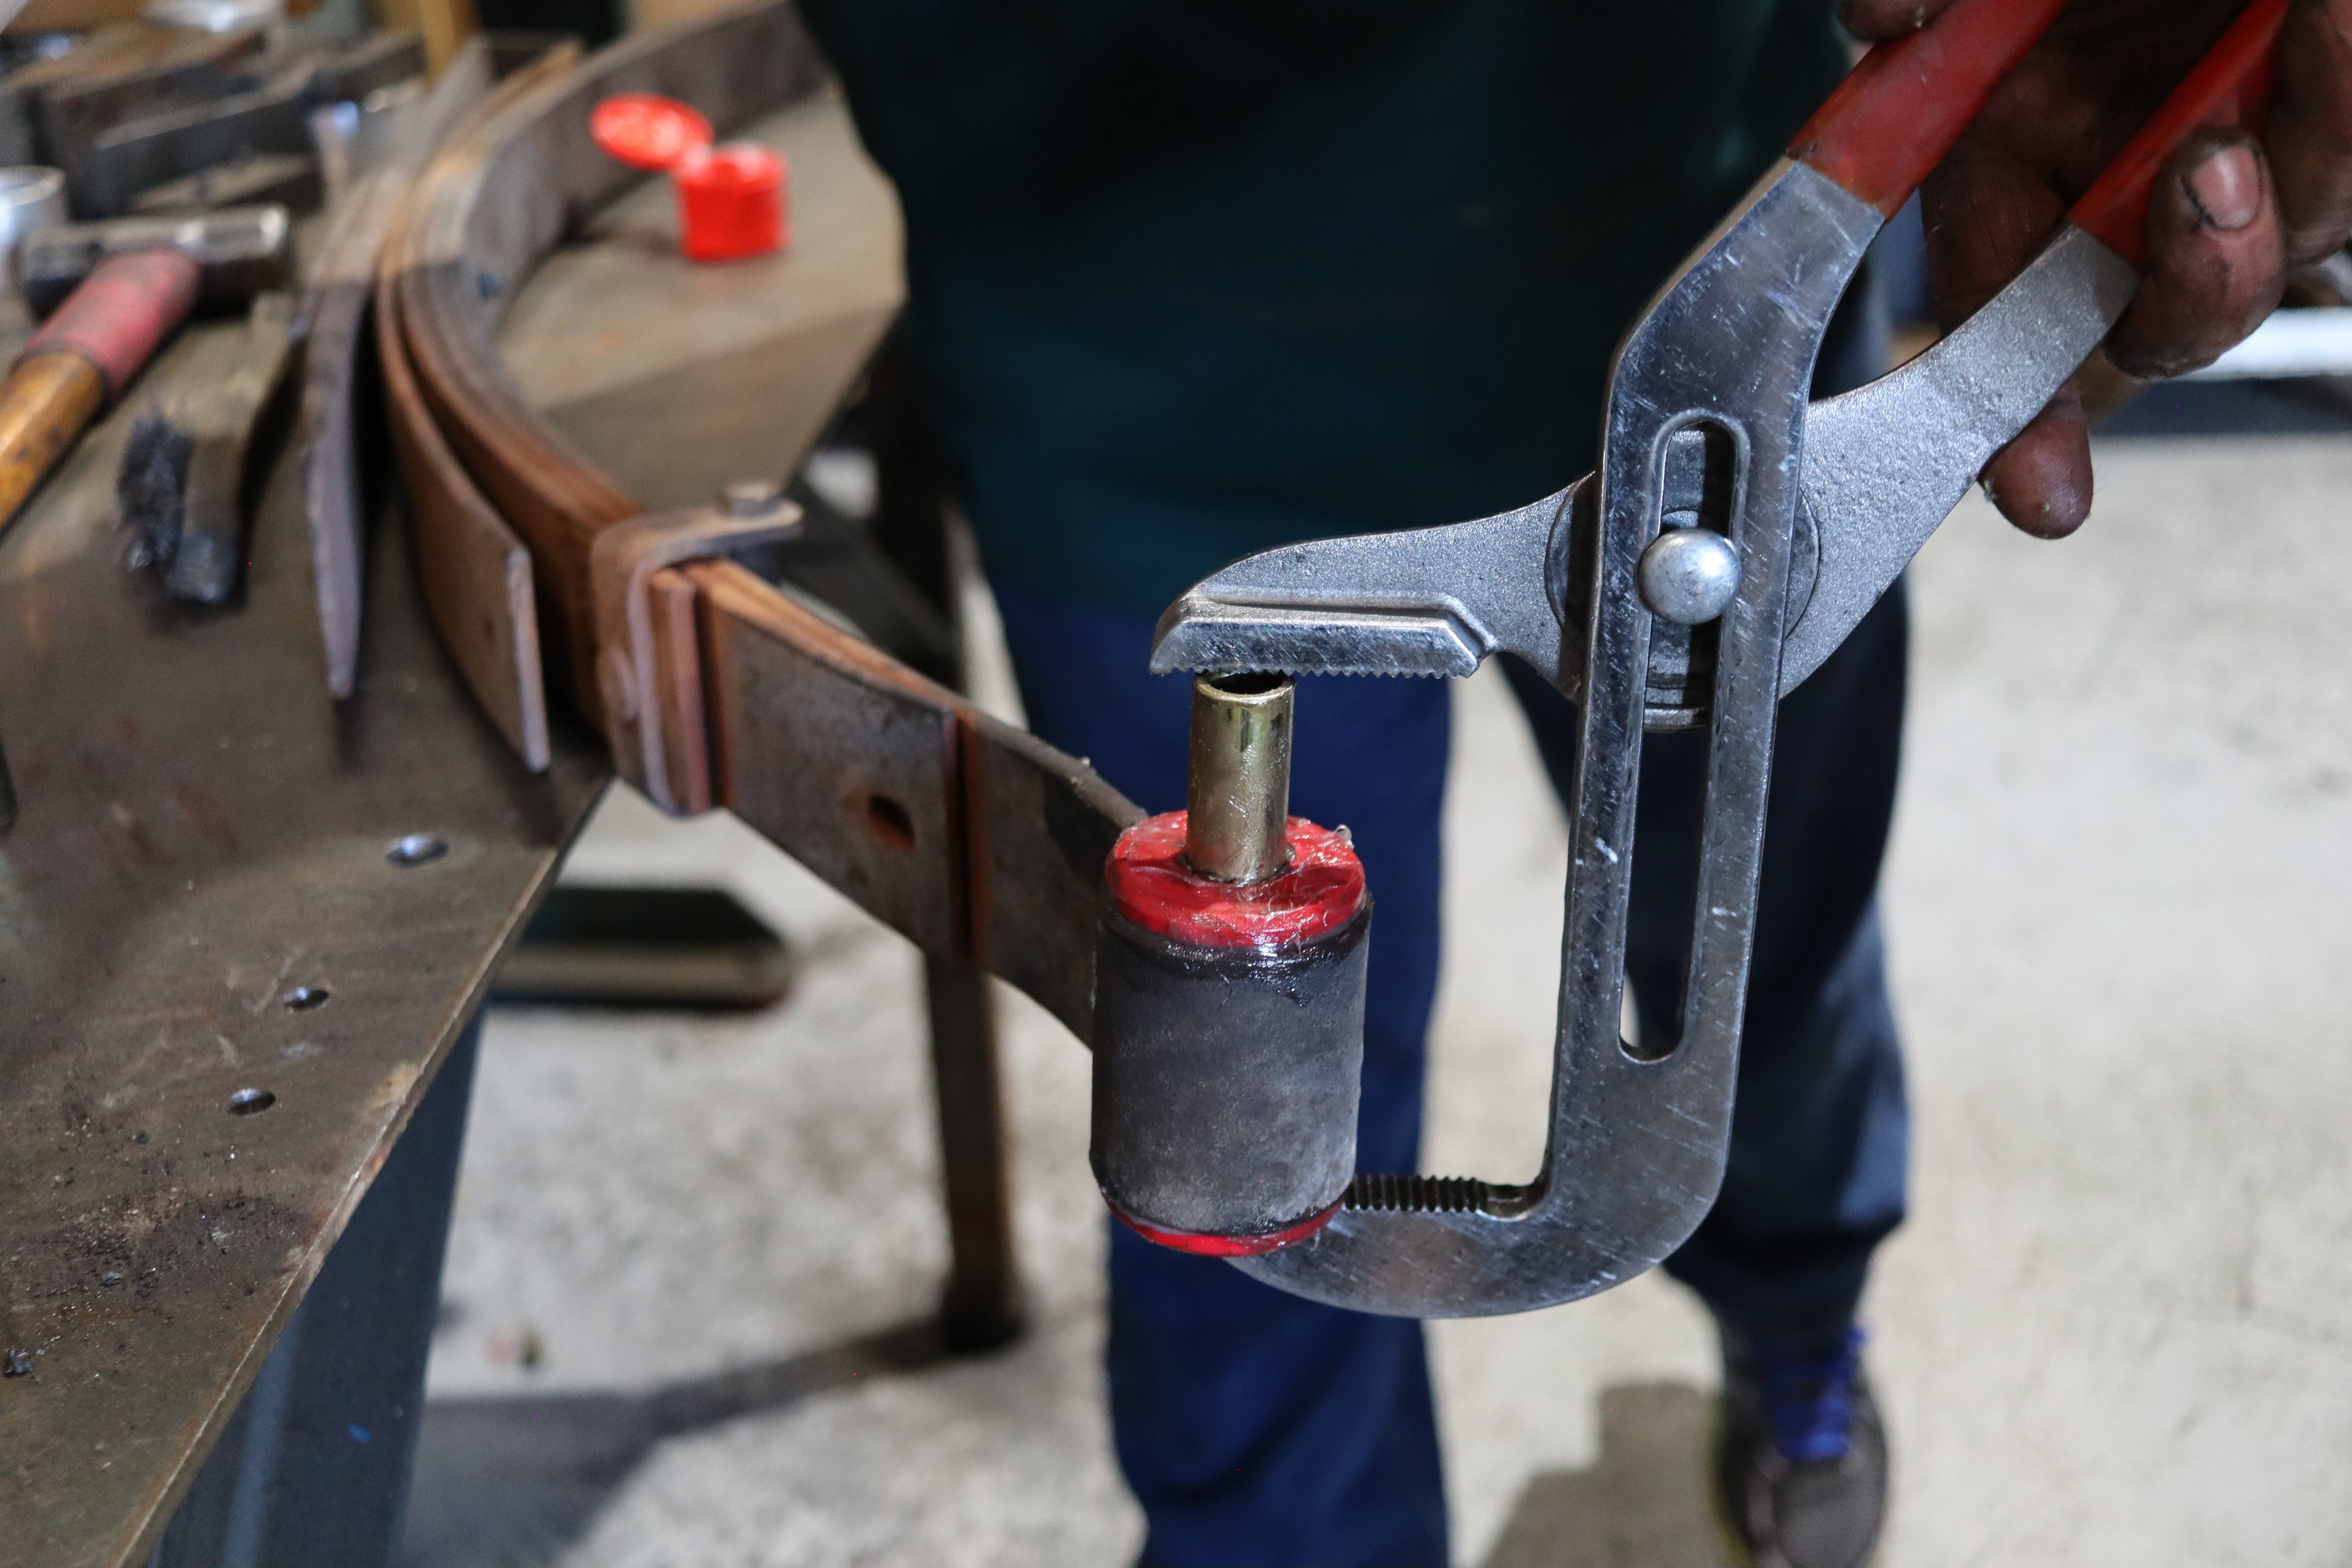
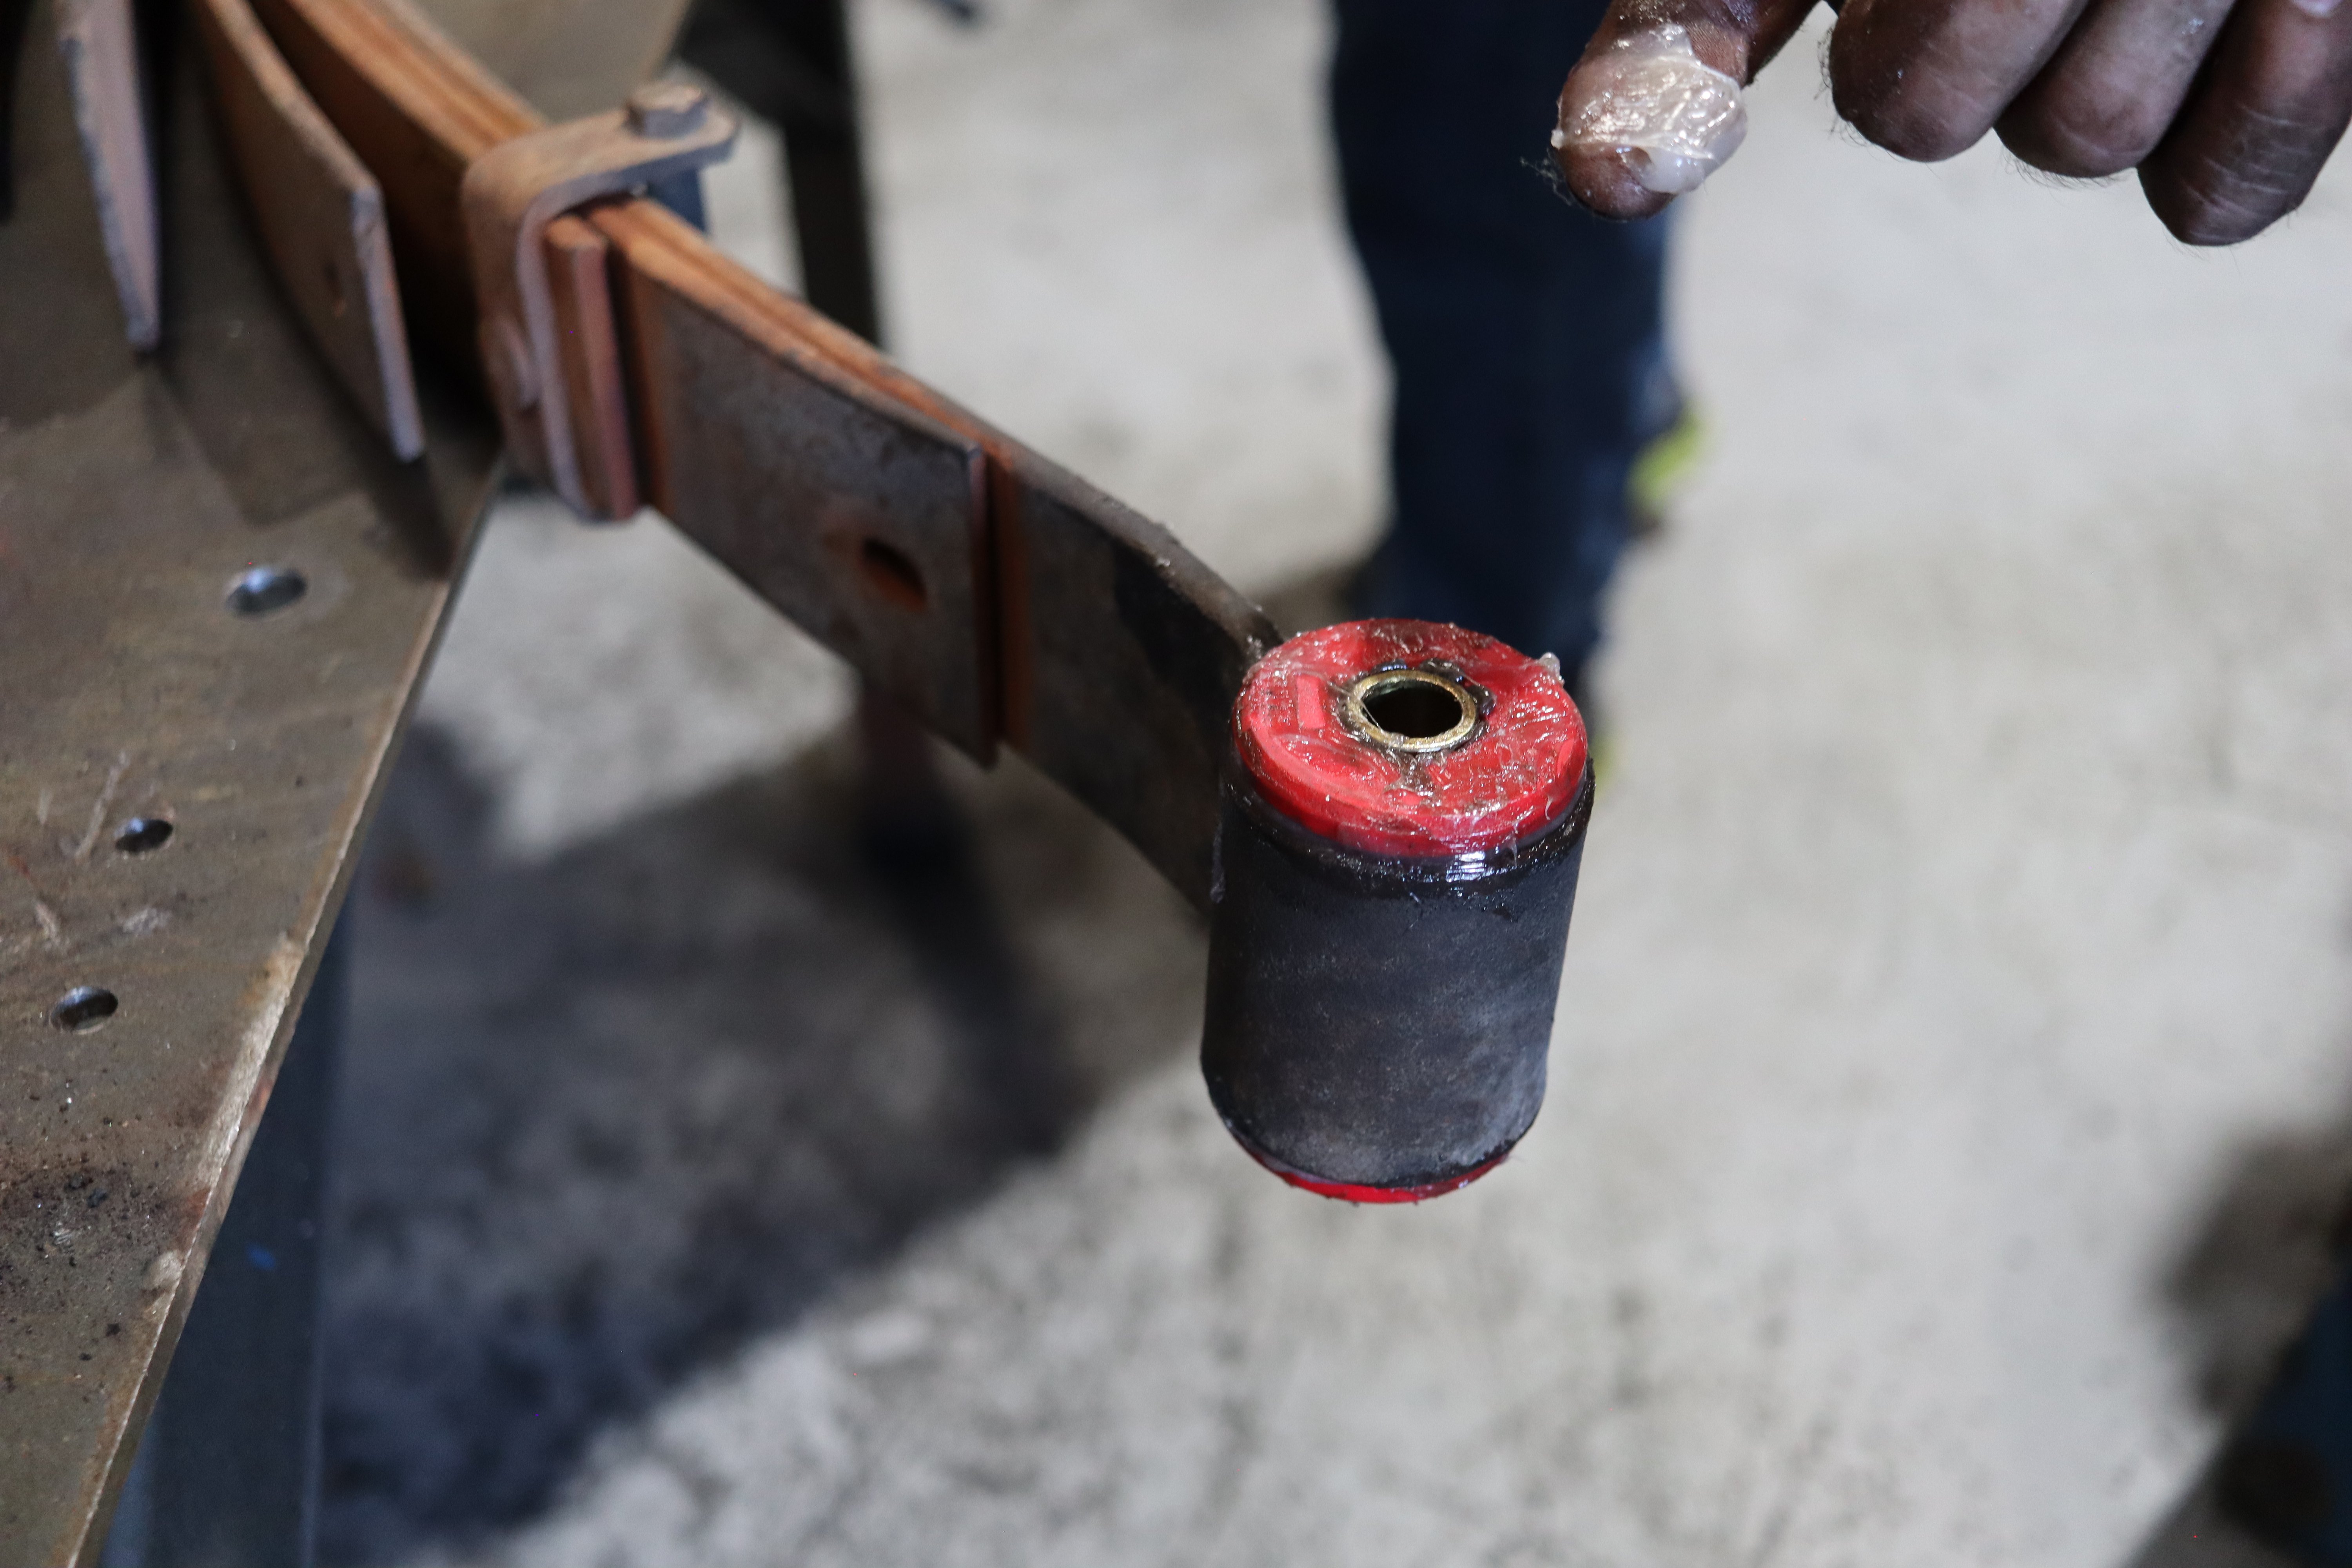
With the old bushings out, the crew slapped the new ones in with a liberal amount of grease that’s included in the kit. Part Number: 3.2126R. It’s important to note, they accomplished this with the use of wide-mouthed channel locks and a copious amount of grease…Did we mention using a lot of grease?
With the old bushings and sleeves out of the way, Billy applied a generous coating of grease to all the surfaces and inserted the new bushings and sleeves with some wide-jaw channel locks.
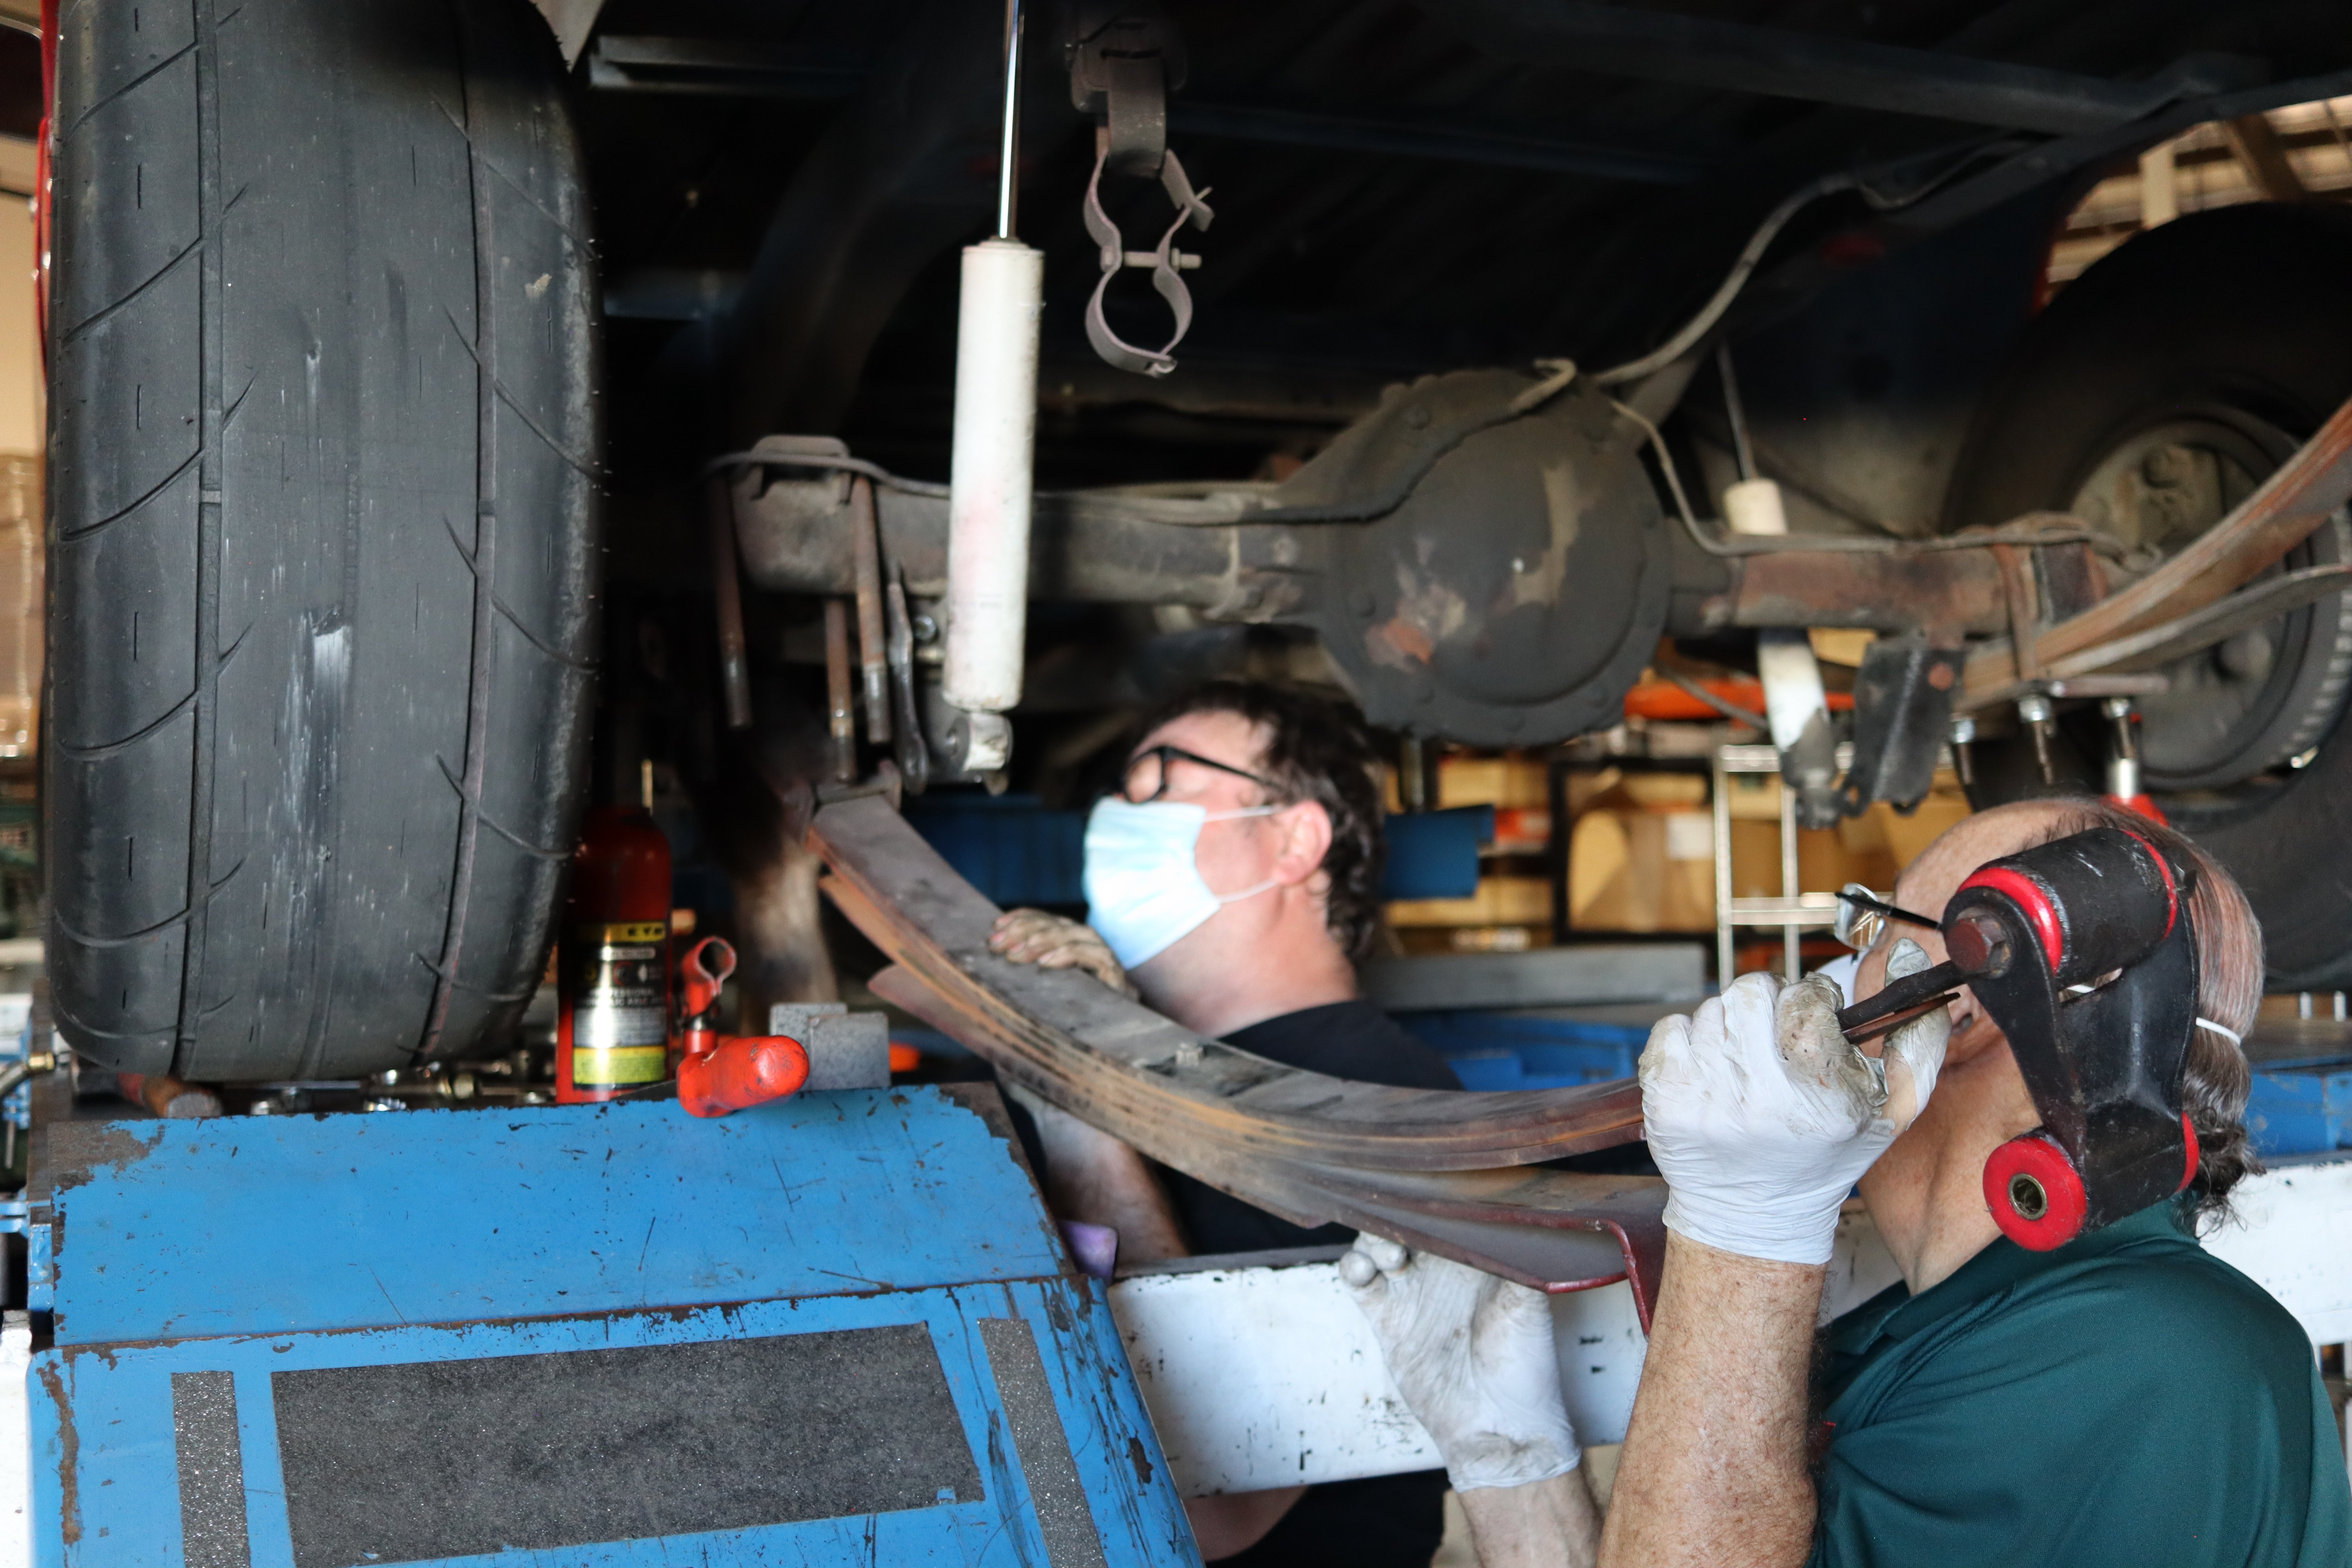
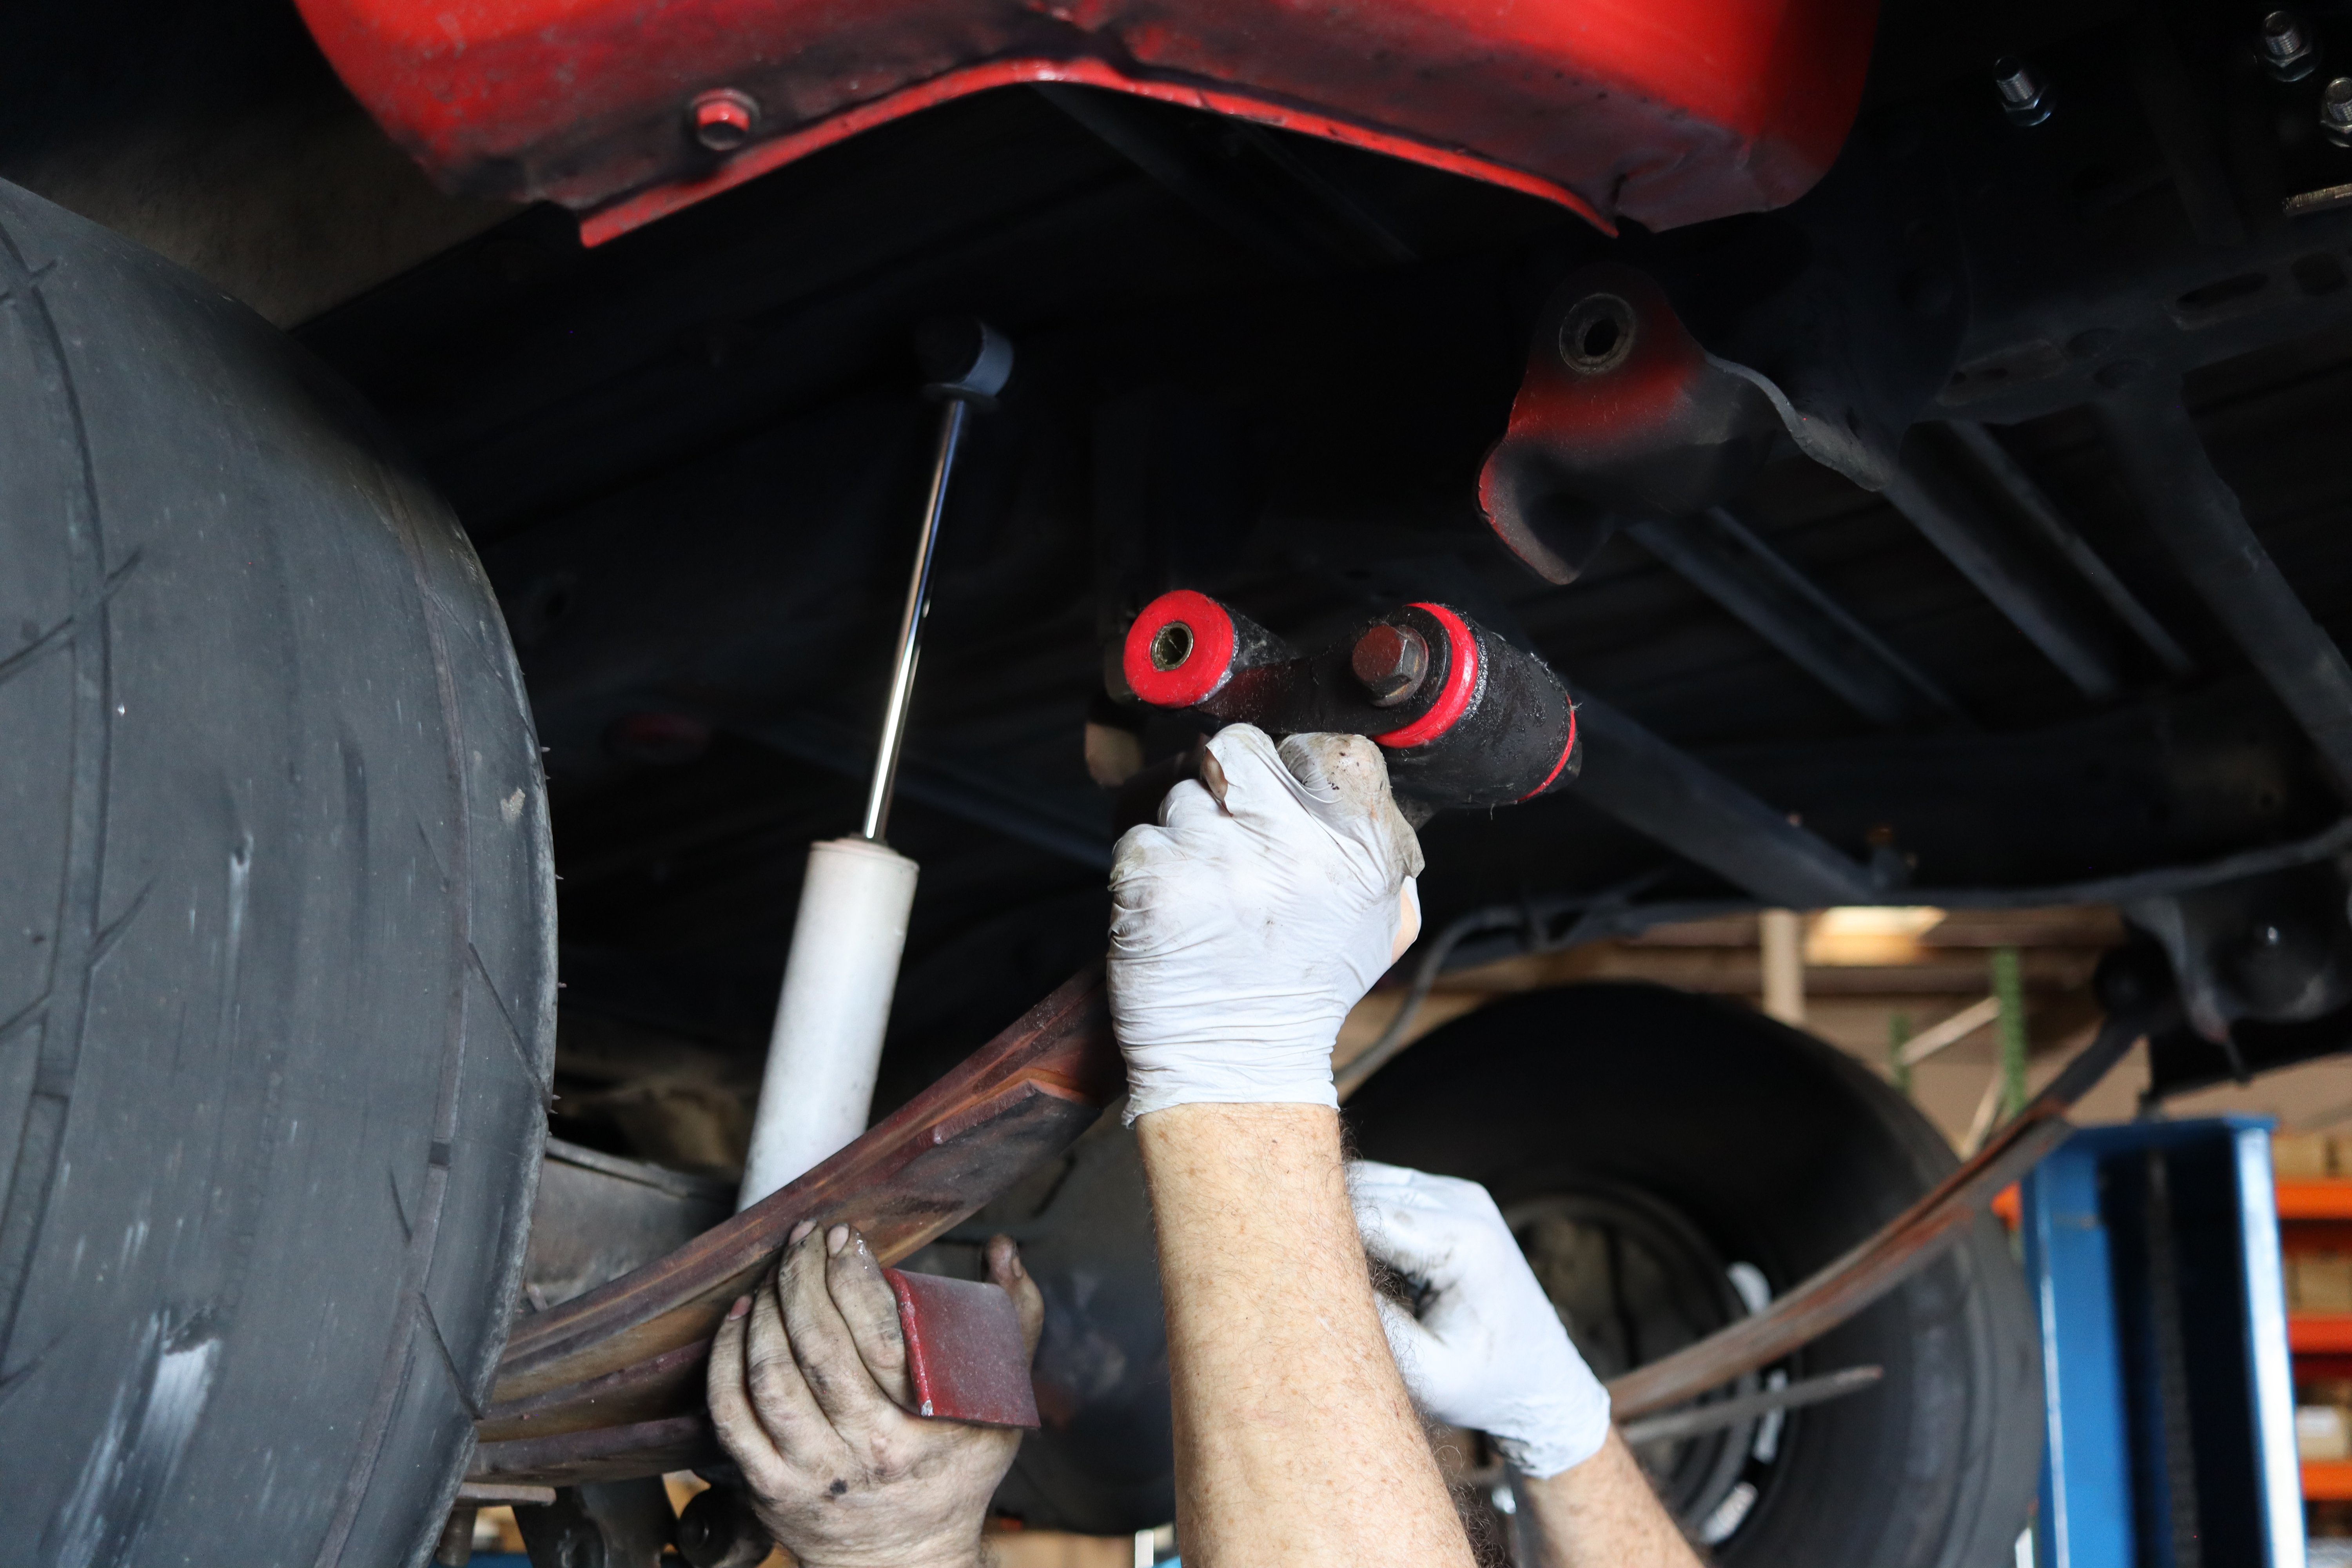
Once the new Energy bushings were in, they slapped the leaf springs back in the truck. If we didn’t have plans on replacing those leaf springs with coilovers in the future, we might have replaced them with a new set, but for now, these will work.
Because the two of them took their time, reinstalling the leaf springs with the new bushings went smoothly.
Engine And Transmission Mounts
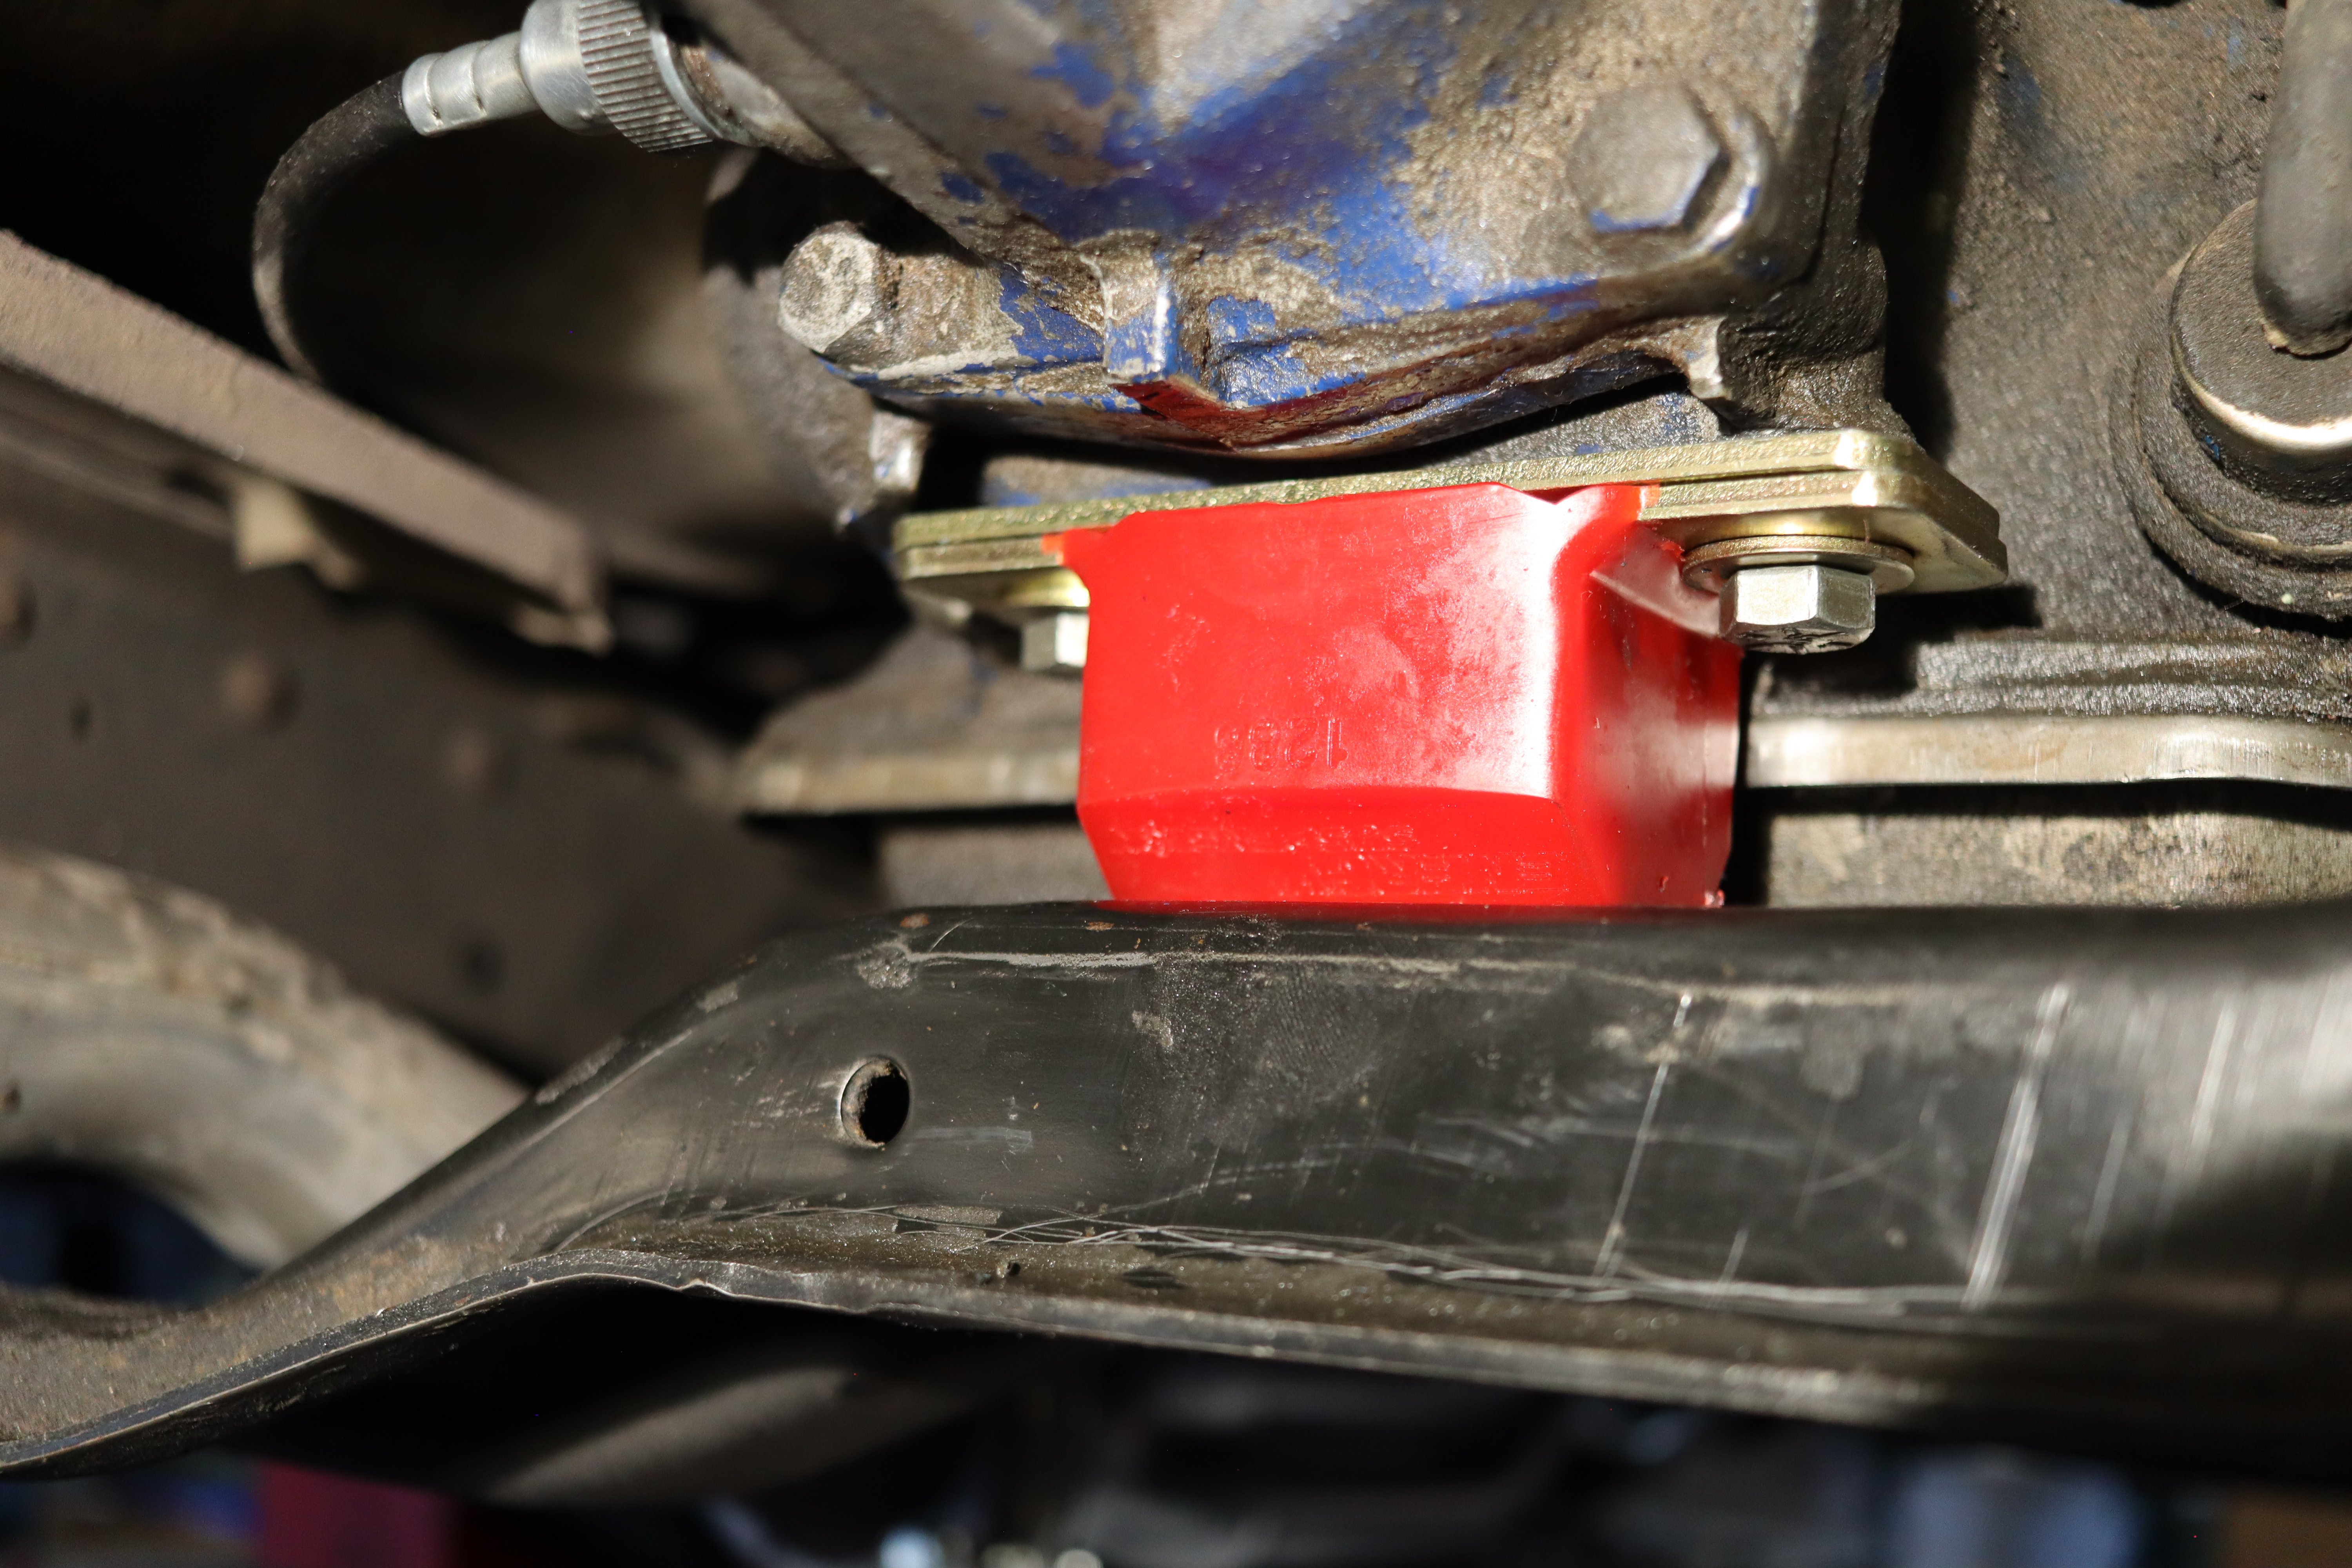
Next, Billy and the crew moved on to the engine and transmission mounts. Part Number: 3.1130R.
The cool thing about these engine and transmission mounts is the design. I had a unique opportunity to go into the belly of the beast that is the Research and Development department at Energy Suspension.
There was a very cool transmission mount sitting on the counter, and when I asked Billy about it, he said that’s just like the one going in our red C10. As you can see from the prototype design, it’s cast in clear resin, so you can see how the two metal surfaces don’t touch because of the poly material that floats between them.
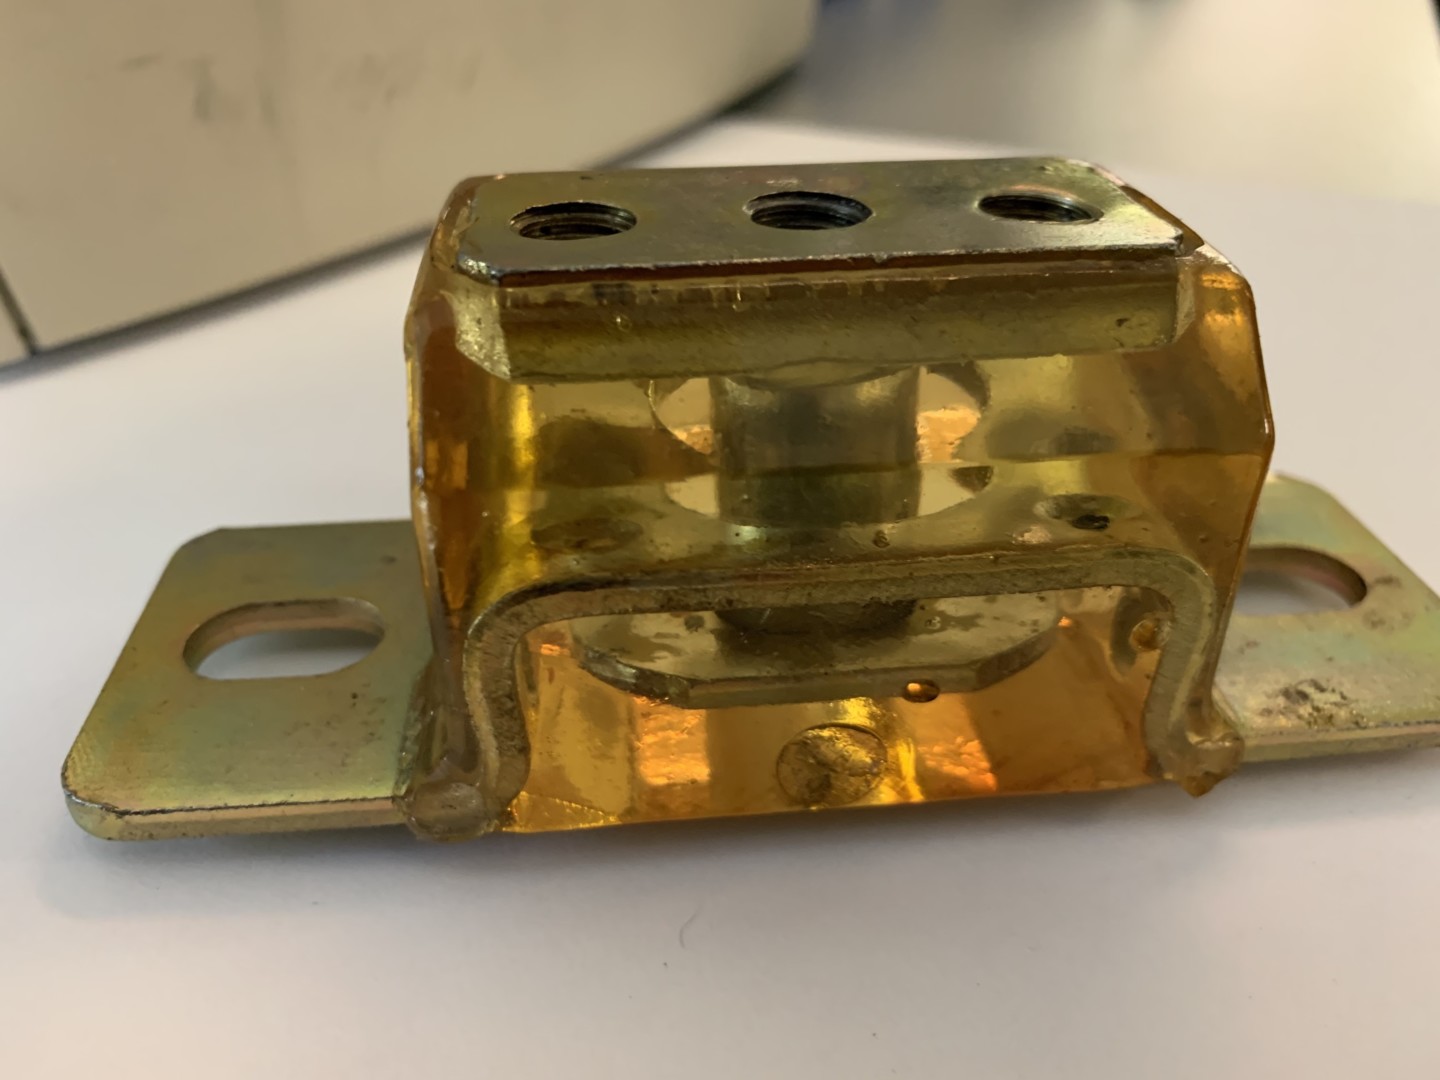
This display version of our new transmission mount shows how the safety interlock system Energy Suspension developed works.
The really interesting part about it is the safety aspect. If the polyurethane were to fail, the metal pieces interlock, making sure the whole drivetrain would not be free to bounce around.
Billy made quick work of replacing the broken transmission mount. The new one from Energy is designed to avoid a failure like the original experienced.
That was a quick swap using a transmission jack. The only difficulty resulting from a previously cross-threaded bolt which we replaced.
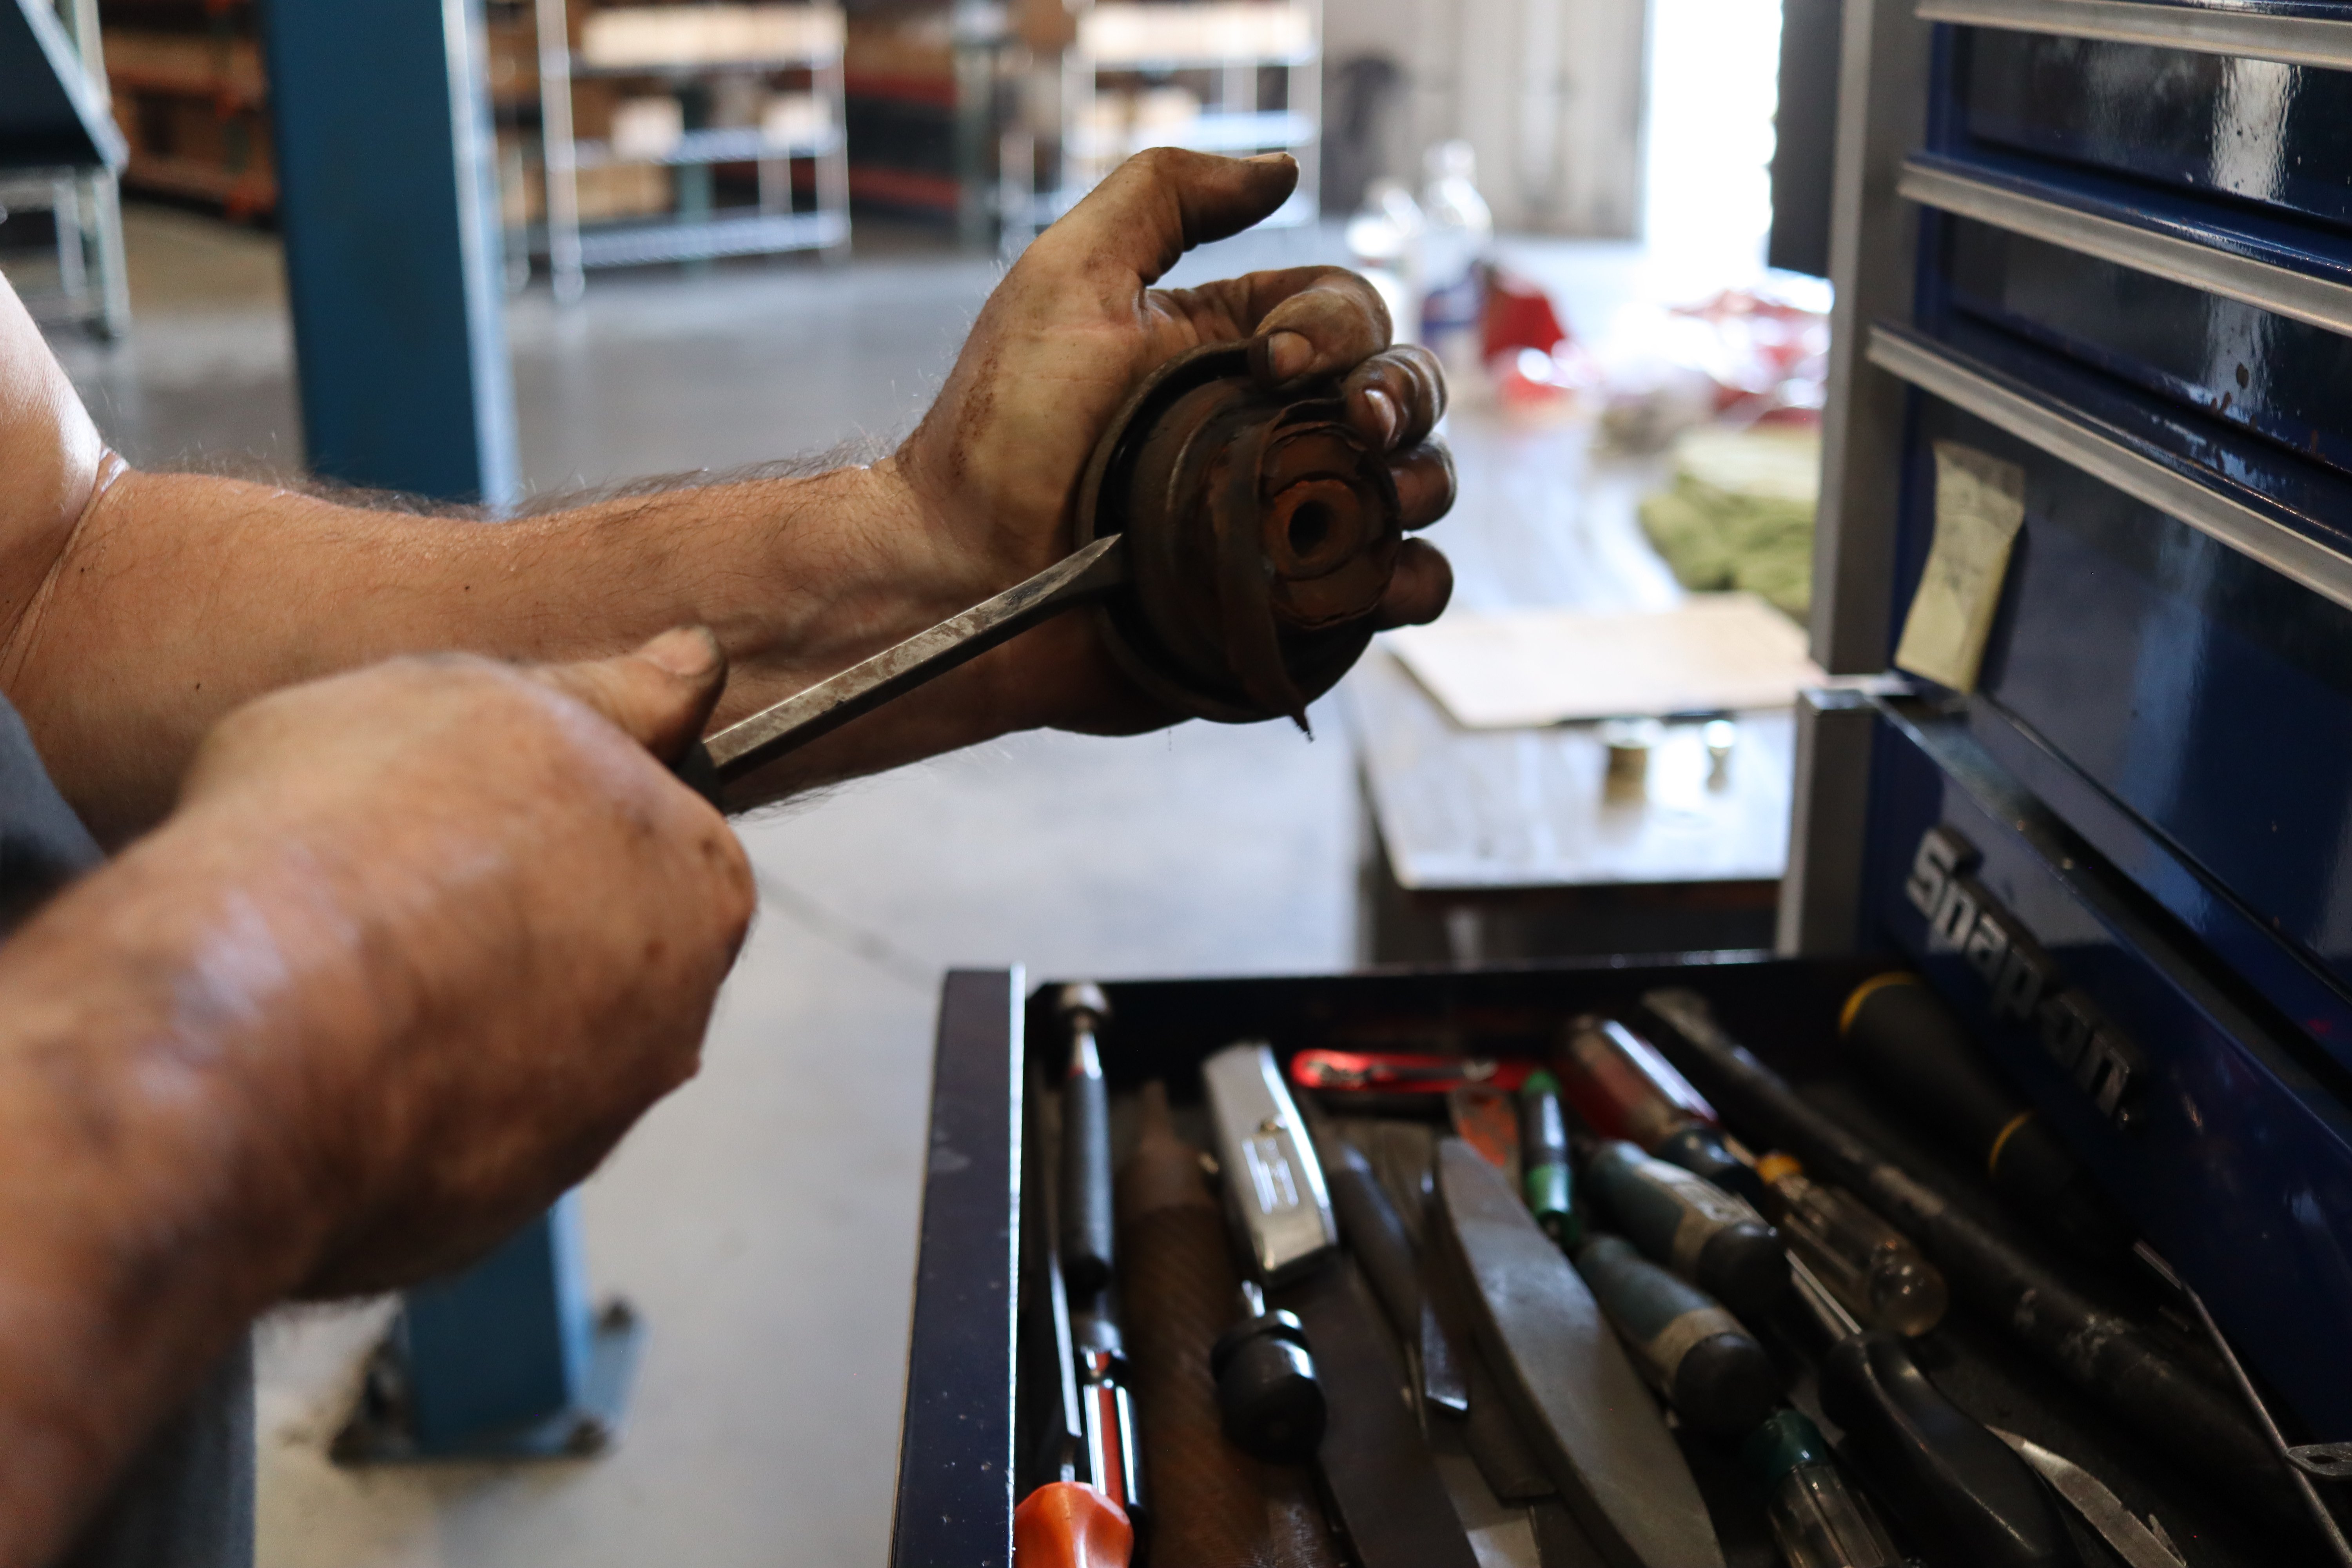
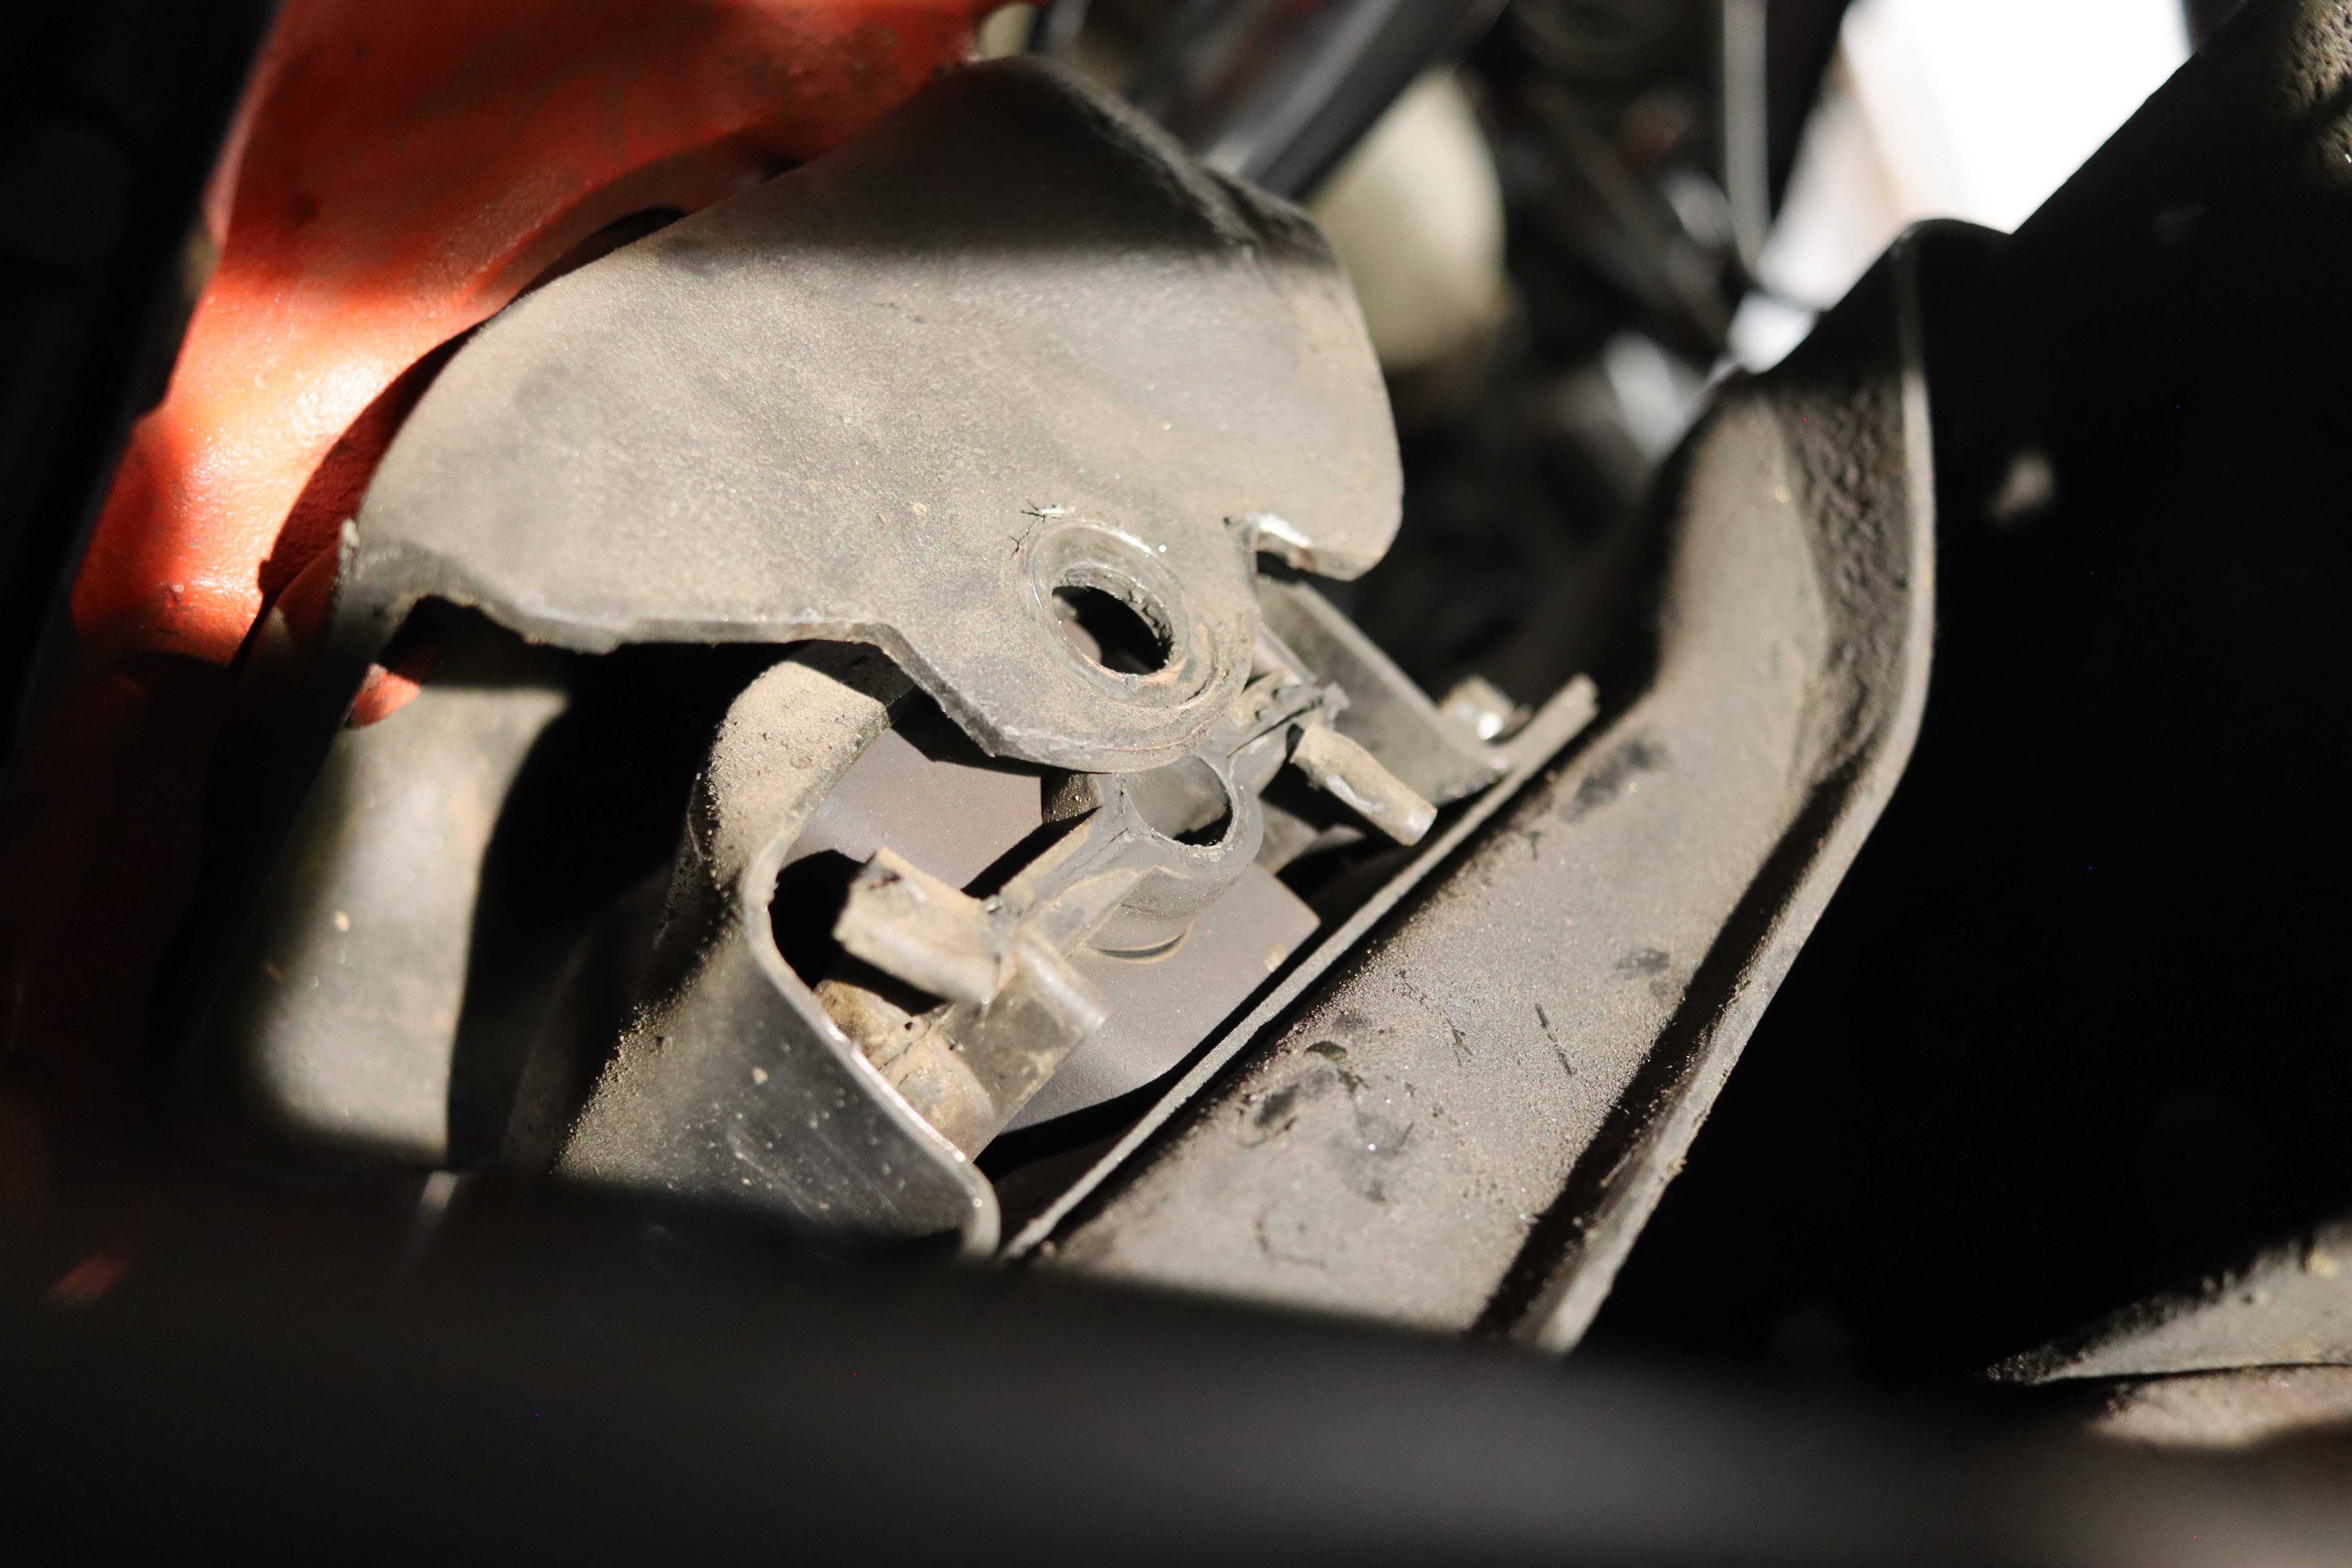
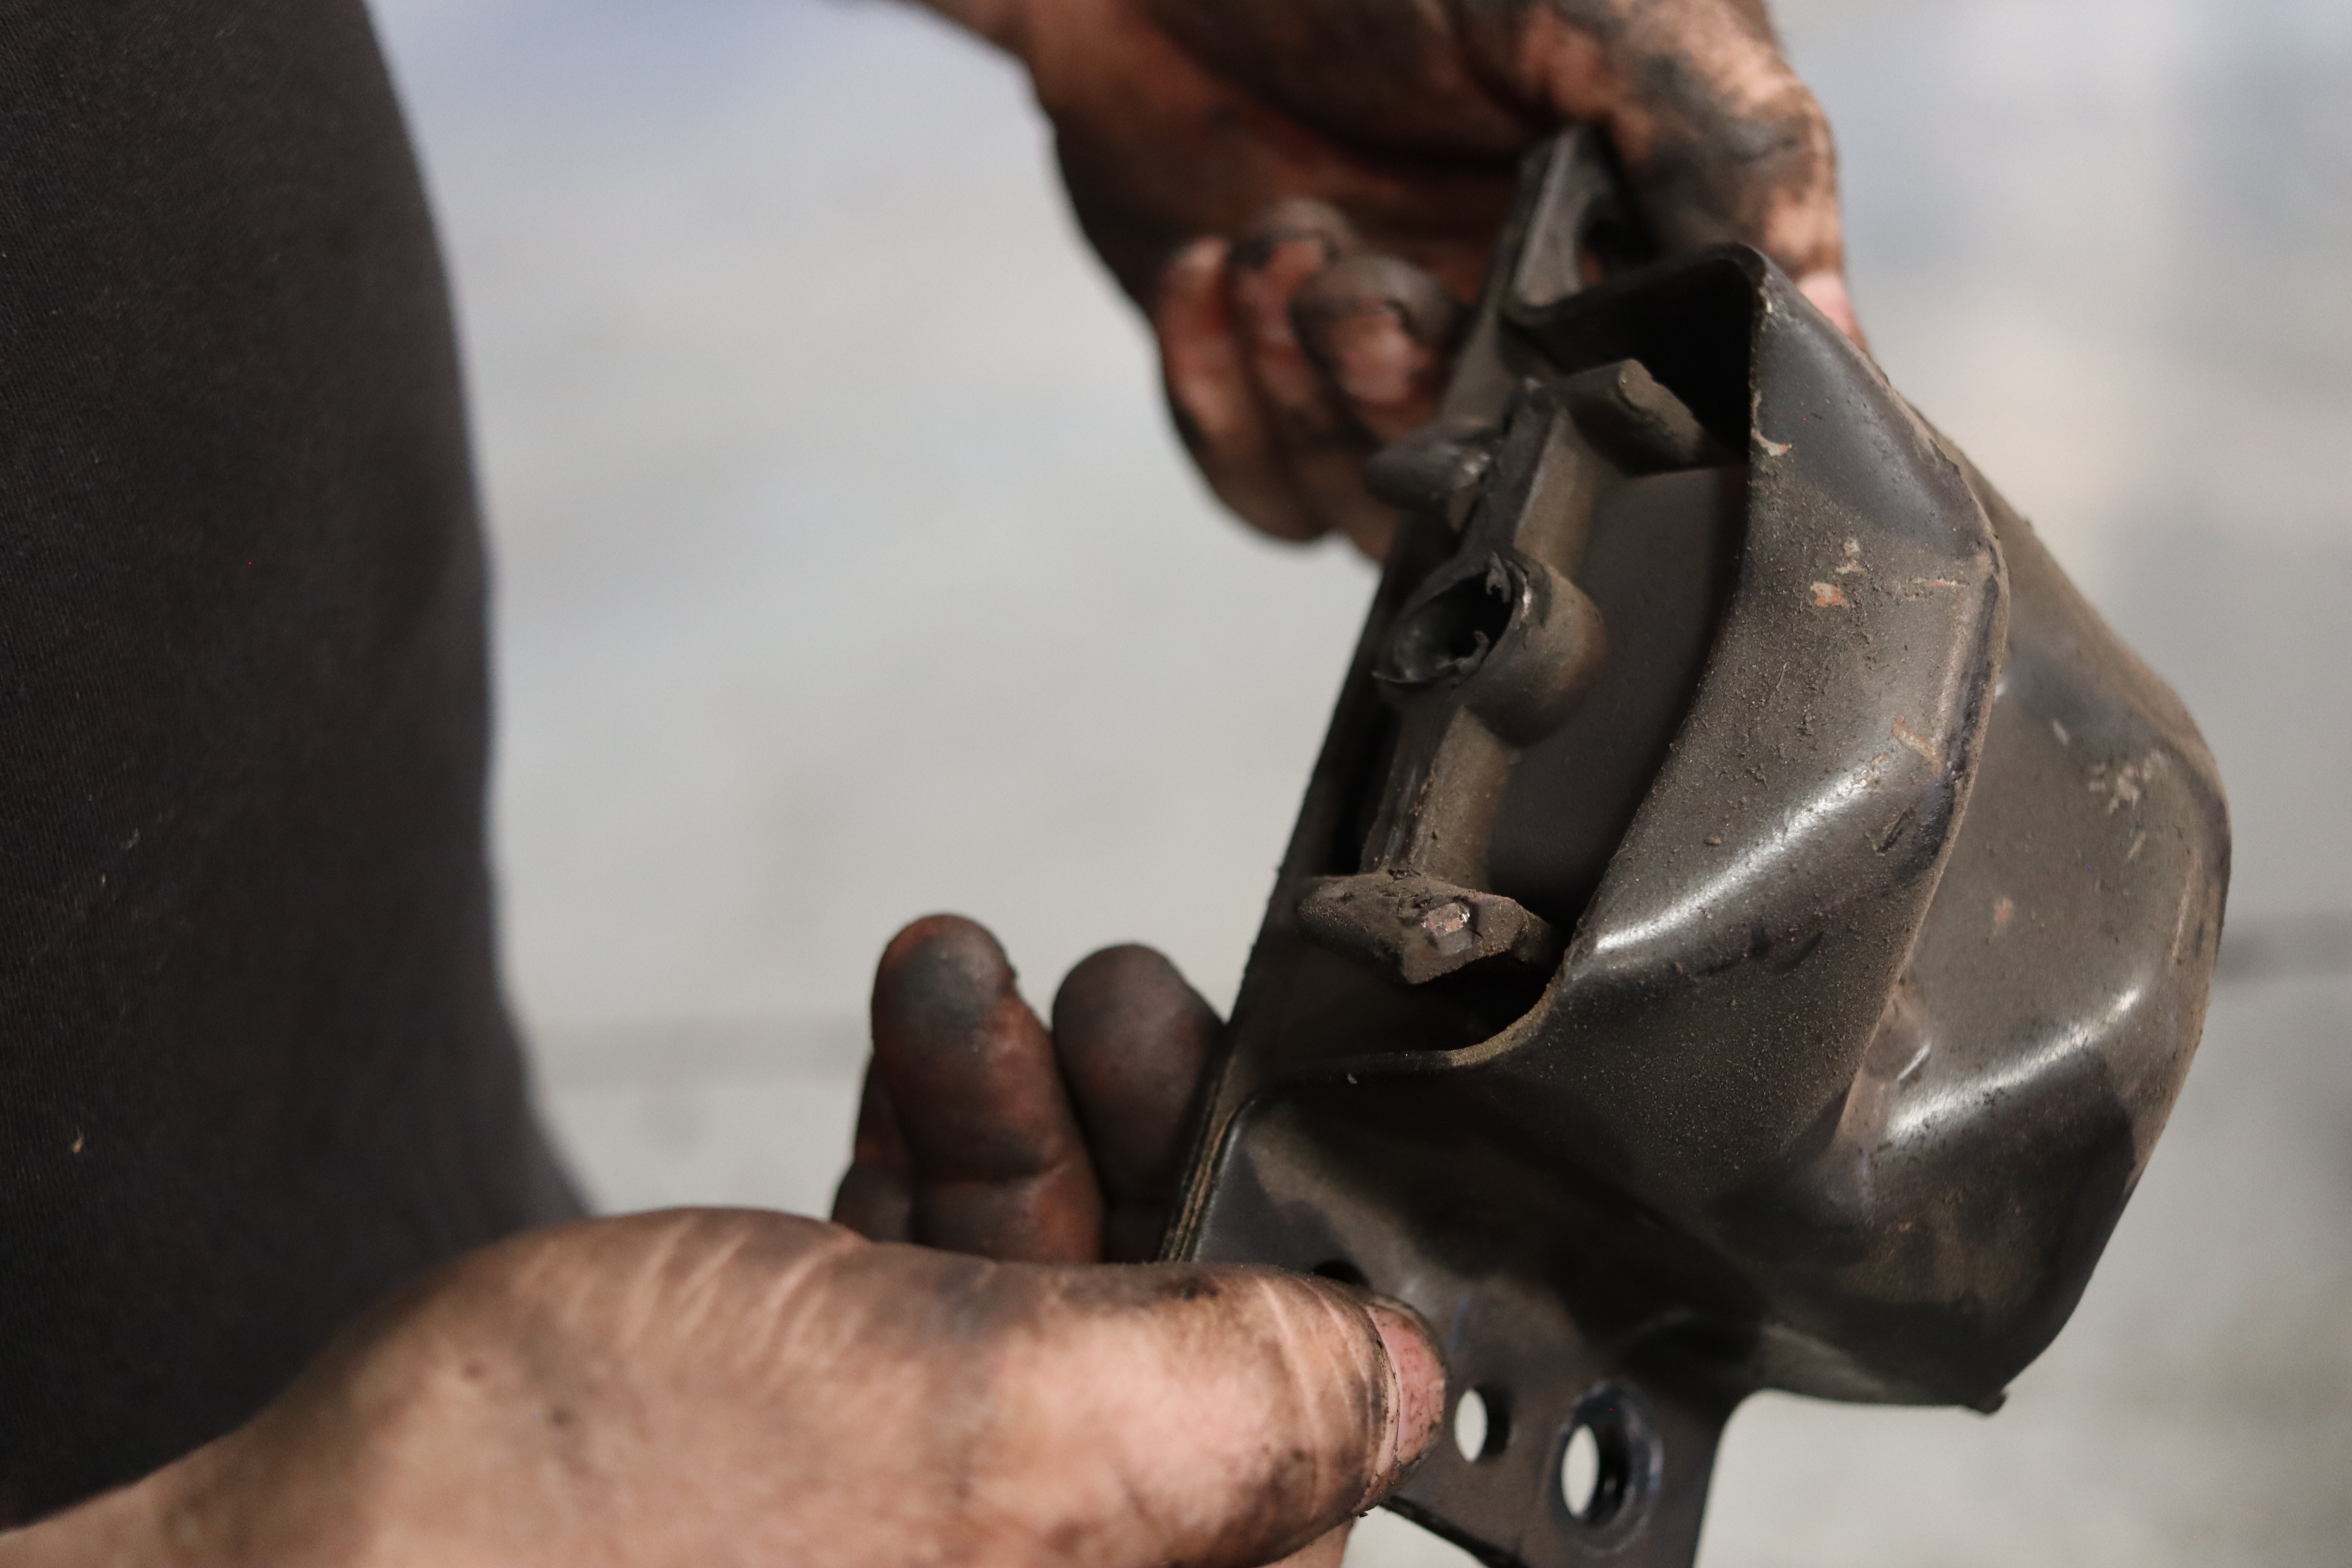
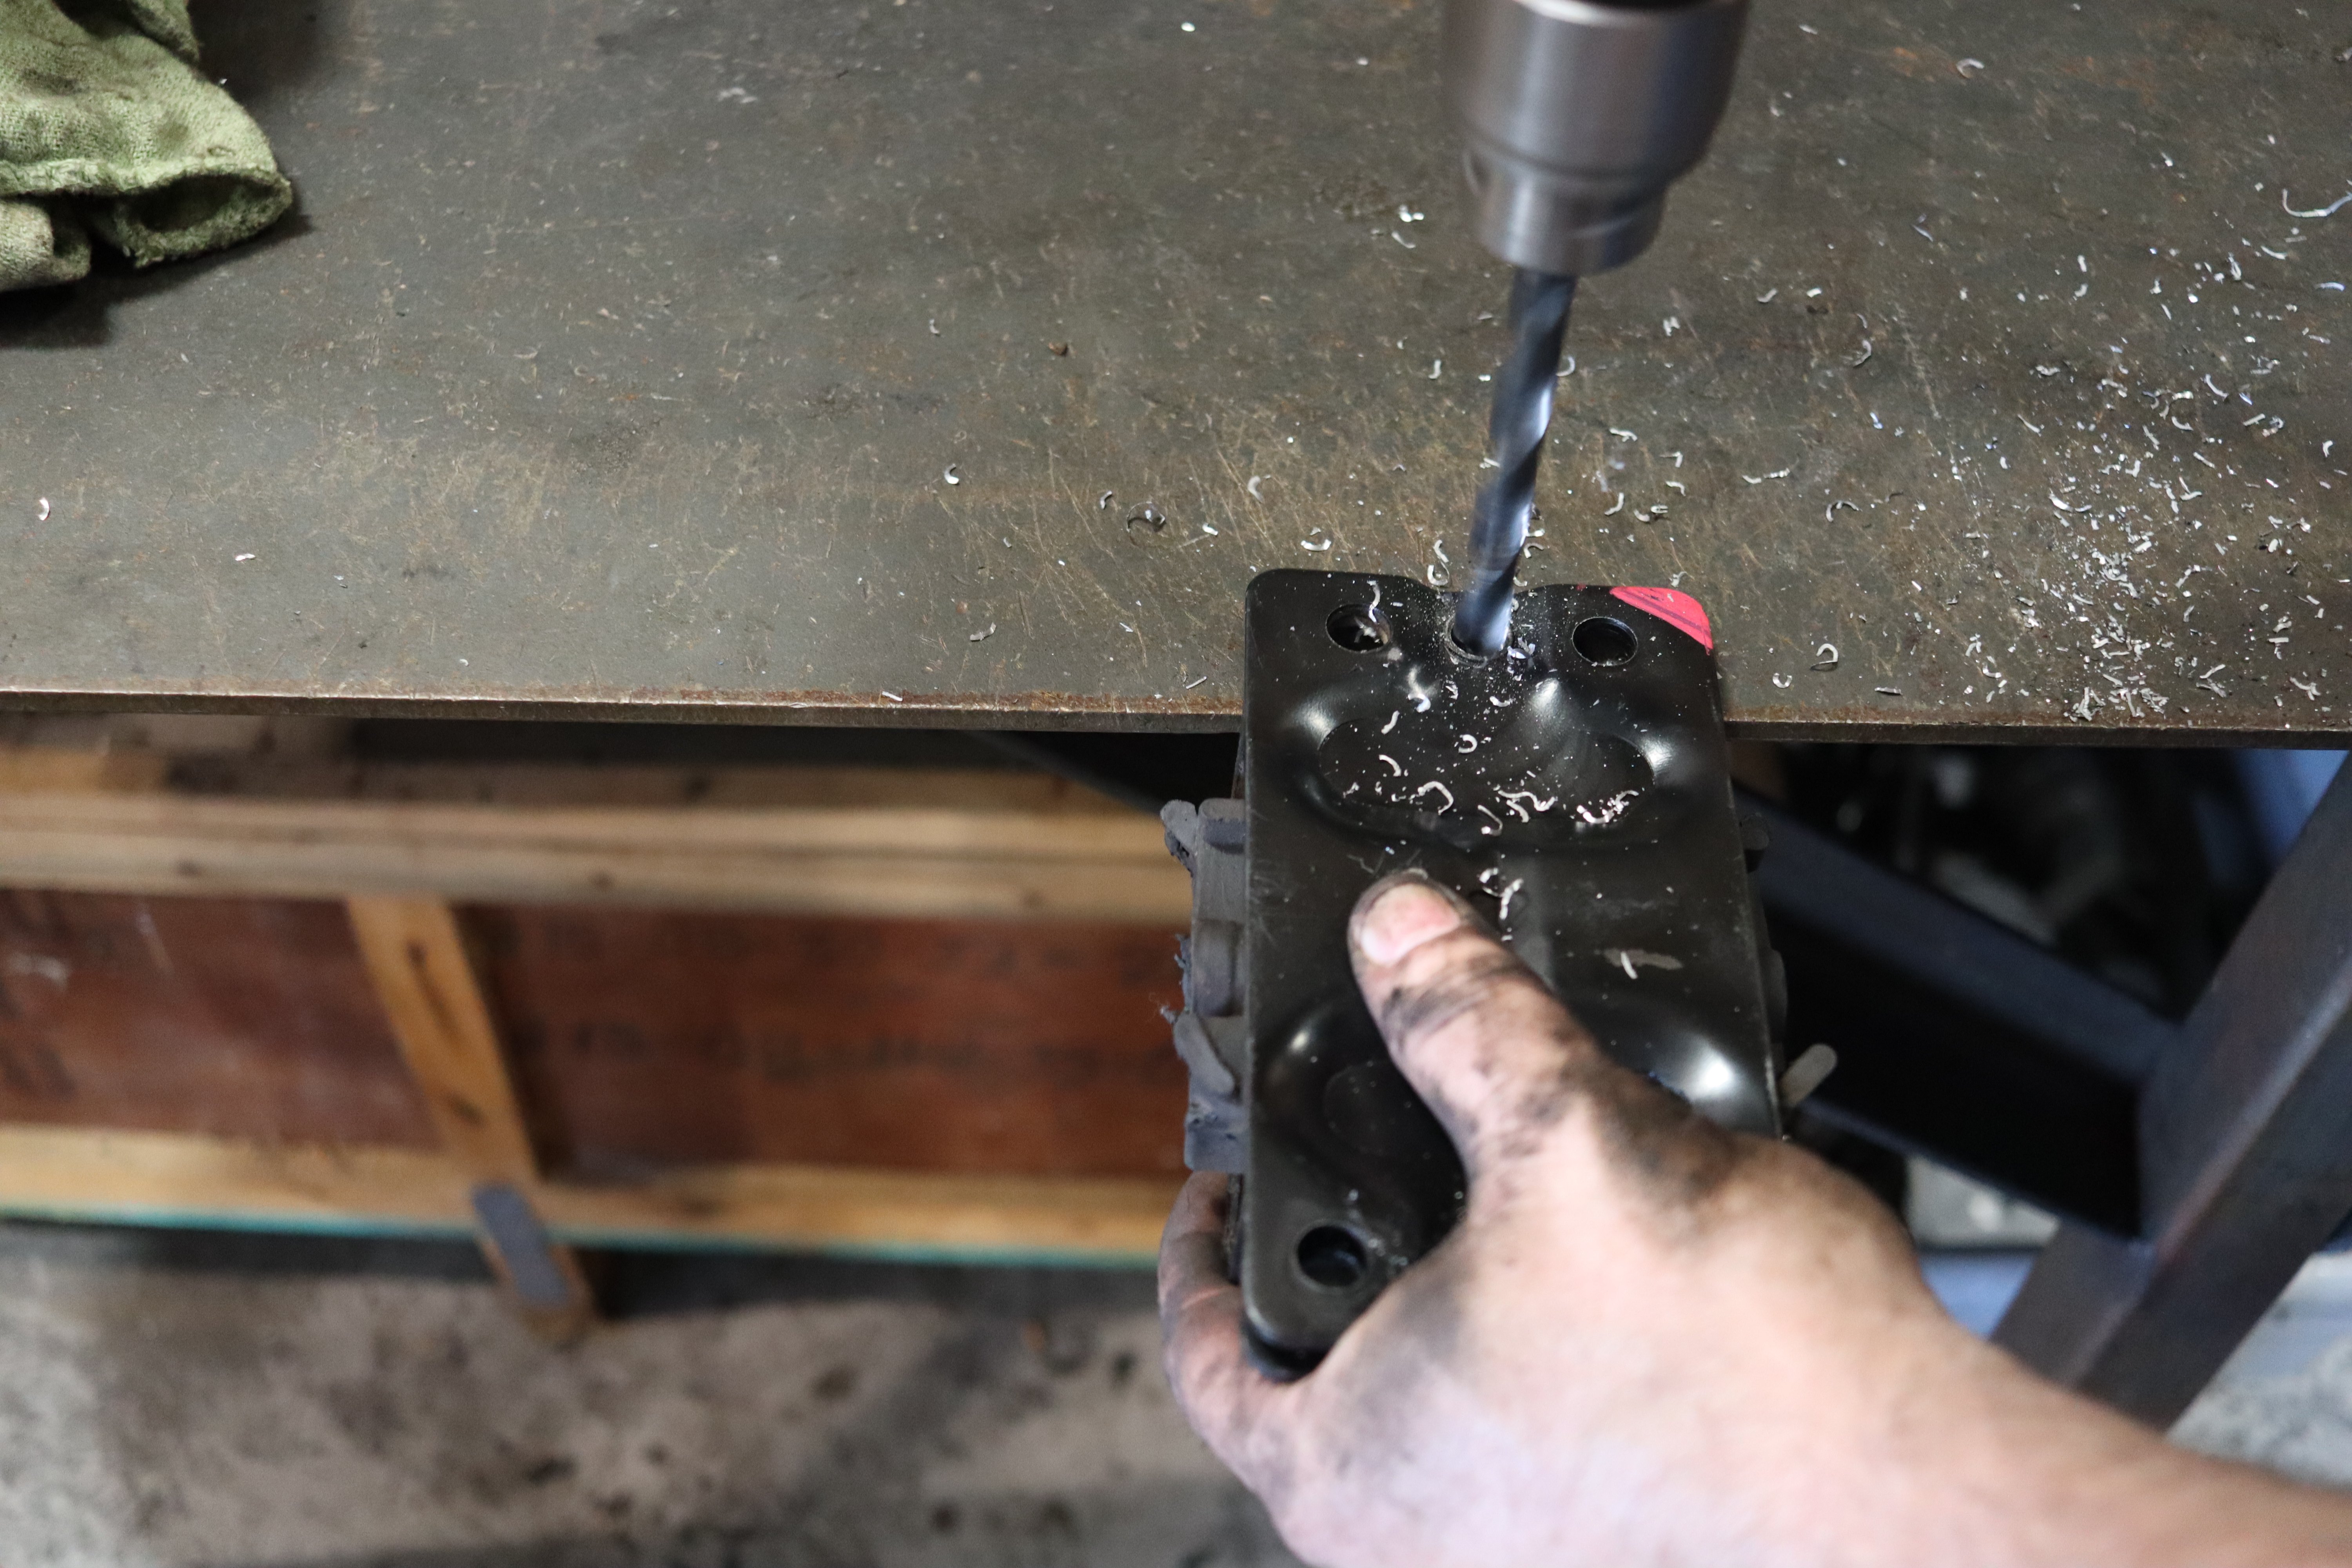
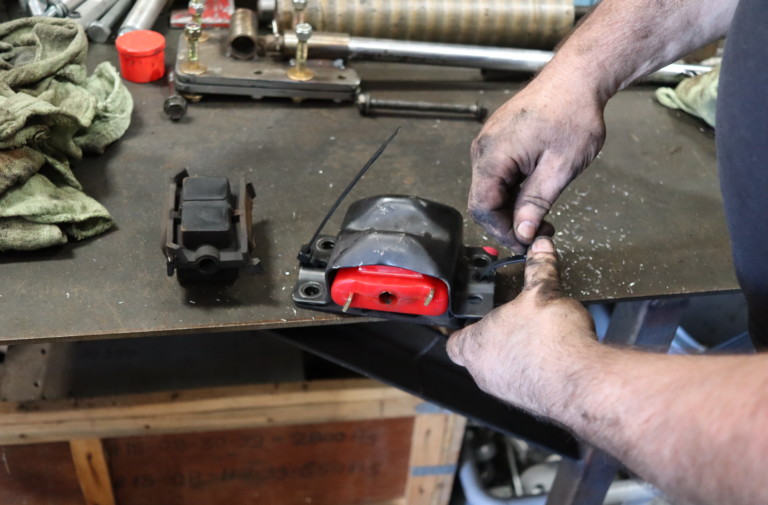
Removing the motor mounts was challenging, but nothing some clever jack work on the engine couldn't get around. Billy then split the shell by drilling the rivets out and removed the factory rubber.
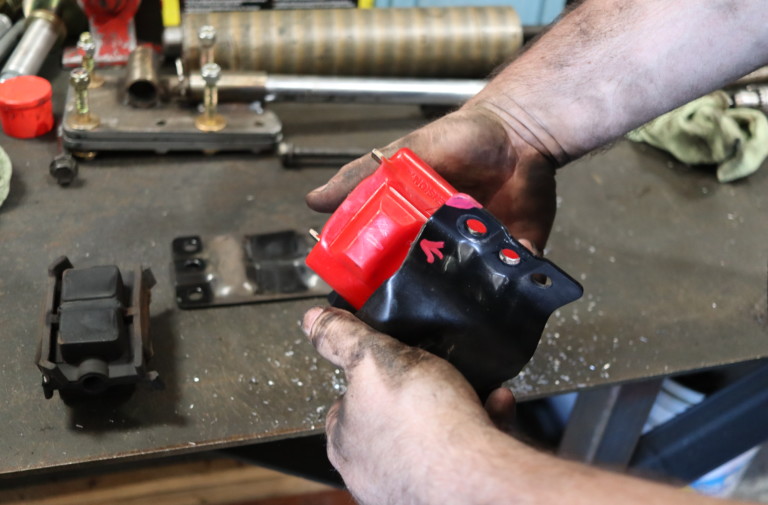
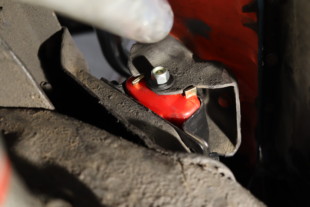
The engine mounts proved to be much more difficult, but only because of the bolts that run through them. Not because Energy’s poly mounts are any more difficult to install than factory versions. The most difficult part of the engine mount swap was drilling out the rivets that hold the outer shell together. Once the shell was in two pieces, Billy slipped the new Energy bushings inside and zip tied the shell back together.
The new Energy motor mounts fit in the factory shell, and it is important to note the orientation of the mount as indicated in the instructions.
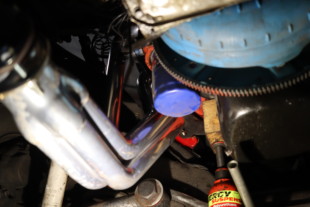
After a quick test fit, he jacked the engine up on alternating sides to create the room he needed to slide the bolt through the two halves of the engine mount.
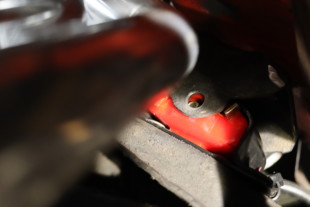
The final step was to reinstall the motor mounts. The difficult part was lining up the bolt holes, but Billy got clever with a 2x4 and made it work.
Final Impressions
On the drive home, it was immediately apparent how much better the Energy bushings are than the clapped-out rubber stockers. Not only did we not feel every pothole, manhole, and reflector, but it rides like a plush new Cadillac compared to how it was before!
Seriously, we aren’t just blowing smoke – this is honestly one of the most cost-effective ways to smooth out your ride if you have something classic or lowered. That is, if you’re willing to do the work yourself. Because if you don’t have a lift and air tools, you’re going to be sweating – but trust us, it will be worth it!
The C10 doesn’t want to jump from lane to lane under acceleration and deceleration anymore, which is huge because that was quickly becoming a safety hazard. It also isn’t as loud and shaky on the inside, which makes the ride much more pleasurable for cruising. While the little 305ci is no rocket, it is fun to drive fast, and we’re definitely putting more power to the ground since there isn’t such a shift caused by the really loose bushings. In short, these new bushings from Energy Suspension did wonders for our little red C10.


