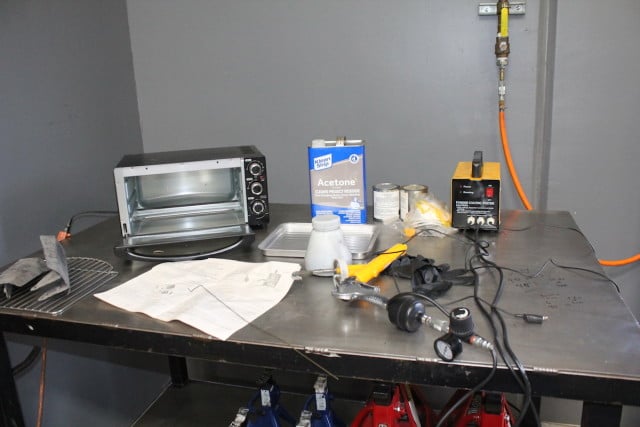
Harbor Freight’s powder-coating kit comes with almost everything included. You will need an electric oven, metal cleaner or prep, and solid powder in the color of your choice.
“Powder-coated” is often touted as one of the benefits and features whenever a manufacturer is describing its latest products. Although we hear the term often, not many people really understand what powder coating is, and fewer realize the process can be done at home with great results.
Powder coating is stronger than solvent-based paint coatings, takes very little training or practice, and the cost is very competitive to paints. For the do-it-yourselfer, a tougher coating with improved corrosion protection is easily achieved with one of the home use kits on the market now. We’re going to peel back the coating and show you how it’s done.
Why Is It Better?
A dry powder coat is not dependent on the evaporation of solvents to create a solid coating. Solvent-based paints, on the other hand, must have this evaporation to bond to the surface of the material being covered. Many times the evaporation process is quicker than intended by the paint manufacturer, causing porosity issues in the coating.
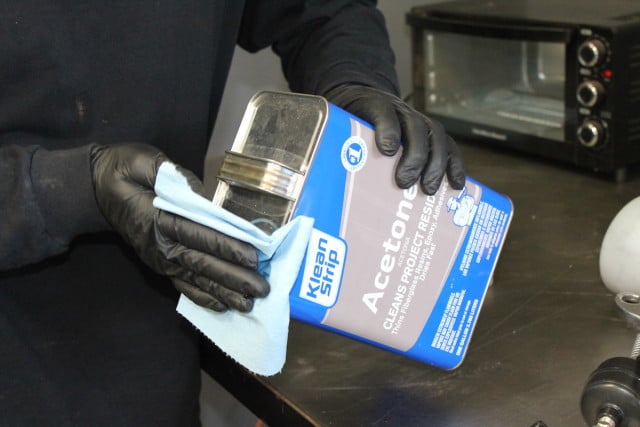
Many hobbyists prefer to use mineral spirits to clean the surface of the metal prior to spaying. We opted to use acetone because, like mineral spirits, it doesn’t leave residue behind.
The porosity problems caused by solvent evaporation will not allow the coating to bond thoroughly over the entire substrate of the painted surface. Therefore, chemicals or corrosion can get under the coating and promote corrosion of the metal under the paint.
Dry powder coating is stronger and more resistant to chipping, which makes this coating perfect for parts that are exposed to harsher environments, like brake backing plates, for example.
Because powder coating is a solid it can be applied more heavily than liquid paints without having to worry about runs, drips, or sags. Liquid paint tends to be thin near edges or bends in the surface. Powder coating flows evenly when heated, so there is no area with an uneven coat.
Paint usually is applied in multiple coats with two passes being the absolute minimum for acceptable coating. Powder coating can be applied by electrostatic spray from one to six millimeters thick in one pass.
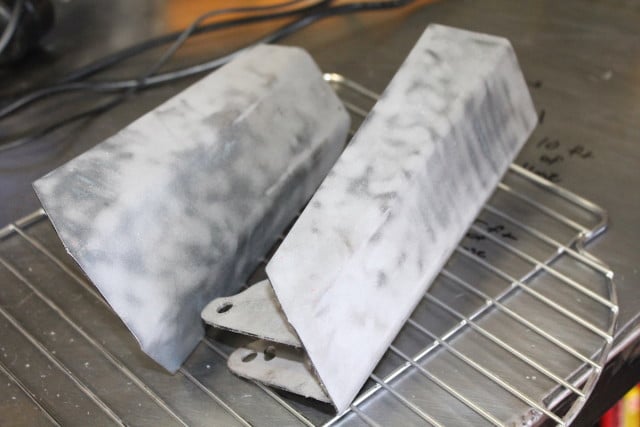
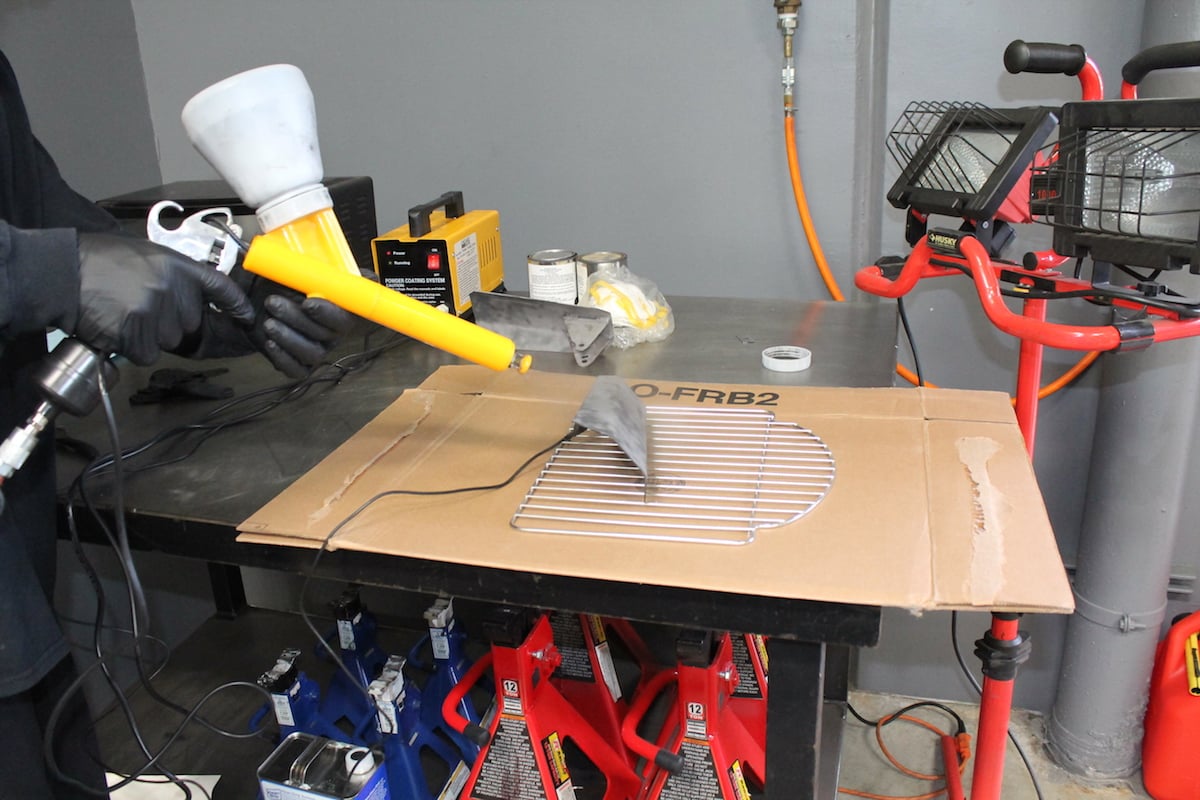
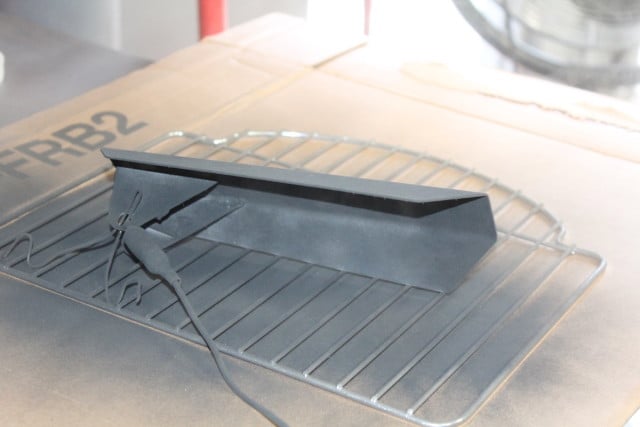
We found it easiest to put the parts on the oven grate to minimize moving the parts and risk shaking the powder off.
So, it is pretty clear that powder coating is friendlier on the environment, cost competitive, provides a stronger coating, and protects better. What do you need to do to take advantage of this technological miracle?
How You Apply Powder Coating
There are several home powder coating kits on the market, but one of the most affordable is the kit sold by Harbor Freight Tools. Priced right at 80 bucks, it is a kit that almost every home do-it-yourselfer can handle. Our biggest question was: just because it is affordable, would it do the job as well as we expected? We were set to find out.
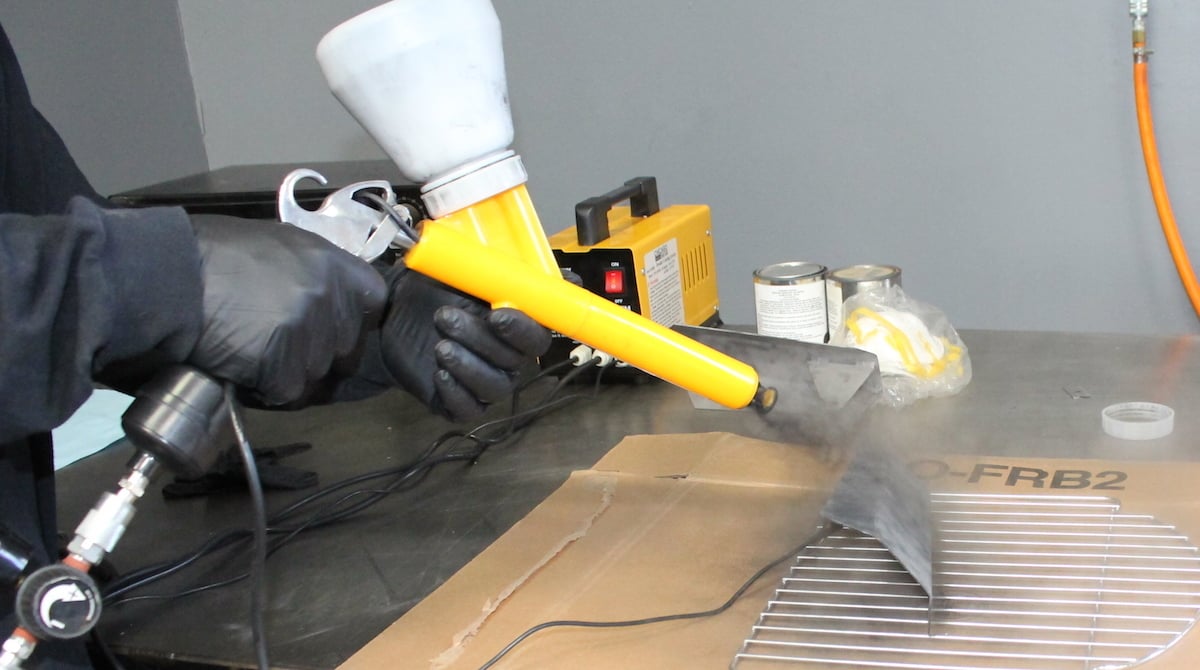
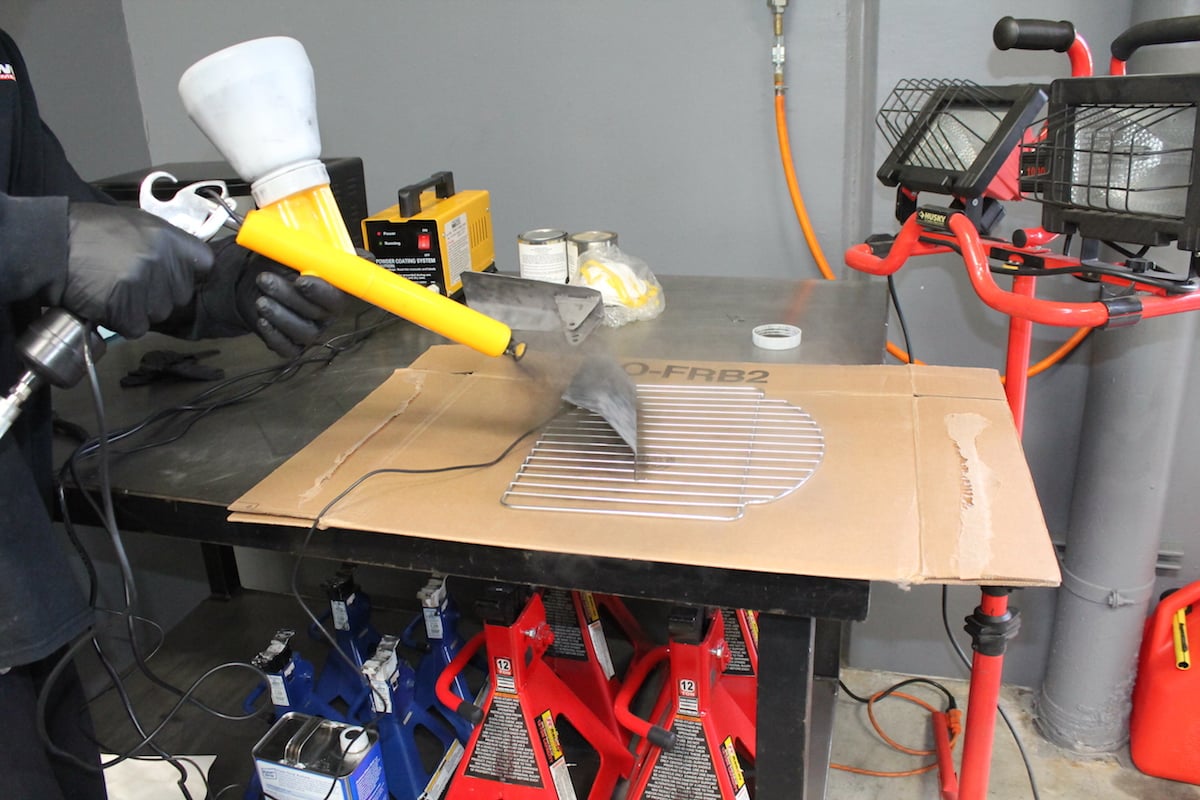
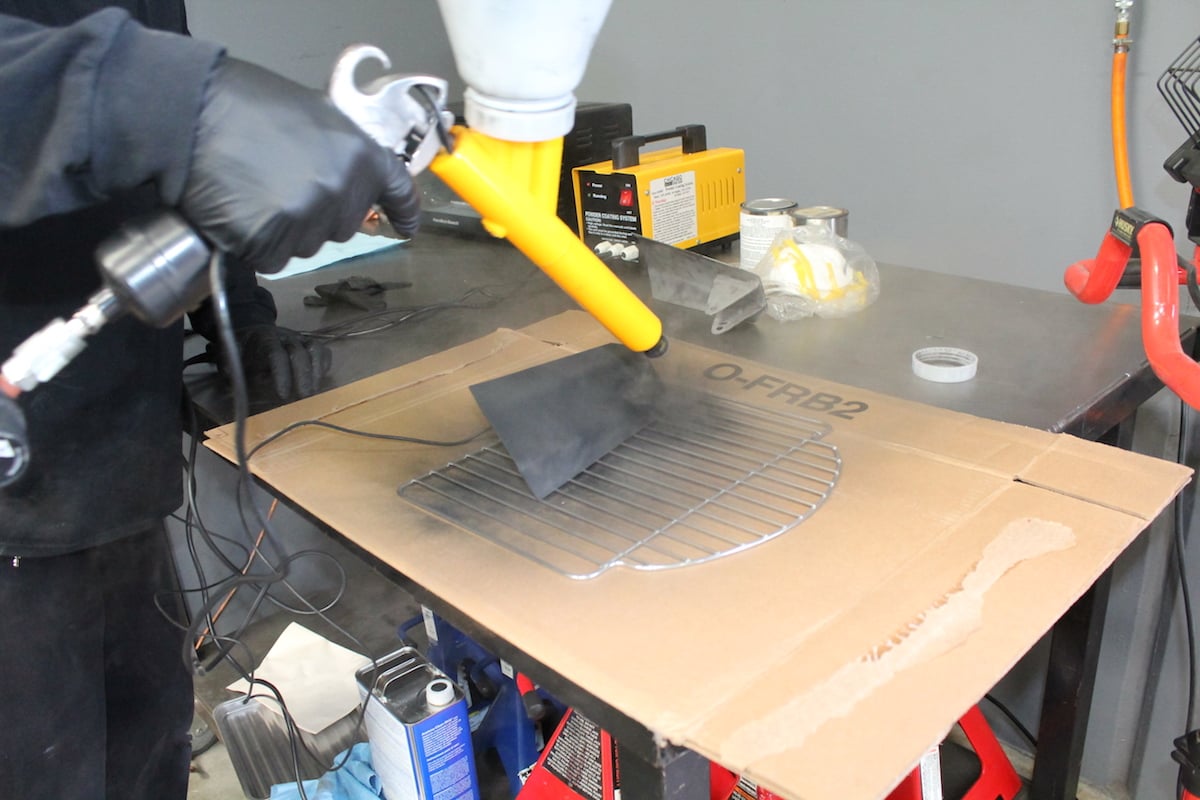
Spraying the solid powder coat was easier than expected. The powder came out of the end of the gun in a powder cloud.
There are some reasonable safety precautions that should be taken, or understood, before getting involved in powder coating:
1) The fine powder is flammable when floating in the air. Dust of any kind is flammable. This is the reason that corn silos in the Midwest explode occasionally. Corn dust gets into the air and is exposed to an open flame. The fine particulates from powder coating can be protected by not spraying near open flames or ignition sources.
2) Electrical shock. The powder coating spray gun uses electricity to provide the electrostatic charge to the dry powder. An emitter on the spray gun provides that charge. Touching the emitter can cause an unpleasant electric shock. People with electric medical devices (pacemaker/defibrillator) should avoid using the powder coating spray gun.
3) Inhalation hazard. The dry powder is a fine particulate matter that can easily be inhaled by anyone in the spray area. A simple dust particulate mask can be worn to protect the lungs, but a charcoal respirator should be worn in the area where the powder coating is being cured in the oven to protect against any off-gassing.
Unpacking
The Harbor Freight powder coating kit consists of the spray gun, an inline filter, scatter tips, a foot switch, powder cups, electric transformer, and a ground clip cable. You will need an air supply that provides 10 to 15 psi continuous air pressure and a heat source capable of 300 to 500 degrees Fahrenheit to cure the coating. Gas ovens are not acceptable for use as the heat source. In addition to being toxic, the fumes from curing can be explosive. As such, never use an electric oven that is also used to prepare food as cross-contamination of food will occur.
Getting Ready
We highly stress that a novice powder coater select parts that do not require disassembly for coating. Start with parts like gear shift knobs and levers, emblems, or other simple one-piece parts. The first real part of the operation should be a thorough cleaning of parts that will undergo coating to help remove any dirt, grease, oil, or contaminants. Much like painting, preparation is the key to the final result.
Preparation of the part continues with stripping the previous coatings and rust. Avoid going directly to the sandblaster unless the part can stand up to the harsh treatment the blaster will deliver. Most skilled home powder coaters use a chemical stripper that is safe for the part. This works especially well if the previous coating is powder coat because sandblasting powder coating can be very abrasive to any untreated areas on the parts. The goal here is to get the part to a smooth, bare metal finish.
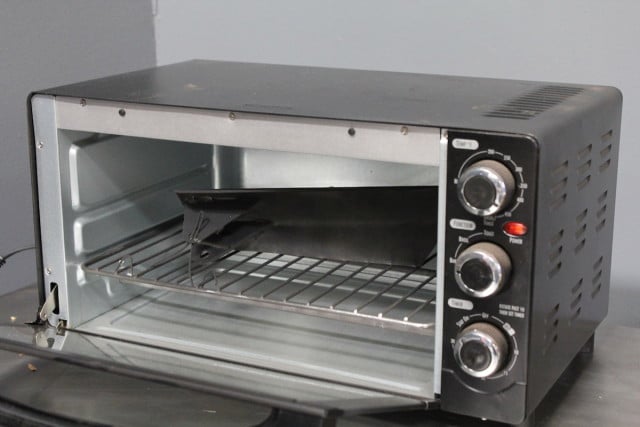
The oven has to be one that is dedicated as shop equipment and not used for food preparation. The chemicals and vapors released by the powder as it dries is not FDA-approved and could be dangerous.
If you are planning on sandblasting the part to be coated, keep in mind that you only want to remove the previous coating and provide a texture for the new coating to grip. Sandblasting with too much air pressure or media with too much of an abrasive characteristic can leave surface imperfections that will cause ridges in the coating. Machined surfaces like brake cylinder bores should not be blasted and must be masked off before sandblasting.
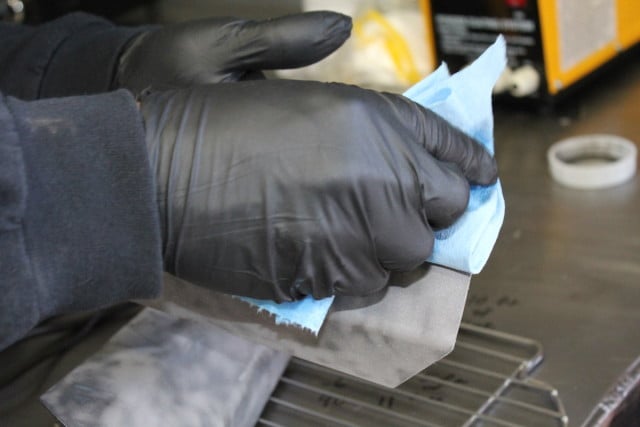
Using blasting media that is new will prevent contamination from dirty media and will result in a poor finish. Once the part has been stripped and cleaned, or sandblasted, it should not be handled with bare hands. Clean gloves should be worn when touching the parts to be coated from here on out. A good rinsing with denatured alcohol to remove any sandblasting dust will help get the part in shape for the next step.
Preheating
The part should be taken down to clean, bare metal at this point. Metals have pores, and some metals — like cast iron — are very porous. These pores can absorb oils from the environment or the manufacturing process when they are made. Heating up the part (pre-baking) at a higher temperature will heat up the oils inside the metal and draw them out. This is visible during the pre-baking process as smoke coming off of the heated part.
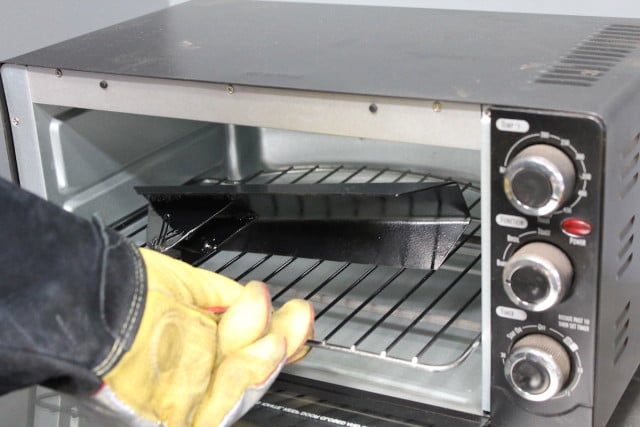
Our first attempt came out of the oven with a little bit of orange peel on the surface. It is easy to apply too much powder when spraying, which will leave this type of appearance.
Without removing these oils, the finish could end up with bubbles or bumps in the coating finish when heated up during the curing process as oils are removed. Leaving the part in a 400-degreee oven until the smoking ceases should be sufficient to ensure oils are completely removed. Let the part cool back down to room temperature and provide another rinse with denatured alcohol to remove the last contaminants from the metal surface.
Depending on the desired effect, or to protect machine surfaces that should not be coated, masking should be performed after pre-baking and before powder coating. Taking care not to leave oil from fingers or hands – preferably wearing clean gloves – mask off any portion of the part that is not to be coated.
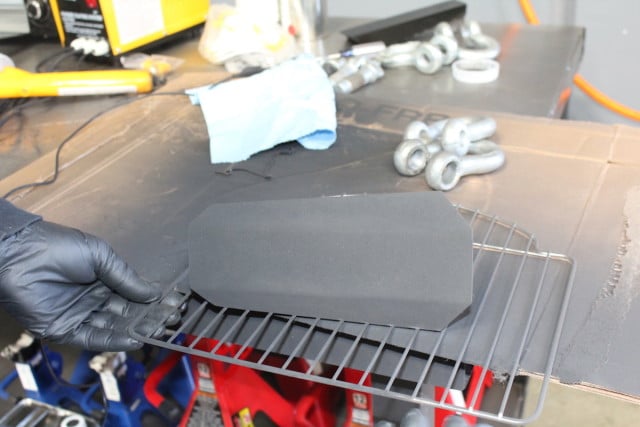
We sent the next guard through the heating process to see if keeping the part longer in the heat cycle would produce better results.
Powder Coating
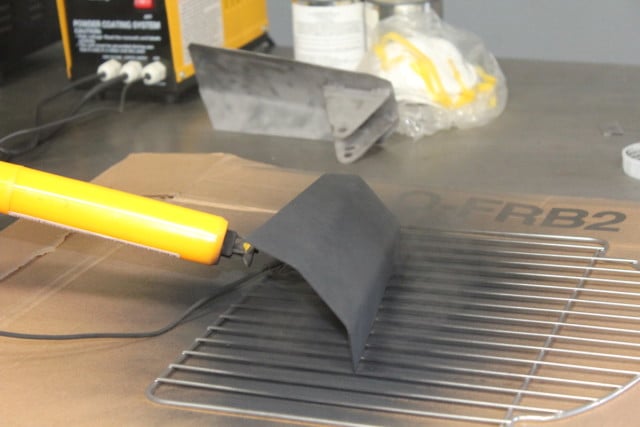
Finally! The easiest and most satisfying part of the process: Laying the spray (putting the dry powder on the part). Hang or lay the part to be coated on a rack or surface that is suitable. A couple of keys to success in coating the part is to make sure the rack is well grounded to the part to be coated. This will aid in proper coverage on the part if you are using the rack or the hook as the ground.
Try to arrange the part so that the powder will cover difficult areas like finger grooves or decorative slots. Use gravity to your advantage in these cases.
Your work area should be set up near a ventilation system. Assemble the powder coating unit by connecting the moisture separator to the spray guy. Then add coating powder to the spray gun cup.
Connect a quarter-inch air supply hose to the moisture separator and attach the ground clip to the part being coated. Turn on the power switch to the transformer/control box and adjust the air pressure range between 10 to 15 psi on the air supply regulator.
At the same time, press the trigger on the spray gun and step on the foot pedal switch. The trigger controls the powder flow and the foot pedal controls the electrical flow. Keeping the gun tip approximately eight inches from the surface, cover all of the areas to be coated with dry powder.
Remove your foot from the pedal switch and release the trigger to the spray gun to stop the flow. If all the areas are properly covered, press the control box power switch to the off position. Follow the instructions for discharging the electrical charge in the system by touching the electrical poles on the end of the spray gun to the grounding clamp to release any residual energy.
The Best Cure
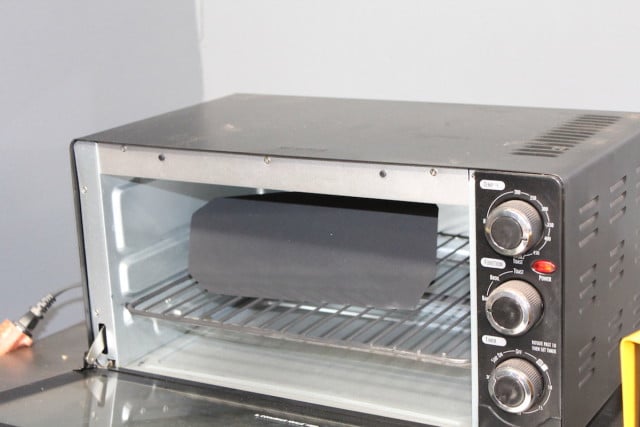
To get the best covering possible, preheat the baking oven between 300 and 500 degrees Fahrenheit. Using the oven rack or a hanging rack, put the dry powder-coated part into the oven and turn on the ventilation system. Most small parts will be cured in 15 minutes. It is advisable to check the powder coating material’s instructions for recommended curing times and temperatures.
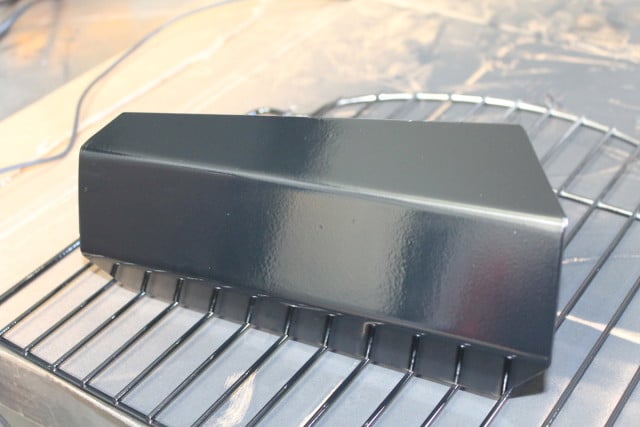
Once again we had too much powder on the part and the orange peel appearance showed up. A little powder goes a long way.
The powder coating should melt into a smooth, even finish over the part. Larger parts may take extra time, but our small oven limited the size of parts we could bake. When the coating is cured, the oven can be turned off and the part removed from the heat to cool down.
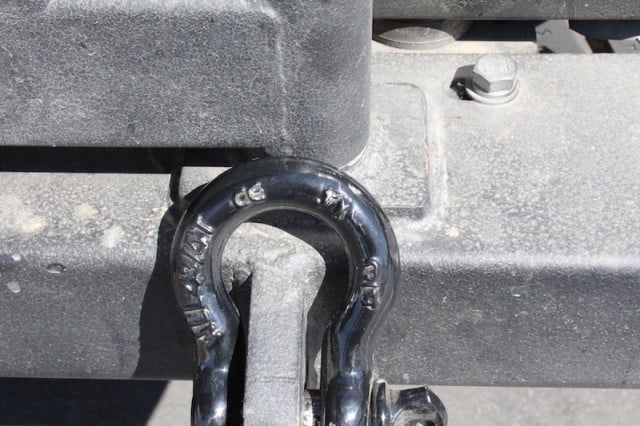
After we backed off of the powder setting a little bit, we coated this D-ring and put it through its paces. We were happy with the appearance and the chip resistance of the coating.
Final Word
For the bargain price of 80 bucks for the basic kit and another 20 bones for the dry powder, we found this budget-friendly kit a decent way to achieve a powder-coated finish on small parts that typically are not purchased with powder coating, or on parts where a color change is desired. We produced decent results in our very first effort without any difficulty. The only problem we have now is deciding which parts we want to coat.


